> ## Documentation Index
> Fetch the complete documentation index at: https://help.coachiq.io/llms.txt
> Use this file to discover all available pages before exploring further.
# Set up and manage your blog
> Create a blog on your coaching website to share updates, training tips, and local content that helps you rank in search results.
Your blog lives inside the Website Builder as its own section, separate from your regular website pages. Each post you create appears automatically in your blog archive.
**Where to find this:** Website Builder → page dropdown → **Add New Page** (to create the blog page) or the book icon in the left sidebar (to manage posts)
## Set up your blog page
In the Website Builder, click the page dropdown at the top and select **Add New Page**. Title the page **Blog**, then click **Create Page**.
CoachIQ will generate an automatic template for the page. Click **Publish** to save it.
The blog editor is separate from your main website pages. Everything you create inside it is a blog post — not a standard website page.
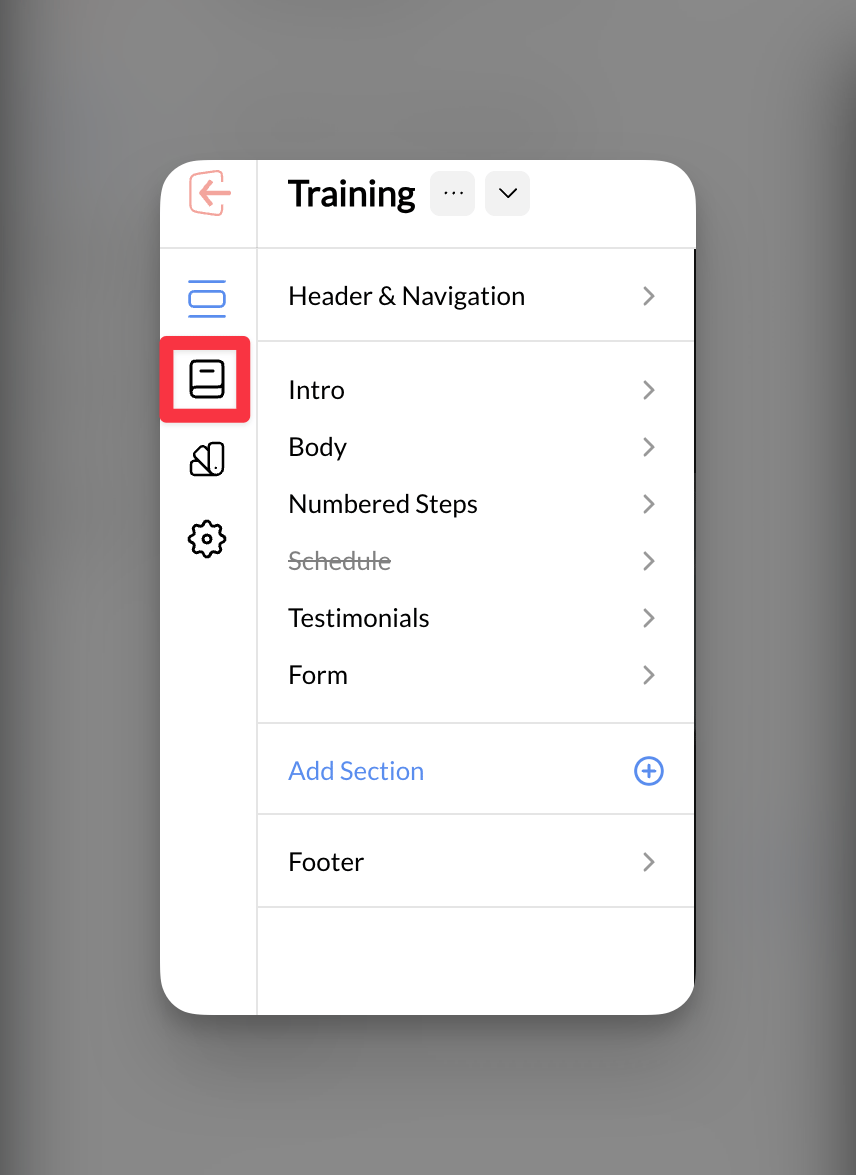
Click the book icon in the left sidebar to enter the blog editor.
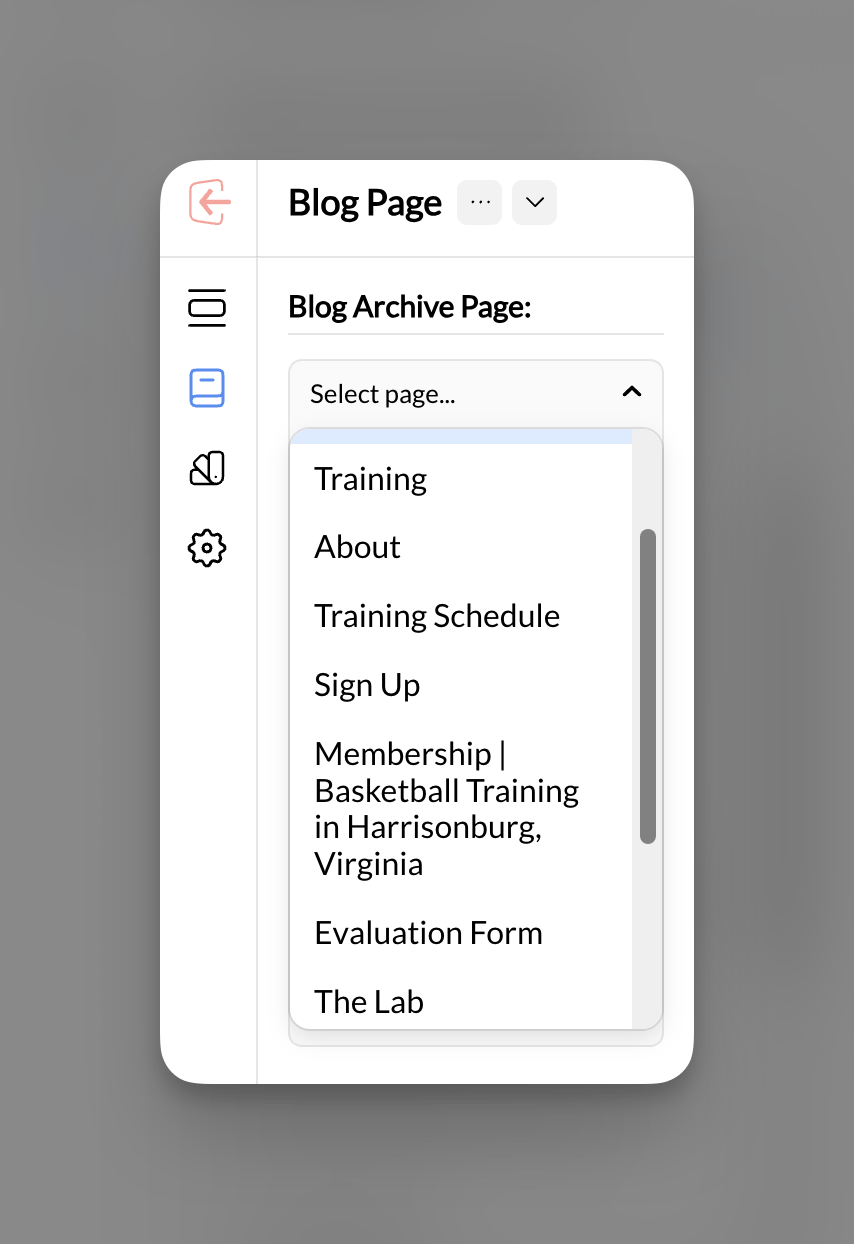
 You'll see a **Blog Archive Page** setting with a page selector dropdown. Select the **Blog** page you just created.
 Go back to your Blog page in the Website Builder. Delete the default CTA section, then click **+ Add Section** and select **Blog Post Archive** from the Default category.
Click **Publish**. This is the page that displays all your posts to visitors.
To make the blog discoverable, add it to your header navigation, footer, or both. You can also add a **Default Blog Posts** section to any page (such as your homepage) by clicking **+ Add Section** and selecting **Default Blog Posts** — this will automatically display your latest posts wherever you place it.
## Create blog posts
Inside the blog editor, click **Add New Post**. Enter a title for your post and click **Create**. CoachIQ will open an automatic template you can build on.
Add sections, text, images, and any other content to the post. When you're ready, click **Publish**. The post will appear in your blog archive automatically.
To keep a consistent visual style across posts, click **Add New Post**, give it a title, and click **Create**. Remove all the default sections, then click **+ Add Section**, navigate to a previous post, and copy the sections over. This lets you match the layout of an existing post without rebuilding it from scratch.
## Add featured images to posts
Featured images appear in the blog archive alongside each post title. Once you have a few images set, the archive displays in a three-column grid.
In the blog editor, open the post you want to update. Click **Post Settings** (typically in the top toolbar or sidebar).
Under **Featured Images**, upload the image you want to represent this post. Click **Publish**.
Repeat for each post. Once images are set, the blog archive will display them in a three-column layout. Visitors can click **Read More** to open the full post.
## Common questions
The blog editor manages posts as individual content pieces that feed into the archive automatically. Regular pages (like About or Services) are managed separately because they have a fixed place in your site structure, while blog posts are meant to grow over time and be listed together.
Add the Blog page to your header navigation, footer navigation, or both. You can also embed a **Default Blog Posts** section on any page (like your homepage) so recent posts are always visible without visitors having to navigate away.
Yes. Create your first post with the layout you want, then for each new post: click **Add New Post**, remove the default sections, click **+ Add Section**, select your existing post, and copy the sections over.
Yes. Blog posts are one of the most effective ways to rank for local search terms. Writing about local sports events, school teams, area tournaments, and seasonal training topics attracts parents searching in your area. Each post is its own indexed page.
## Related articles
Create and organize pages in your website structure.
Add, reorder, and customize sections on any page.
Configure your blog archive page in Website Builder settings.
How to use your blog strategically to rank in local search.
Go back to your Blog page in the Website Builder. Delete the default CTA section, then click **+ Add Section** and select **Blog Post Archive** from the Default category.
Click **Publish**. This is the page that displays all your posts to visitors.
To make the blog discoverable, add it to your header navigation, footer, or both. You can also add a **Default Blog Posts** section to any page (such as your homepage) by clicking **+ Add Section** and selecting **Default Blog Posts** — this will automatically display your latest posts wherever you place it.
## Create blog posts
Inside the blog editor, click **Add New Post**. Enter a title for your post and click **Create**. CoachIQ will open an automatic template you can build on.
Add sections, text, images, and any other content to the post. When you're ready, click **Publish**. The post will appear in your blog archive automatically.
To keep a consistent visual style across posts, click **Add New Post**, give it a title, and click **Create**. Remove all the default sections, then click **+ Add Section**, navigate to a previous post, and copy the sections over. This lets you match the layout of an existing post without rebuilding it from scratch.
## Add featured images to posts
Featured images appear in the blog archive alongside each post title. Once you have a few images set, the archive displays in a three-column grid.
In the blog editor, open the post you want to update. Click **Post Settings** (typically in the top toolbar or sidebar).
Under **Featured Images**, upload the image you want to represent this post. Click **Publish**.
Repeat for each post. Once images are set, the blog archive will display them in a three-column layout. Visitors can click **Read More** to open the full post.
## Common questions
The blog editor manages posts as individual content pieces that feed into the archive automatically. Regular pages (like About or Services) are managed separately because they have a fixed place in your site structure, while blog posts are meant to grow over time and be listed together.
Add the Blog page to your header navigation, footer navigation, or both. You can also embed a **Default Blog Posts** section on any page (like your homepage) so recent posts are always visible without visitors having to navigate away.
Yes. Create your first post with the layout you want, then for each new post: click **Add New Post**, remove the default sections, click **+ Add Section**, select your existing post, and copy the sections over.
Yes. Blog posts are one of the most effective ways to rank for local search terms. Writing about local sports events, school teams, area tournaments, and seasonal training topics attracts parents searching in your area. Each post is its own indexed page.
## Related articles
Create and organize pages in your website structure.
Add, reorder, and customize sections on any page.
Configure your blog archive page in Website Builder settings.
How to use your blog strategically to rank in local search.