How it works: CoachIQ builds and maintains the app. You provide your branding. The app is published under your Apple Developer account, so it’s truly yours.
What is a Personalized App?
A Personalized App is a custom-branded version of CoachIQ published to the App Store under your business name. Your clients download your app—not CoachIQ—and experience your brand from the moment they open it.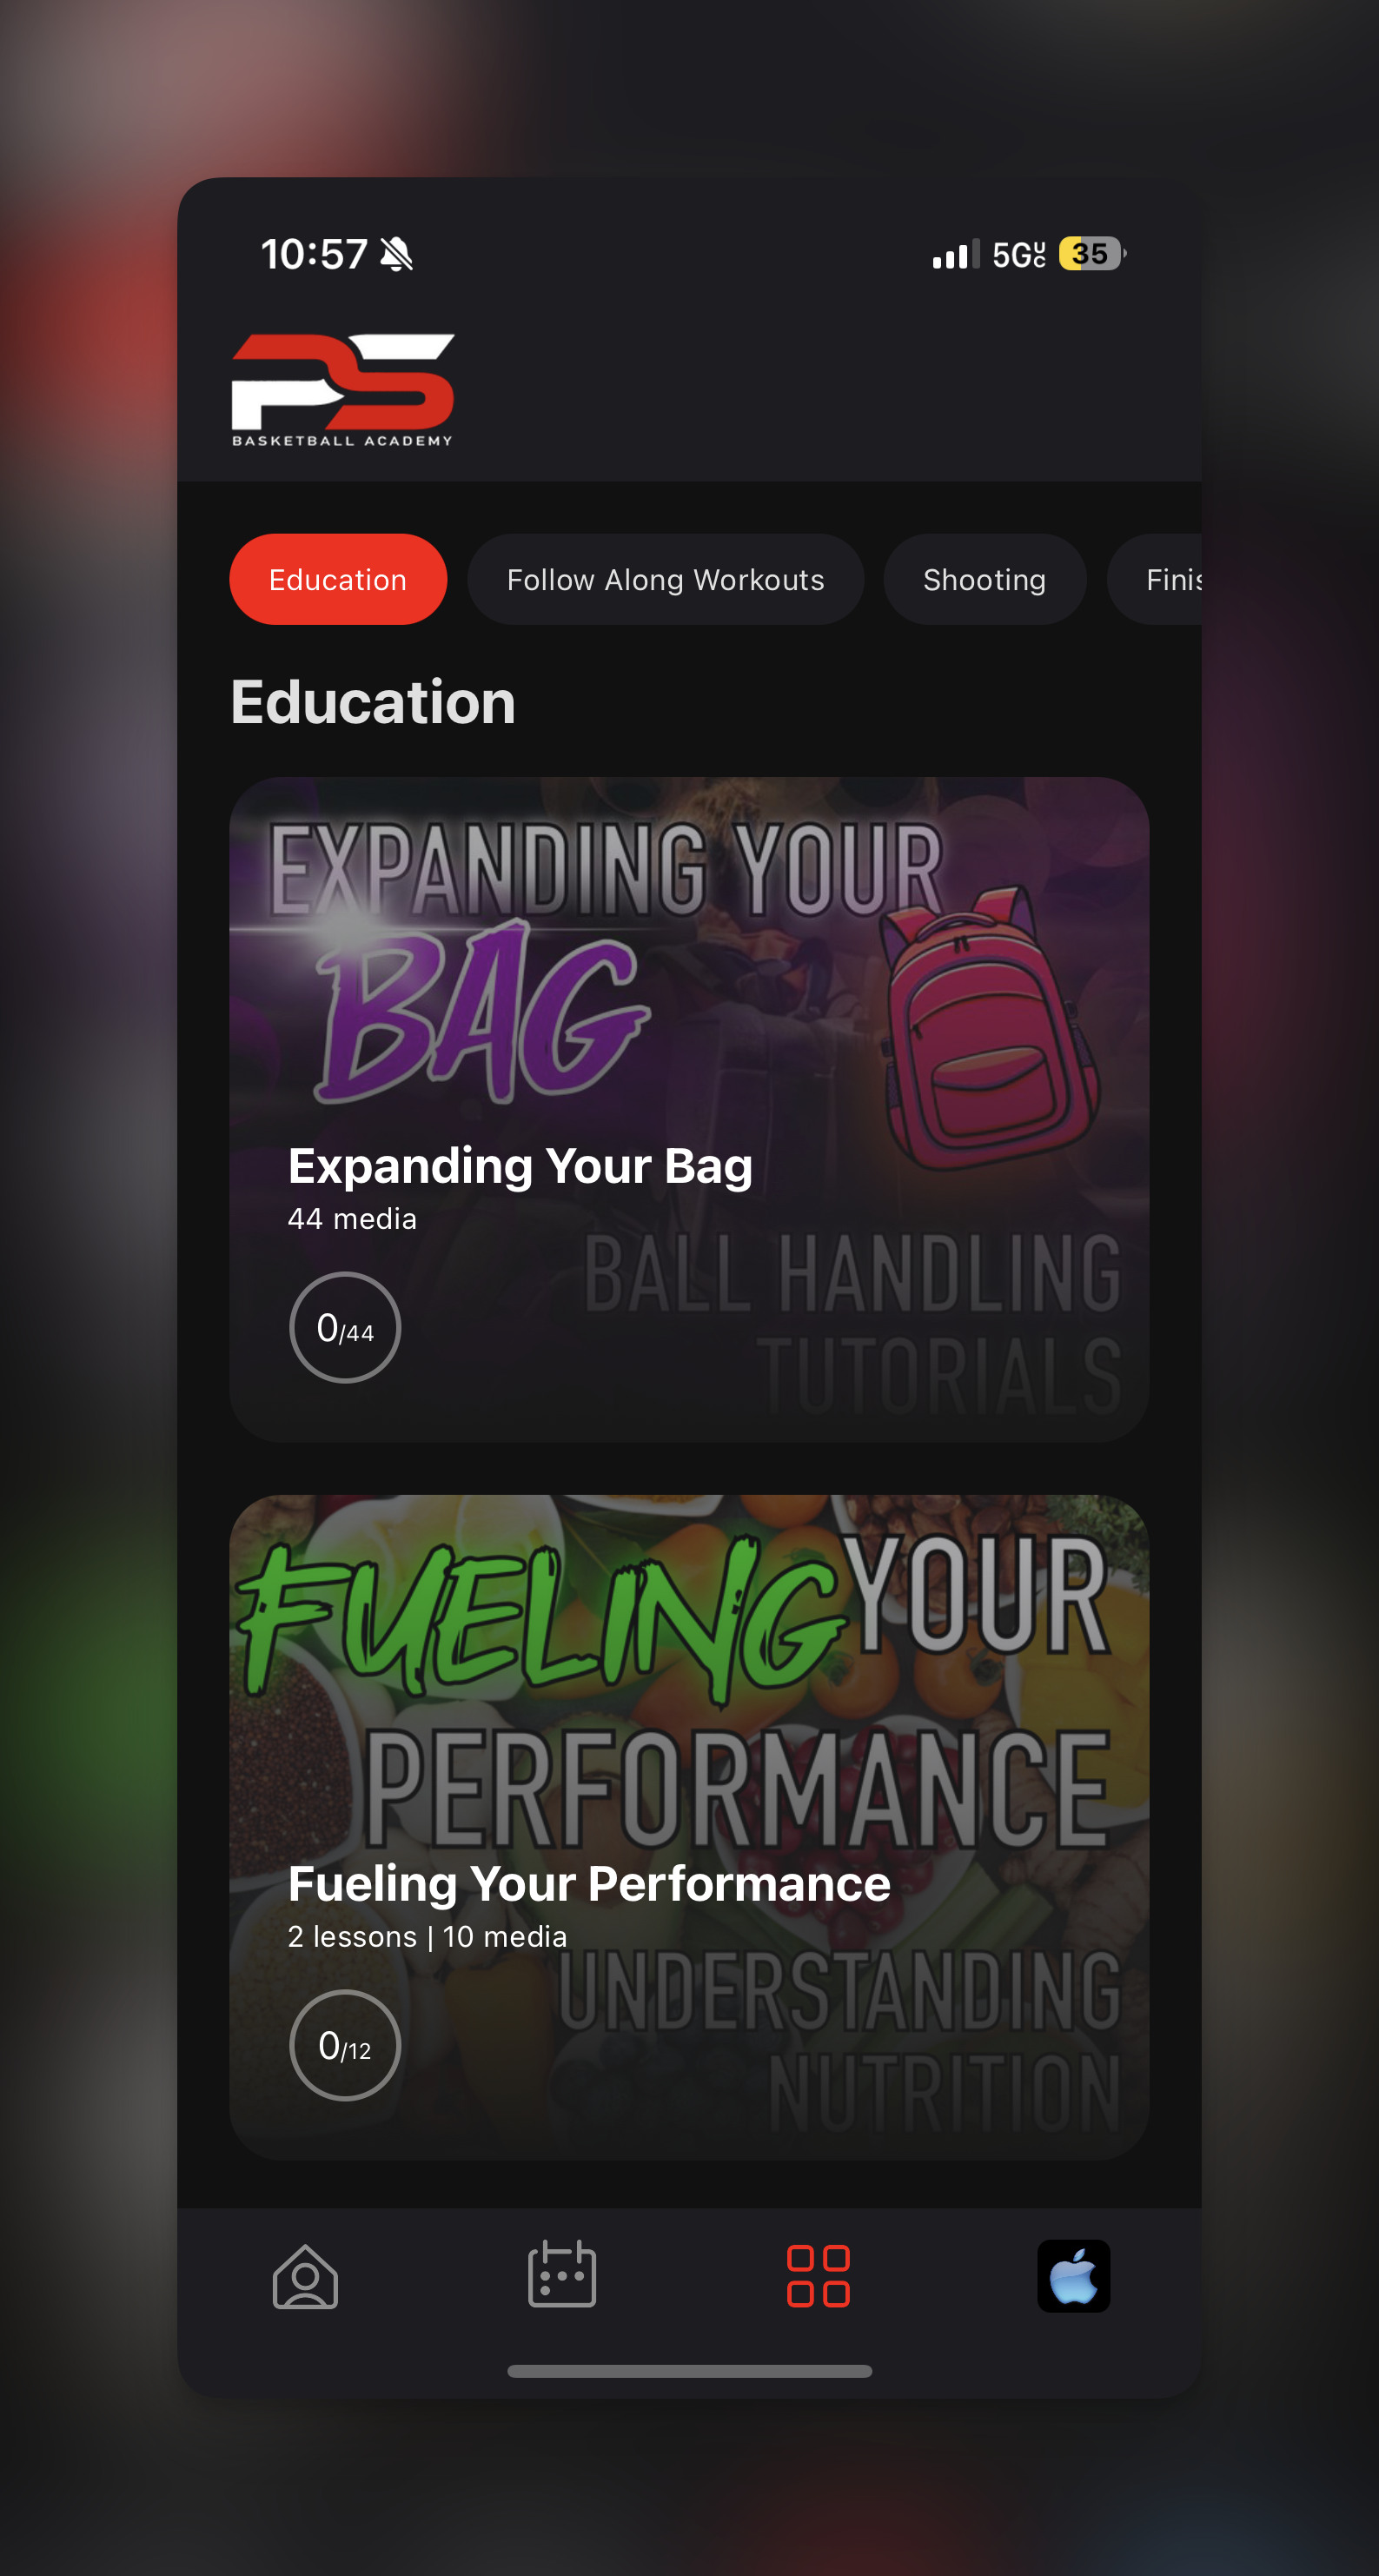
- App name (your business name in the App Store)
- App icon (your logo)
- In-app colors and theming
- Splash screen
- App Store listing (description, screenshots—we design these with you)
- All CoachIQ features (scheduling, payments, programs, messaging, etc.)
- Automatic updates as CoachIQ releases new functionality
- Ongoing maintenance and support
Currently available for iOS only. Android personalized apps are not yet available.
Key Benefits
Your own App Store presence creates instant credibility—parents and athletes trust businesses with dedicated apps. Your icon lives on their home screen, keeping your brand visible every day. Push notifications reach them directly, and everything they need is one tap away. For you, it means higher engagement, better retention, and a professional edge over competitors still using generic platforms.How It Works
Submit Your Request
Let us know you’re interested in a Personalized App. We’ll schedule a consultation to discuss your brand, timeline, and any questions.Request a Personalized App →
Set Up Your Apple Developer Account
Your app is published under your Apple Developer account—meaning you own it. If you don’t have one, we’ll guide you through setup.
Apple charges $99/year for a Developer account. This is paid directly to Apple.
Provide Your Brand Assets
Send us the essentials:
- Your logo (high-resolution)
- Brand colors (hex codes if you have them)
- Business name as you want it to appear
- A brief description of your business
We Build and Submit
CoachIQ handles all technical development. Once your branding is finalized, we submit the app to Apple for review. Apple’s approval process typically takes 1–2 weeks.
What’s Included
Once your app is live, CoachIQ continues to manage everything behind the scenes:- Automatic updates: New CoachIQ features are pushed to your app automatically
- Ongoing maintenance: We handle technical updates and Apple requirements
- Support: Our team is available if any issues arise
Migrating Existing Clients
If you’re already using CoachIQ, your existing data transfers seamlessly to your new Personalized App. Current clients can switch to your branded app, and all future clients will use it from day one.Common Questions
Do I own the app?
Do I own the app?
Yes. The app is published under your Apple Developer account, so it belongs to you.
What about Android?
What about Android?
Personalized Apps are currently iOS-only. We’ll announce Android availability when it’s ready.
Can I update my branding later?
Can I update my branding later?
Yes. If you rebrand or want to refresh your look, we can submit an update to the App Store.
How much does it cost?
How much does it cost?
Contact our team for current pricing. You’ll also pay Apple’s $99/year Developer account fee directly to Apple.
Do my current clients need to do anything?
Do my current clients need to do anything?
Existing clients will need to download your new branded app. All their data and history will be there when they log in.
What if I cancel CoachIQ later?
What if I cancel CoachIQ later?
The app is powered by CoachIQ’s platform. If you cancel your CoachIQ subscription, the app would no longer function—but you retain ownership of the app listing in your Developer account.
Get Started
Ready for your own branded app?Request a Personalized App
Contact our team to discuss your branding, timeline, and next steps.