The big picture: Your website is your front door. Athletes purchase a product, and they’re automatically set up in your system - account created, waiver signed, ready to go.
The Athlete Journey
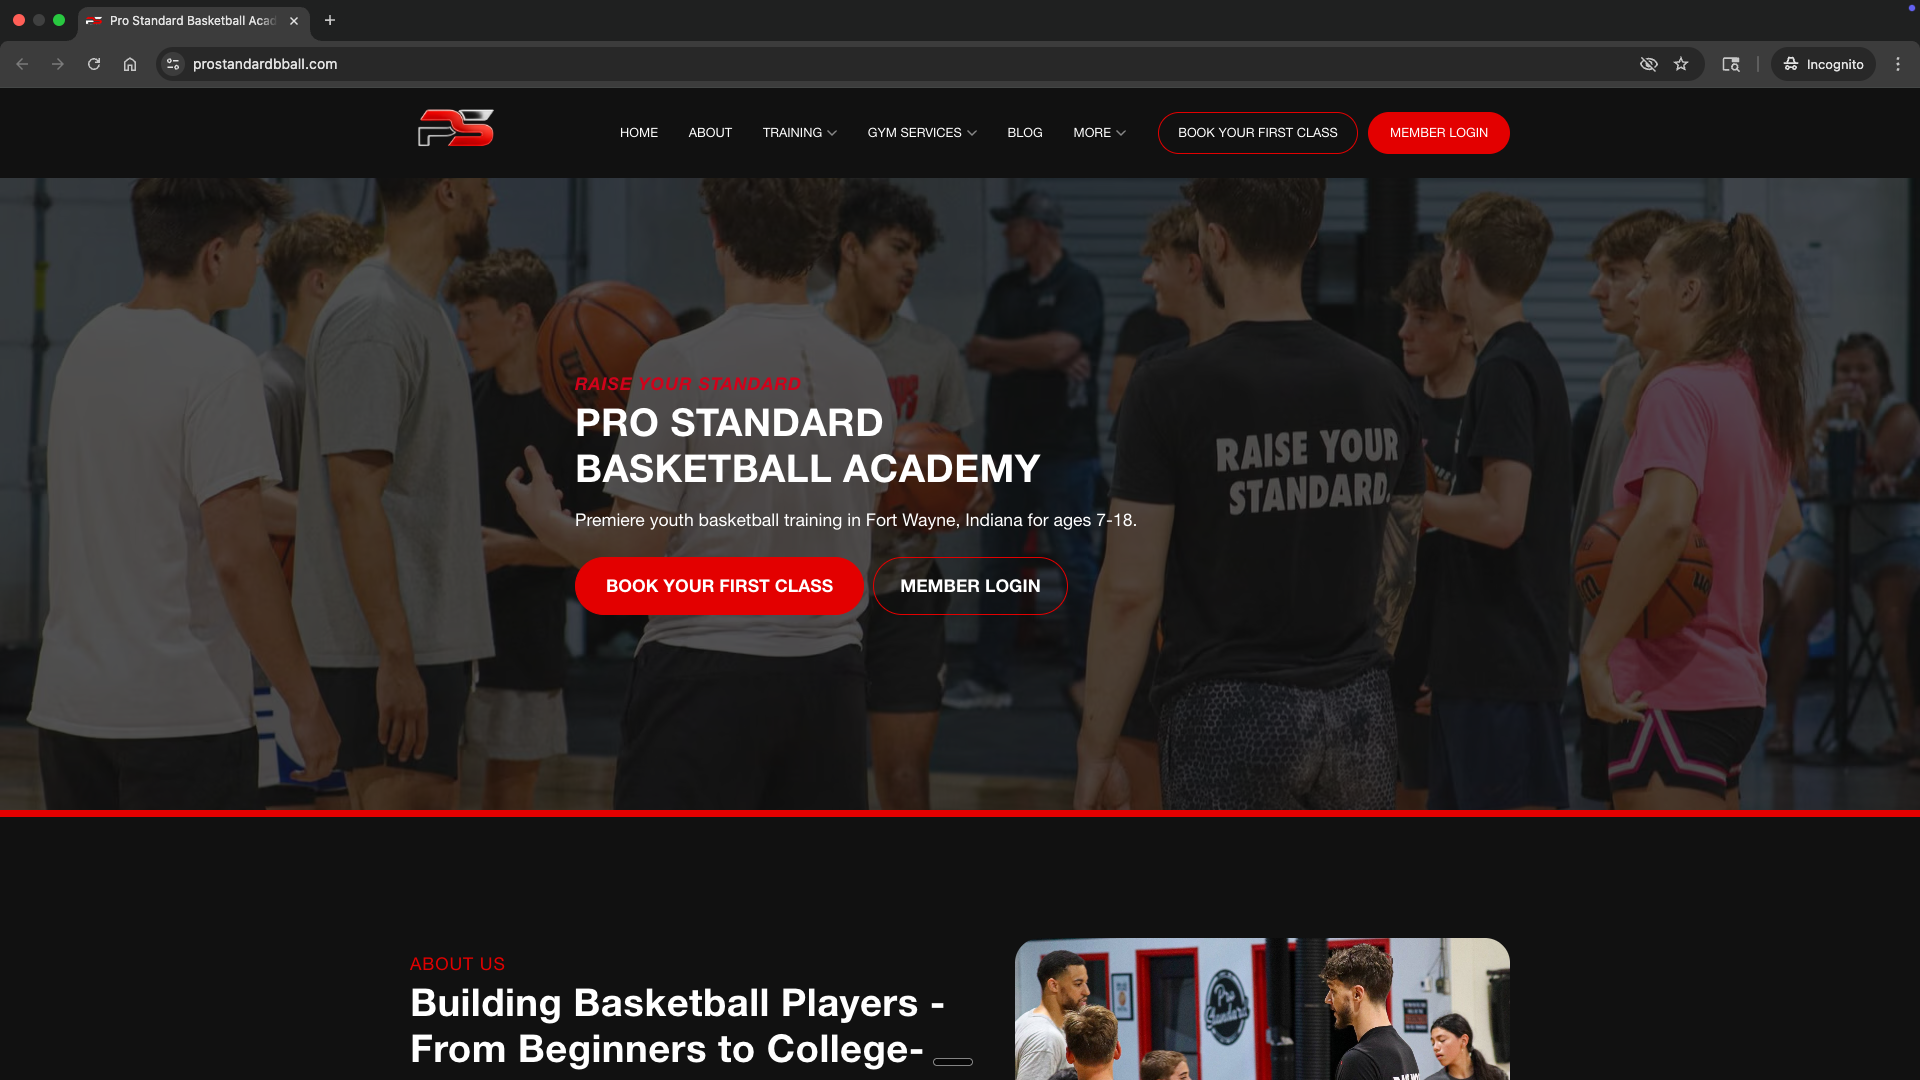
1. Visit Website
Find your pricing
2. Purchase
Select a plan
3. Account Created
Waiver signed automatically
4. Portal Access
Book sessions, view membership
Your website is the starting point
Direct all athletes and parents to your website. It’s their homepage for everything:- Finding your programs and pricing
- Purchasing memberships or packages
- Accessing the member login (Athlete Portal)
- Signing up for camps, clinics, or new offerings
Step 1: Athlete selects a product
Athletes visit your website and navigate to your pricing or products page. They choose the plan that fits their needs:- Monthly membership (1x, 2x, or 3x per week)
- Session package (10-pack, etc.)
- Camp or clinic registration
- Trial session

Step 2: Athlete completes purchase
When they click to purchase, the checkout process handles everything:- Payment collected via Stripe
- Account created automatically (email + password)
- Waiver and terms signed (if you’ve configured this on the product)
- Credits granted (if it’s a package or membership)
Waiver collection: You can require athletes to sign a waiver during checkout. This is configured in your product settings.
Product setup guide
How to configure waivers, terms, and checkout options
Step 3: Athlete lands in the portal
After purchase, the athlete is automatically logged into the Athlete Portal - their member hub. From here they can:- Book sessions using their credits or membership
- View their membership and billing
- Message you through the inbox
- Access programs (if you offer them)
- See upcoming sessions on their schedule

Step 4: Athlete downloads the app (optional)
For the best experience, athletes can download the CoachIQ app:- iOS: Available on the App Store
- Android: Available on Google Play
iOS App Setup
Help athletes download and set up the mobile app
What athletes see after joining
Once an athlete purchases and enters the portal, they have access to:Customize the welcome experience
When new athletes join, you can automatically:- Send a welcome message via email or SMS
- Deliver onboarding instructions
- Share what to expect for their first session
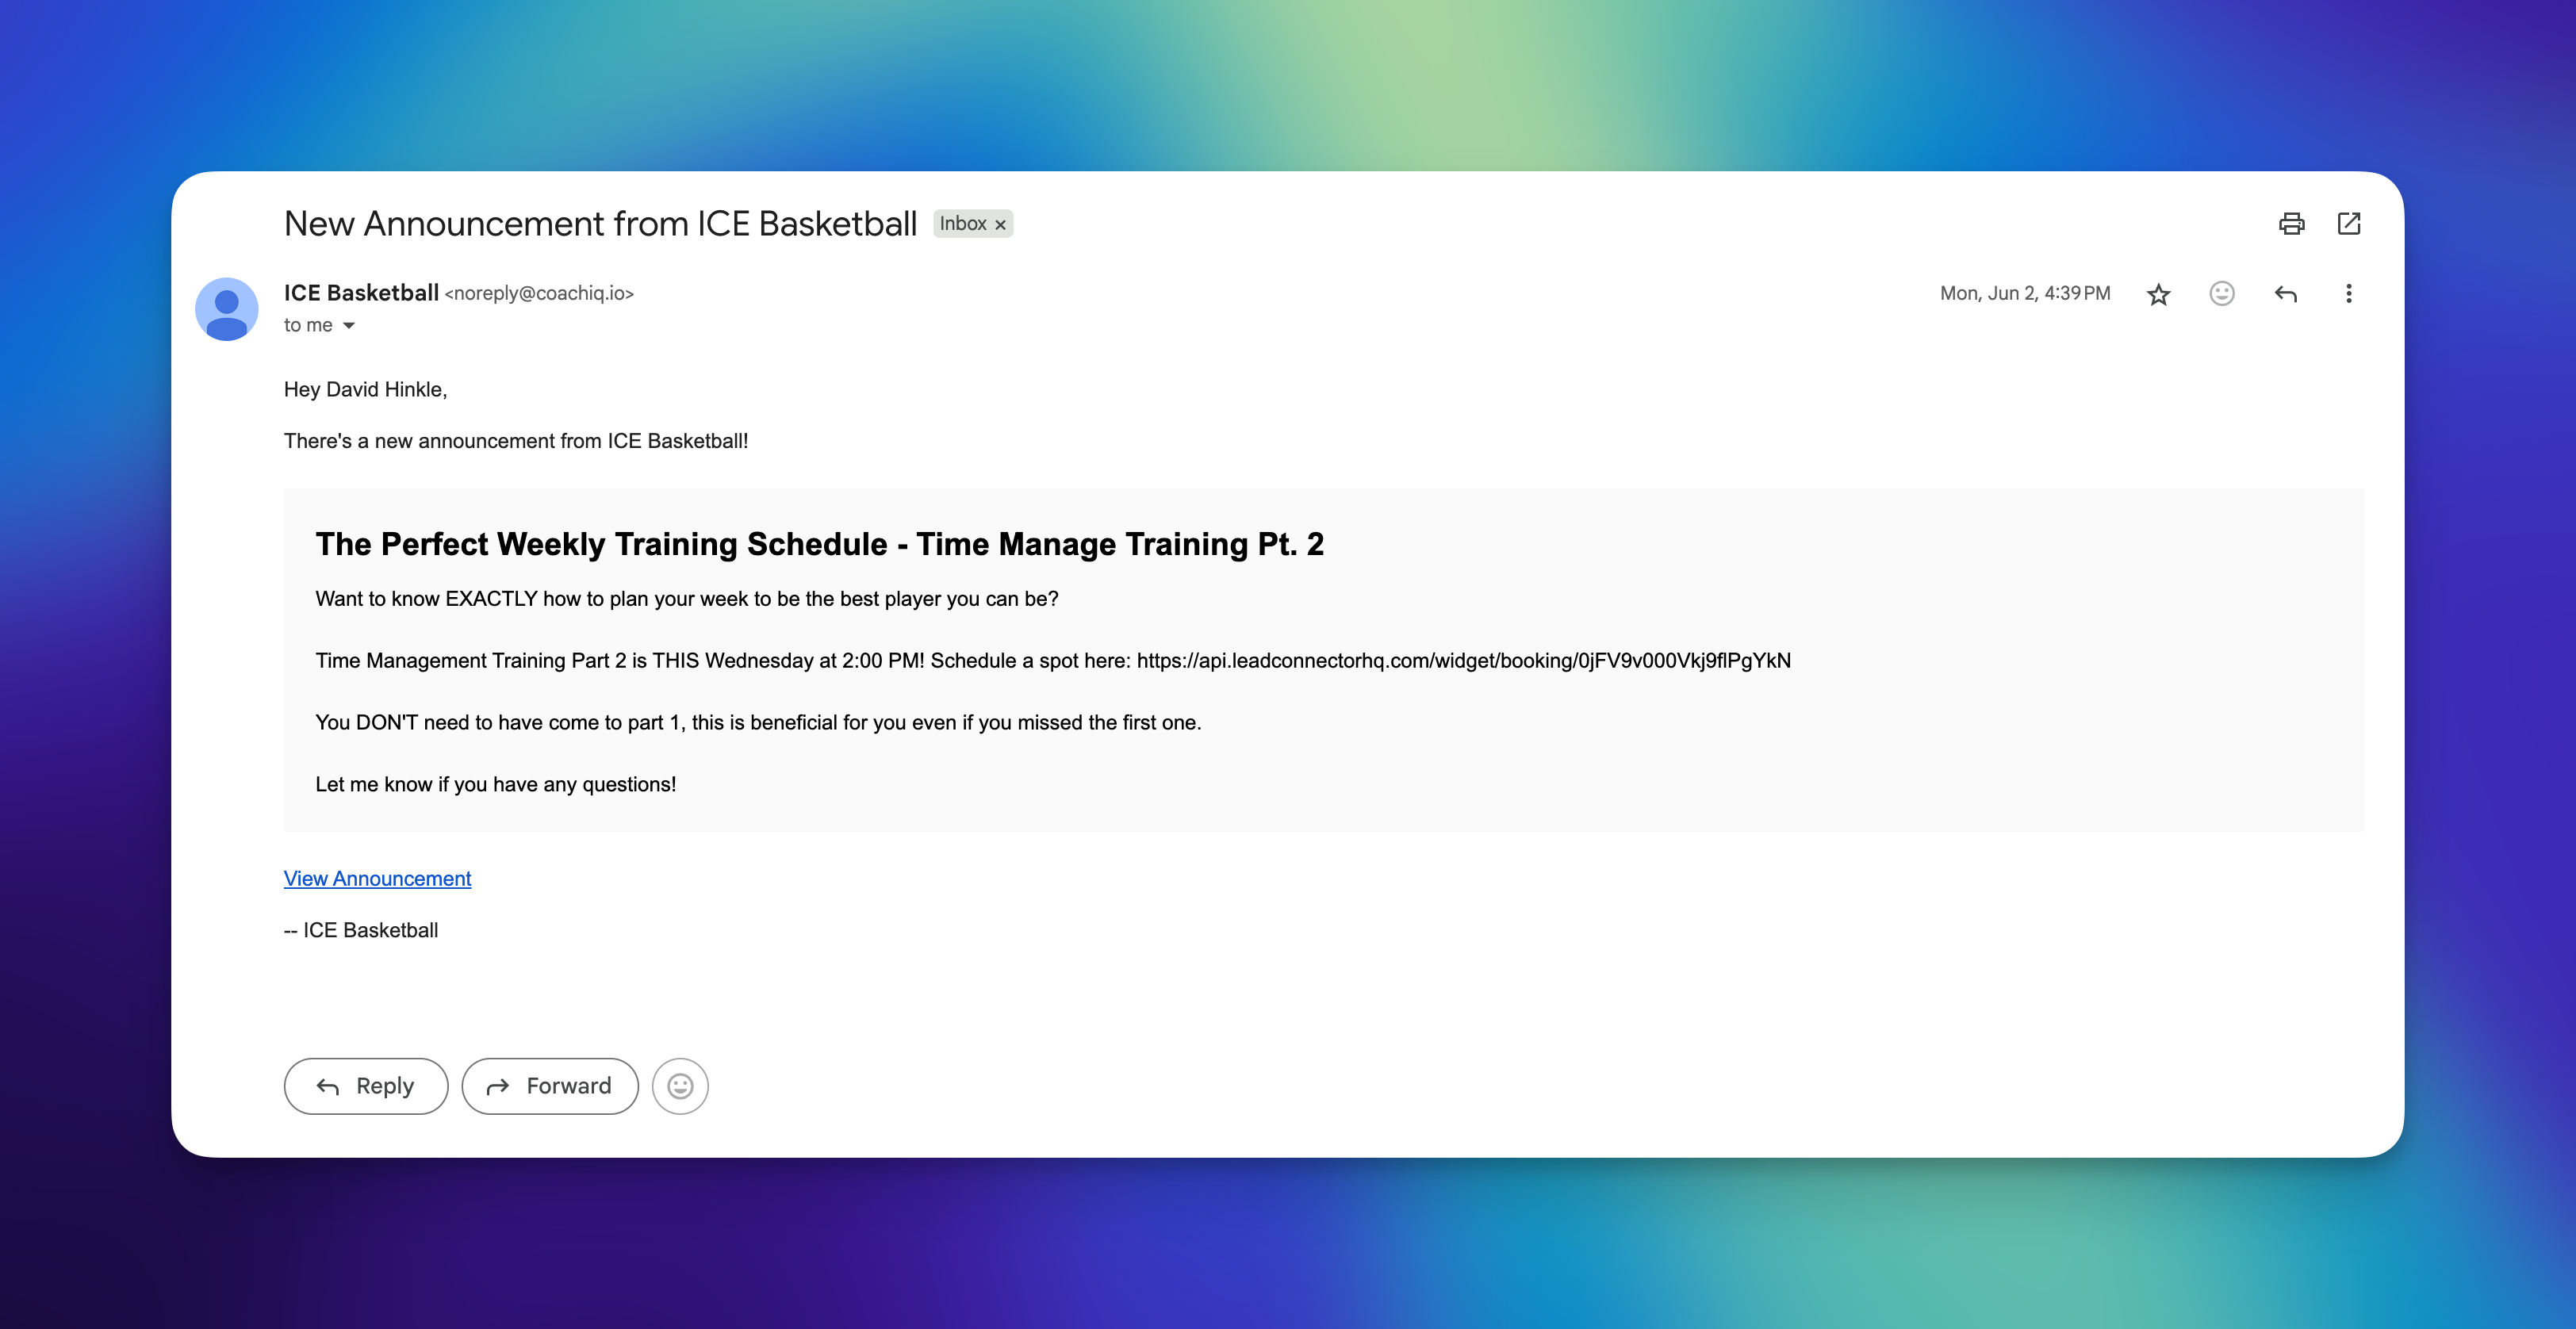
Automations guide
Set up welcome messages and automated flows
Example: The complete flow
Here’s what it looks like for a parent signing up their kid:1
Parent visits your website
They find your site through Google, social media, or a referral.
2
Parent browses pricing
They see your options: 1x/week (249/mo), 3x/week ($349/mo).
3
Parent selects 2x/week plan
They click “Sign Up” and enter payment info.
4
Account is created
Email, password, and waiver are handled during checkout.
5
Parent lands in portal
They see the welcome message and can immediately book their first sessions.
6
Parent books sessions
Using their membership, they book Tuesday and Thursday at 5pm.
7
Athlete shows up
Confirmations and reminders are sent automatically. Done.
Quick reference
Where athletes go
Where you manage athletes
Managing athlete profiles
How to view, edit, and manually add athletes
Common questions
What if someone wants to sign up in person?
What if someone wants to sign up in person?
They can still go through your website on their phone right there with you. Or you can add them manually from People → Add and send them an invite to set up their account.
Do athletes need to create a password?
Do athletes need to create a password?
Yes, during checkout they’ll create their account with email and password. This gives them access to the Athlete Portal.
Can parents manage multiple kids?
Can parents manage multiple kids?
Yes. A parent can have one account and manage multiple athlete profiles under it.
What if an athlete forgets their password?
What if an athlete forgets their password?
They can reset it from the login page. You can also send them a new invite from their profile in People.
How do trial sessions work?
How do trial sessions work?
Trial sessions work the same way - create a trial product (free or discounted), athlete purchases it, account is created, they book their trial from the portal.
Related articles
Product Setup
Configure products, waivers, and checkout options
Athlete Portal Overview
What athletes see and how to customize it
Automations
Set up welcome messages and automated flows
Managing Athletes
View, edit, and manually add athletes