Documentation Index
Fetch the complete documentation index at: https://help.coachiq.io/llms.txt
Use this file to discover all available pages before exploring further.
Where to find this: Dashboard → Inbox → Create New → Announcement
What are announcements?
Announcements are your broadcast system for team-wide communication. Think of them as your digital bulletin board - one message that reaches everyone through multiple channels simultaneously.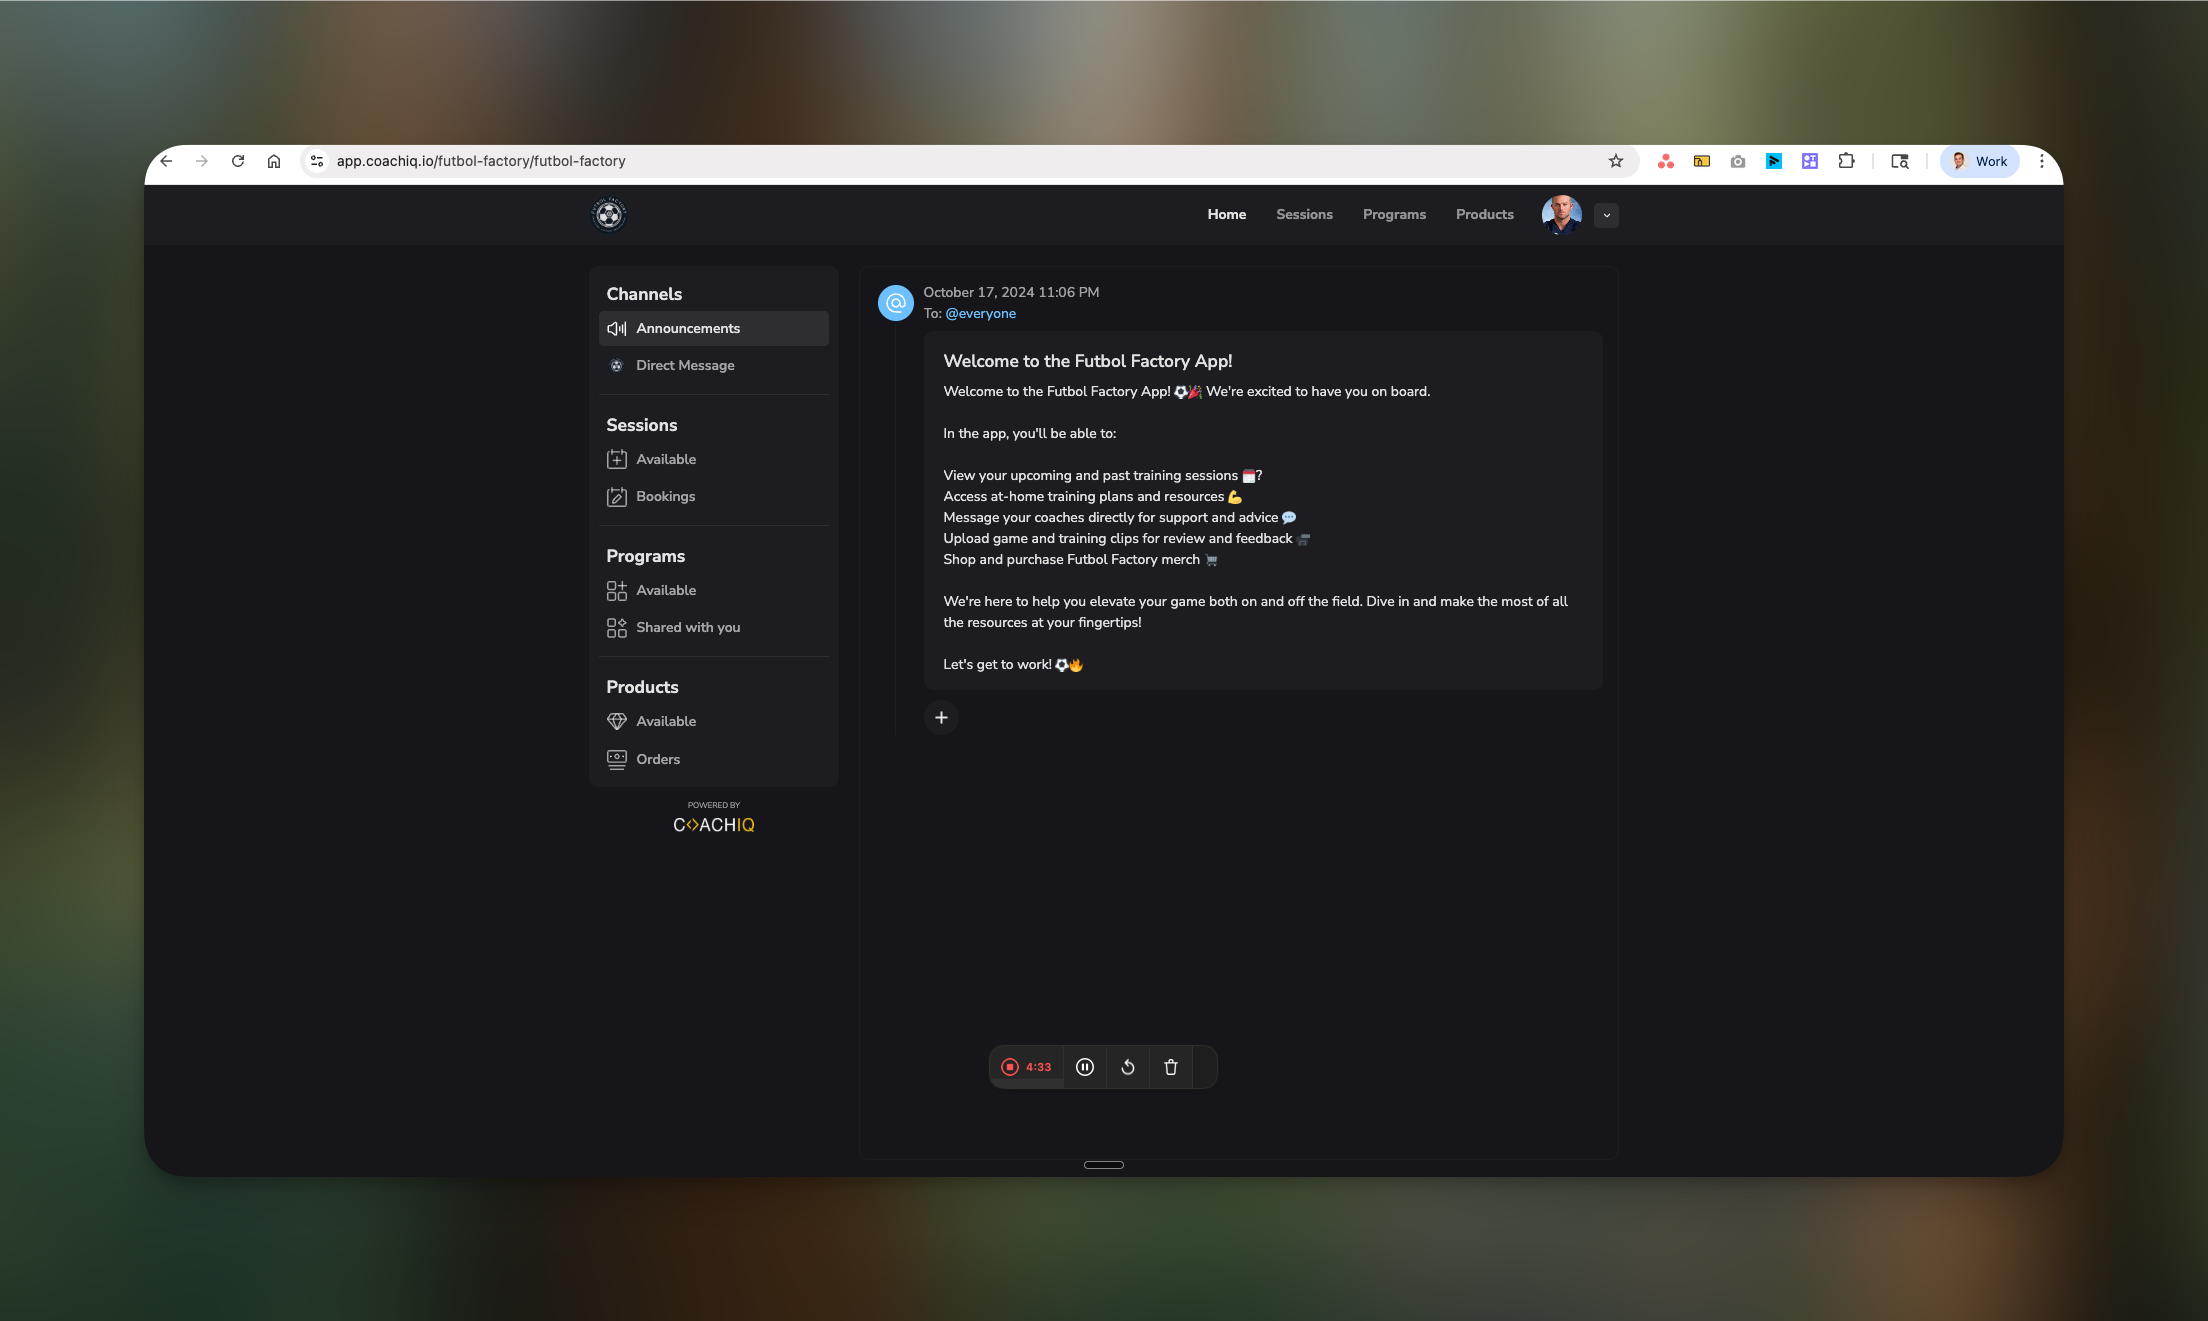
How athletes receive announcements
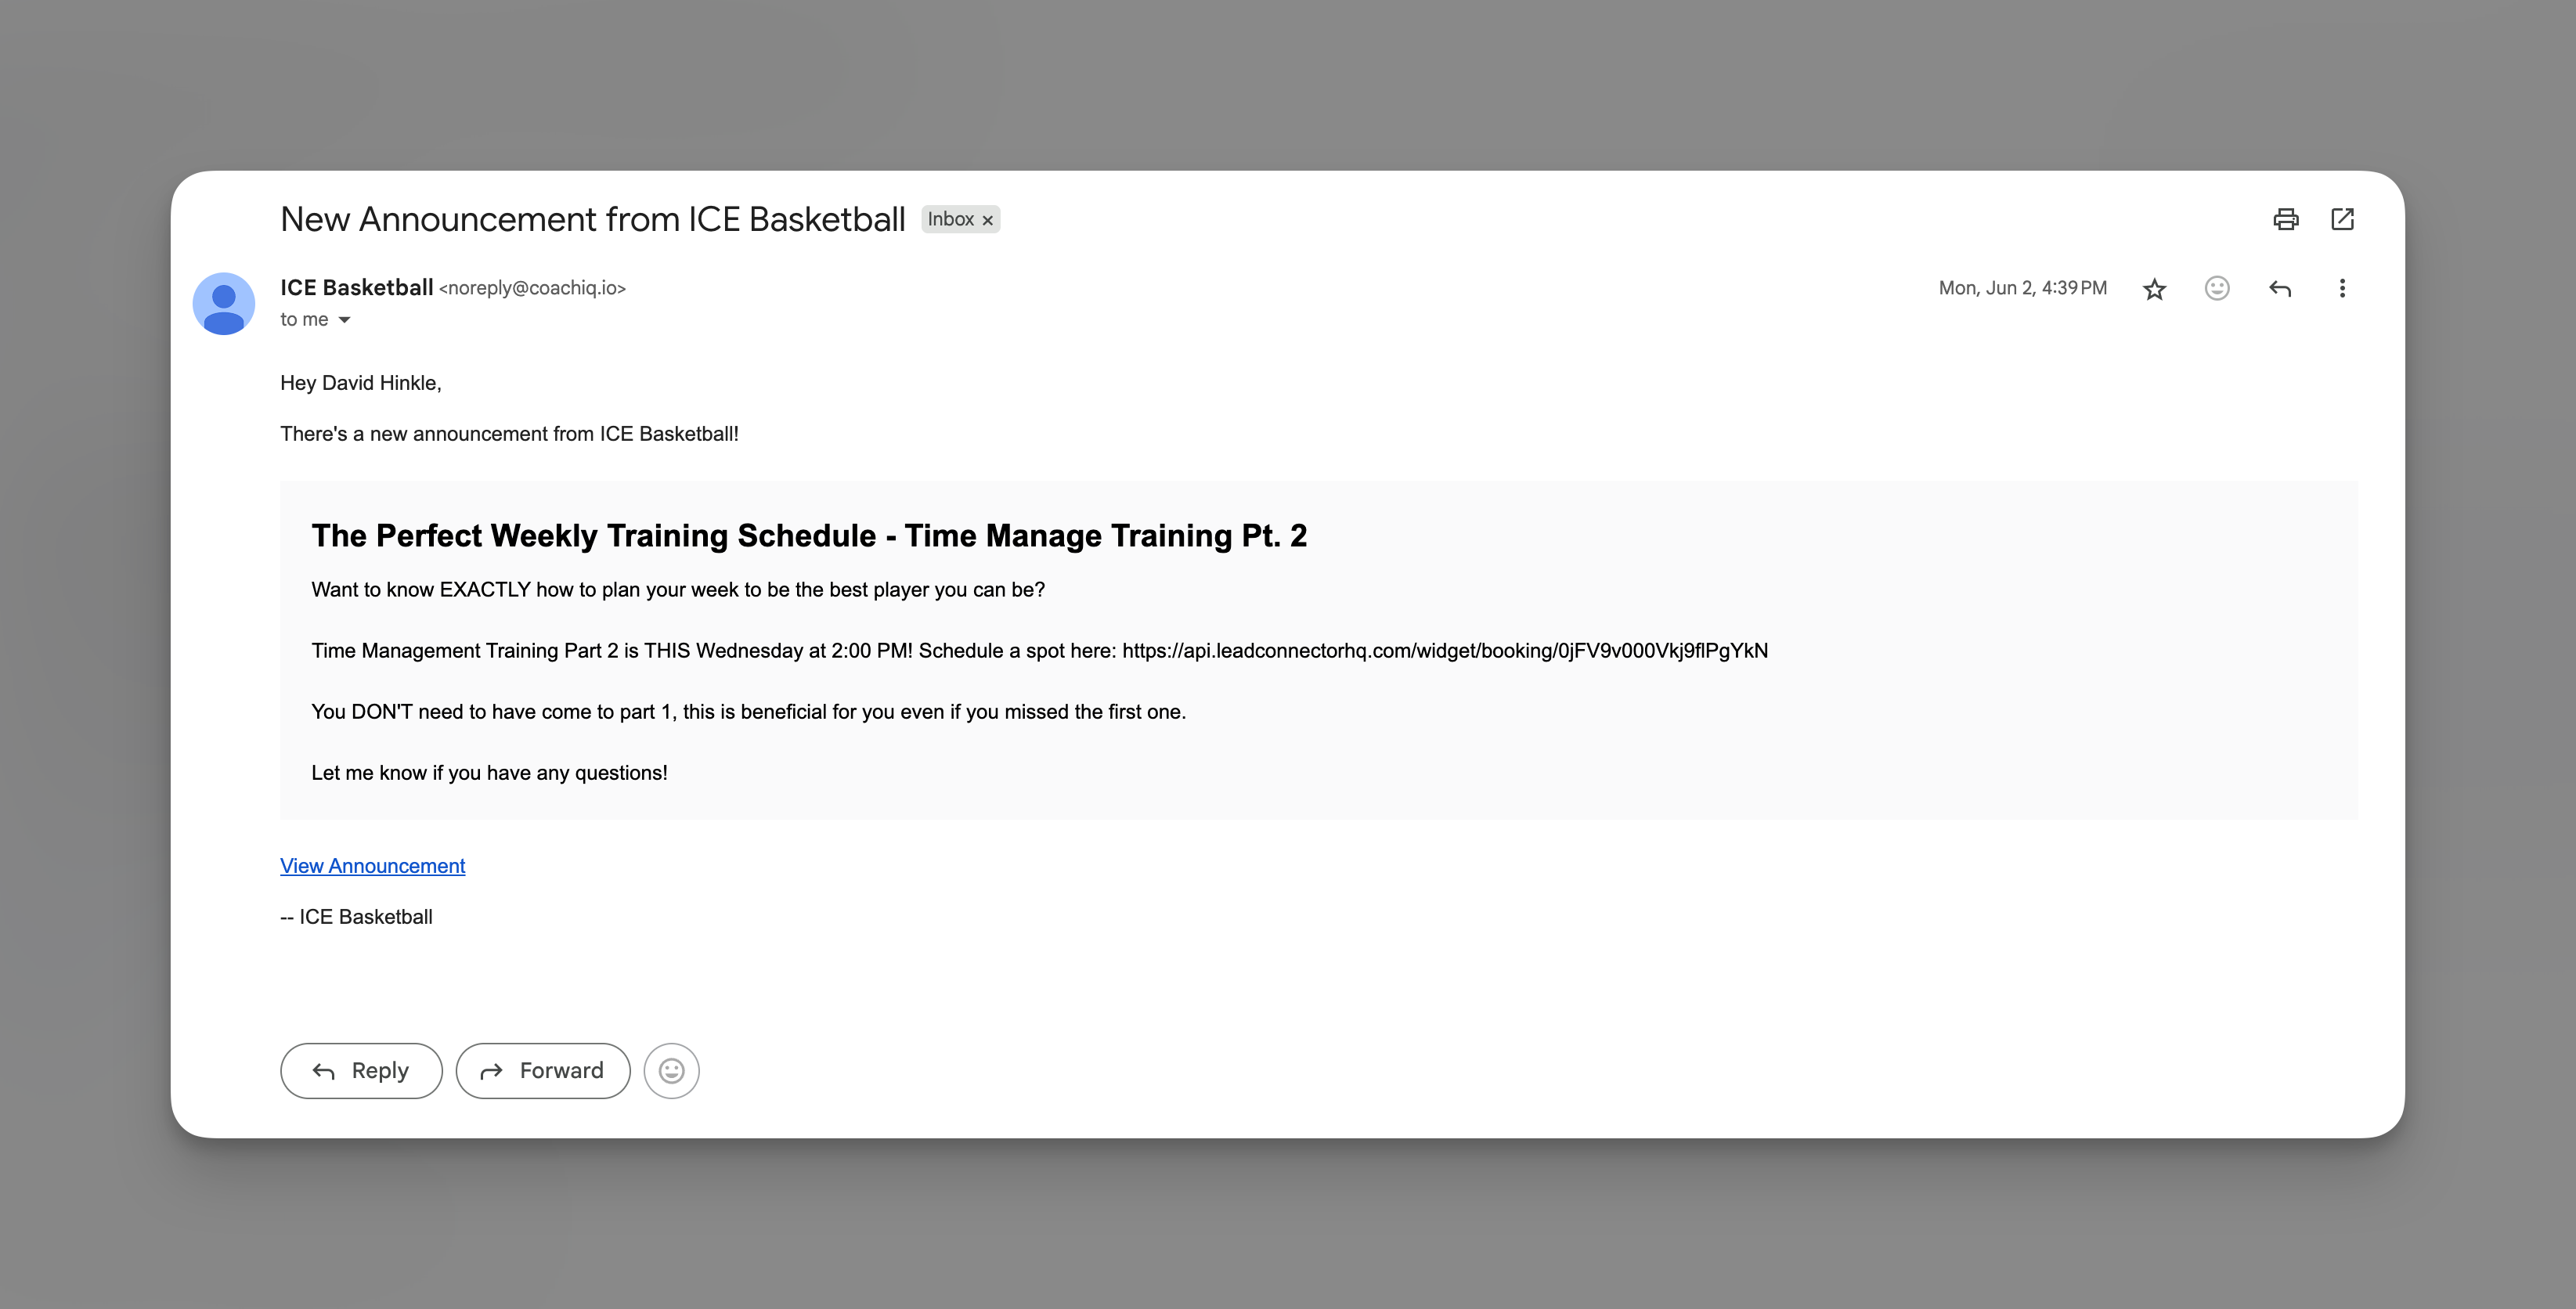
Professionally formatted email sent to their inbox
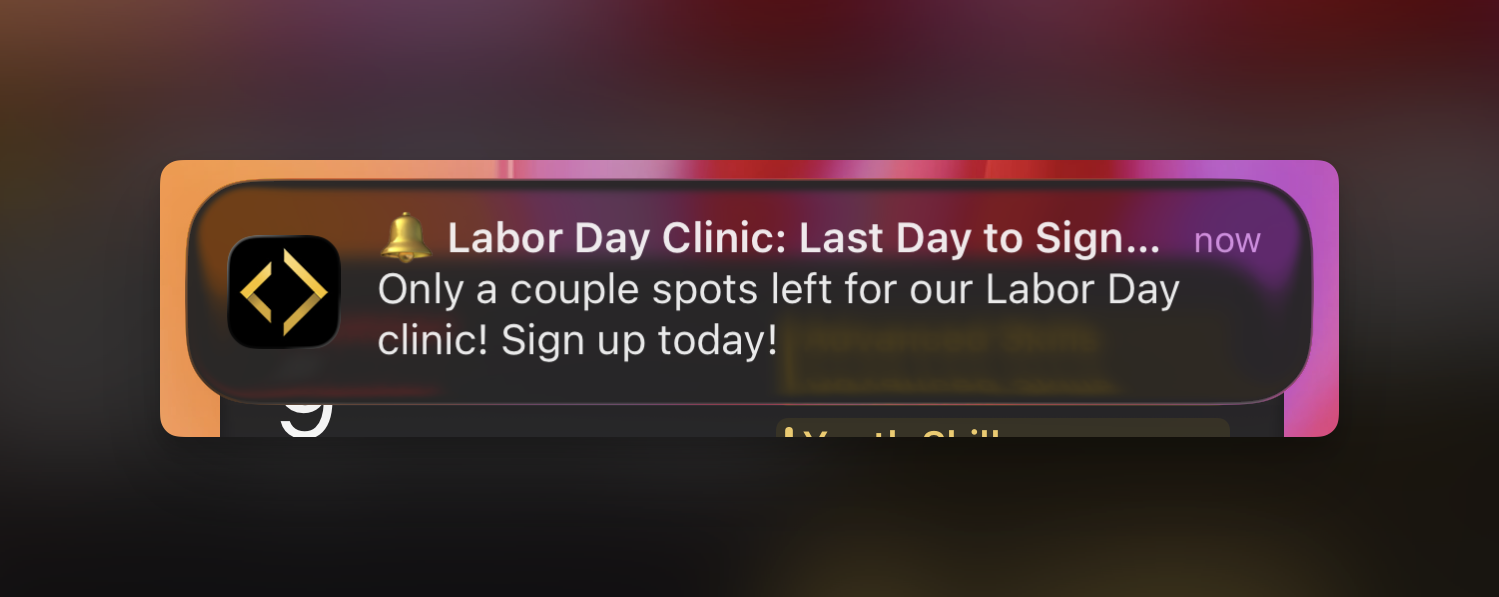
Push Notification
Instant alert on their mobile device
Channels
Permanent record in the app’s Announcements channel
Why use announcements?
Perfect for information that:- Affects the entire team or large groups
- Doesn’t require individual responses
- Should be documented and easily referenced
- Needs professional email formatting
- Weekly training schedules
- Tournament information
- Registration deadlines
- Team achievements
- Policy updates
- Seasonal information
Creating an announcement

Select your recipients
In the “Send to” field, you can:
- Type “Everyone” to broadcast to all athletes
- Use tags to target specific groups (e.g., “Varsity Team”, “New Athletes”)
- Select specific individuals if needed
Recipient limit: 400 contacts per announcement by default. Contact support if you need to increase this limit.
Add announcement heading
Enter a clear, descriptive heading. This becomes:
- The email subject line
- The push notification title
- The announcement title in the app
- “Week of March 15 - Training Schedule”
- “Spring Tournament Registration Now Open”
- “Important: Facility Closure March 20”
Compose your message
Write your announcement content. This appears as the email body and full announcement text.Format tips:
Team,
This week’s schedule has been updated to accommodate the tournament prep:
Monday & Wednesday: Regular practice 4-6pm
Tuesday: Film review 5-6pm (classroom)
Thursday: Extended practice 4-7pm
Friday: Rest day before tournament
Tournament bus departs Saturday at 7am SHARP from the main lot.
Please bring:Both uniforms
Water bottles
Snacks for the bus
Signed permission slipsSee you at practice! Coach Johnson
- Use line breaks for readability
- Include all essential information
- Add dates, times, and locations clearly
- Keep paragraphs short for mobile reading
Team,
This week’s schedule has been updated to accommodate the tournament prep:
Monday & Wednesday: Regular practice 4-6pm
Tuesday: Film review 5-6pm (classroom)
Thursday: Extended practice 4-7pm
Friday: Rest day before tournament
Tournament bus departs Saturday at 7am SHARP from the main lot.
Please bring:Both uniforms
Water bottles
Snacks for the bus
Signed permission slipsSee you at practice! Coach Johnson
Add attachments (optional)
Click + Attach to include: These appear as actionable buttons in the email and app.
- Forms: Tournament signups, permission slips
- Media: Schedule graphics, facility maps
- Products: Camp registrations, merchandise
- Scheduler: Special training sessions
Configure reply settings
By default, email replies go to your configured reply-to address (Settings → Organization → Reply-to Email).
How announcements appear to athletes
Email version
- Professional HTML-formatted email
- Clear heading and formatted text
- Attachment buttons for easy action
- Reply option (goes to your reply-to email)
Push notification
- Instant alert on their phone
- Shows announcement heading
- Tap to open full announcement in app
Channels section
- Permanent record in Announcements channel
- Chronological list of all announcements
- Athletes can reference anytime
- Never expires or disappears
Managing announcements
Viewing sent announcements
- All sent announcements appear in your Inbox
- Filter by “Announcements” tab to see only broadcasts
- Click any announcement to see details and recipients
Deleting announcements
Unlike messages, announcements CAN be deleted:- Removes from your Inbox view
- Does NOT remove from athletes’ Channels or emails already sent
Tracking engagement
- No read receipts available
- Consider adding “Reply to confirm” for important updates
Best practices
Writing effective announcements
Writing effective announcements
Structure for scanning:
- Lead with most important information
- Use clear headings for sections
- Bullet points for lists
- Bold for dates and times
- Who, what, when, where, why
- Include all necessary details
- Add backup contact info
- Specify response requirements
Timing your announcements
Timing your announcements
Best send times:
- Weekday evenings (6-8pm) for next-day info
- Sunday evenings for weekly schedules
- 48-72 hours notice for schedule changes
- Late night sends (unless emergency)
- During school/work hours
- Multiple announcements in one day
Using attachments effectively
Using attachments effectively
- Forms: “Complete this form by Friday”
- Schedulers: “Book your player evaluation”
- Products: “Register for summer camp”
- Media: Visual schedules, facility maps, instruction videos
Announcement vs other message types
| Feature | Announcements | In-App Messages | SMS |
|---|---|---|---|
| Best for | Team updates | Individual communication | Urgent alerts |
| Cost | Free | Free | $0.0079/message |
| Replies in CoachIQ | No (email only) | Yes | Yes |
| Permanent record | Yes (Channels) | Yes (conversation) | Yes (conversation) |
| Email sent | Yes (formatted) | Yes (notification only) | No |
| Character limit | None | None | 155/1400 |
Common questions
Can athletes reply to announcements?
Can athletes reply to announcements?
Athletes can reply via email, which goes to your configured reply-to address. These replies do NOT appear in your CoachIQ Inbox.
How do I increase the 400 recipient limit?
How do I increase the 400 recipient limit?
Contact CoachIQ support to increase your announcement recipient limit for larger organizations.
Can I schedule announcements for later?
Can I schedule announcements for later?
Currently, announcements send immediately. For scheduled sends, prepare your content and send manually at the desired time.
Do announcements work if athletes don't have the app?
Do announcements work if athletes don't have the app?
Yes! Announcements always send as email, so athletes without the app still receive them in their email inbox.
Can I edit an announcement after sending?
Can I edit an announcement after sending?
No, sent announcements cannot be edited. You can send a follow-up announcement with corrections if needed.