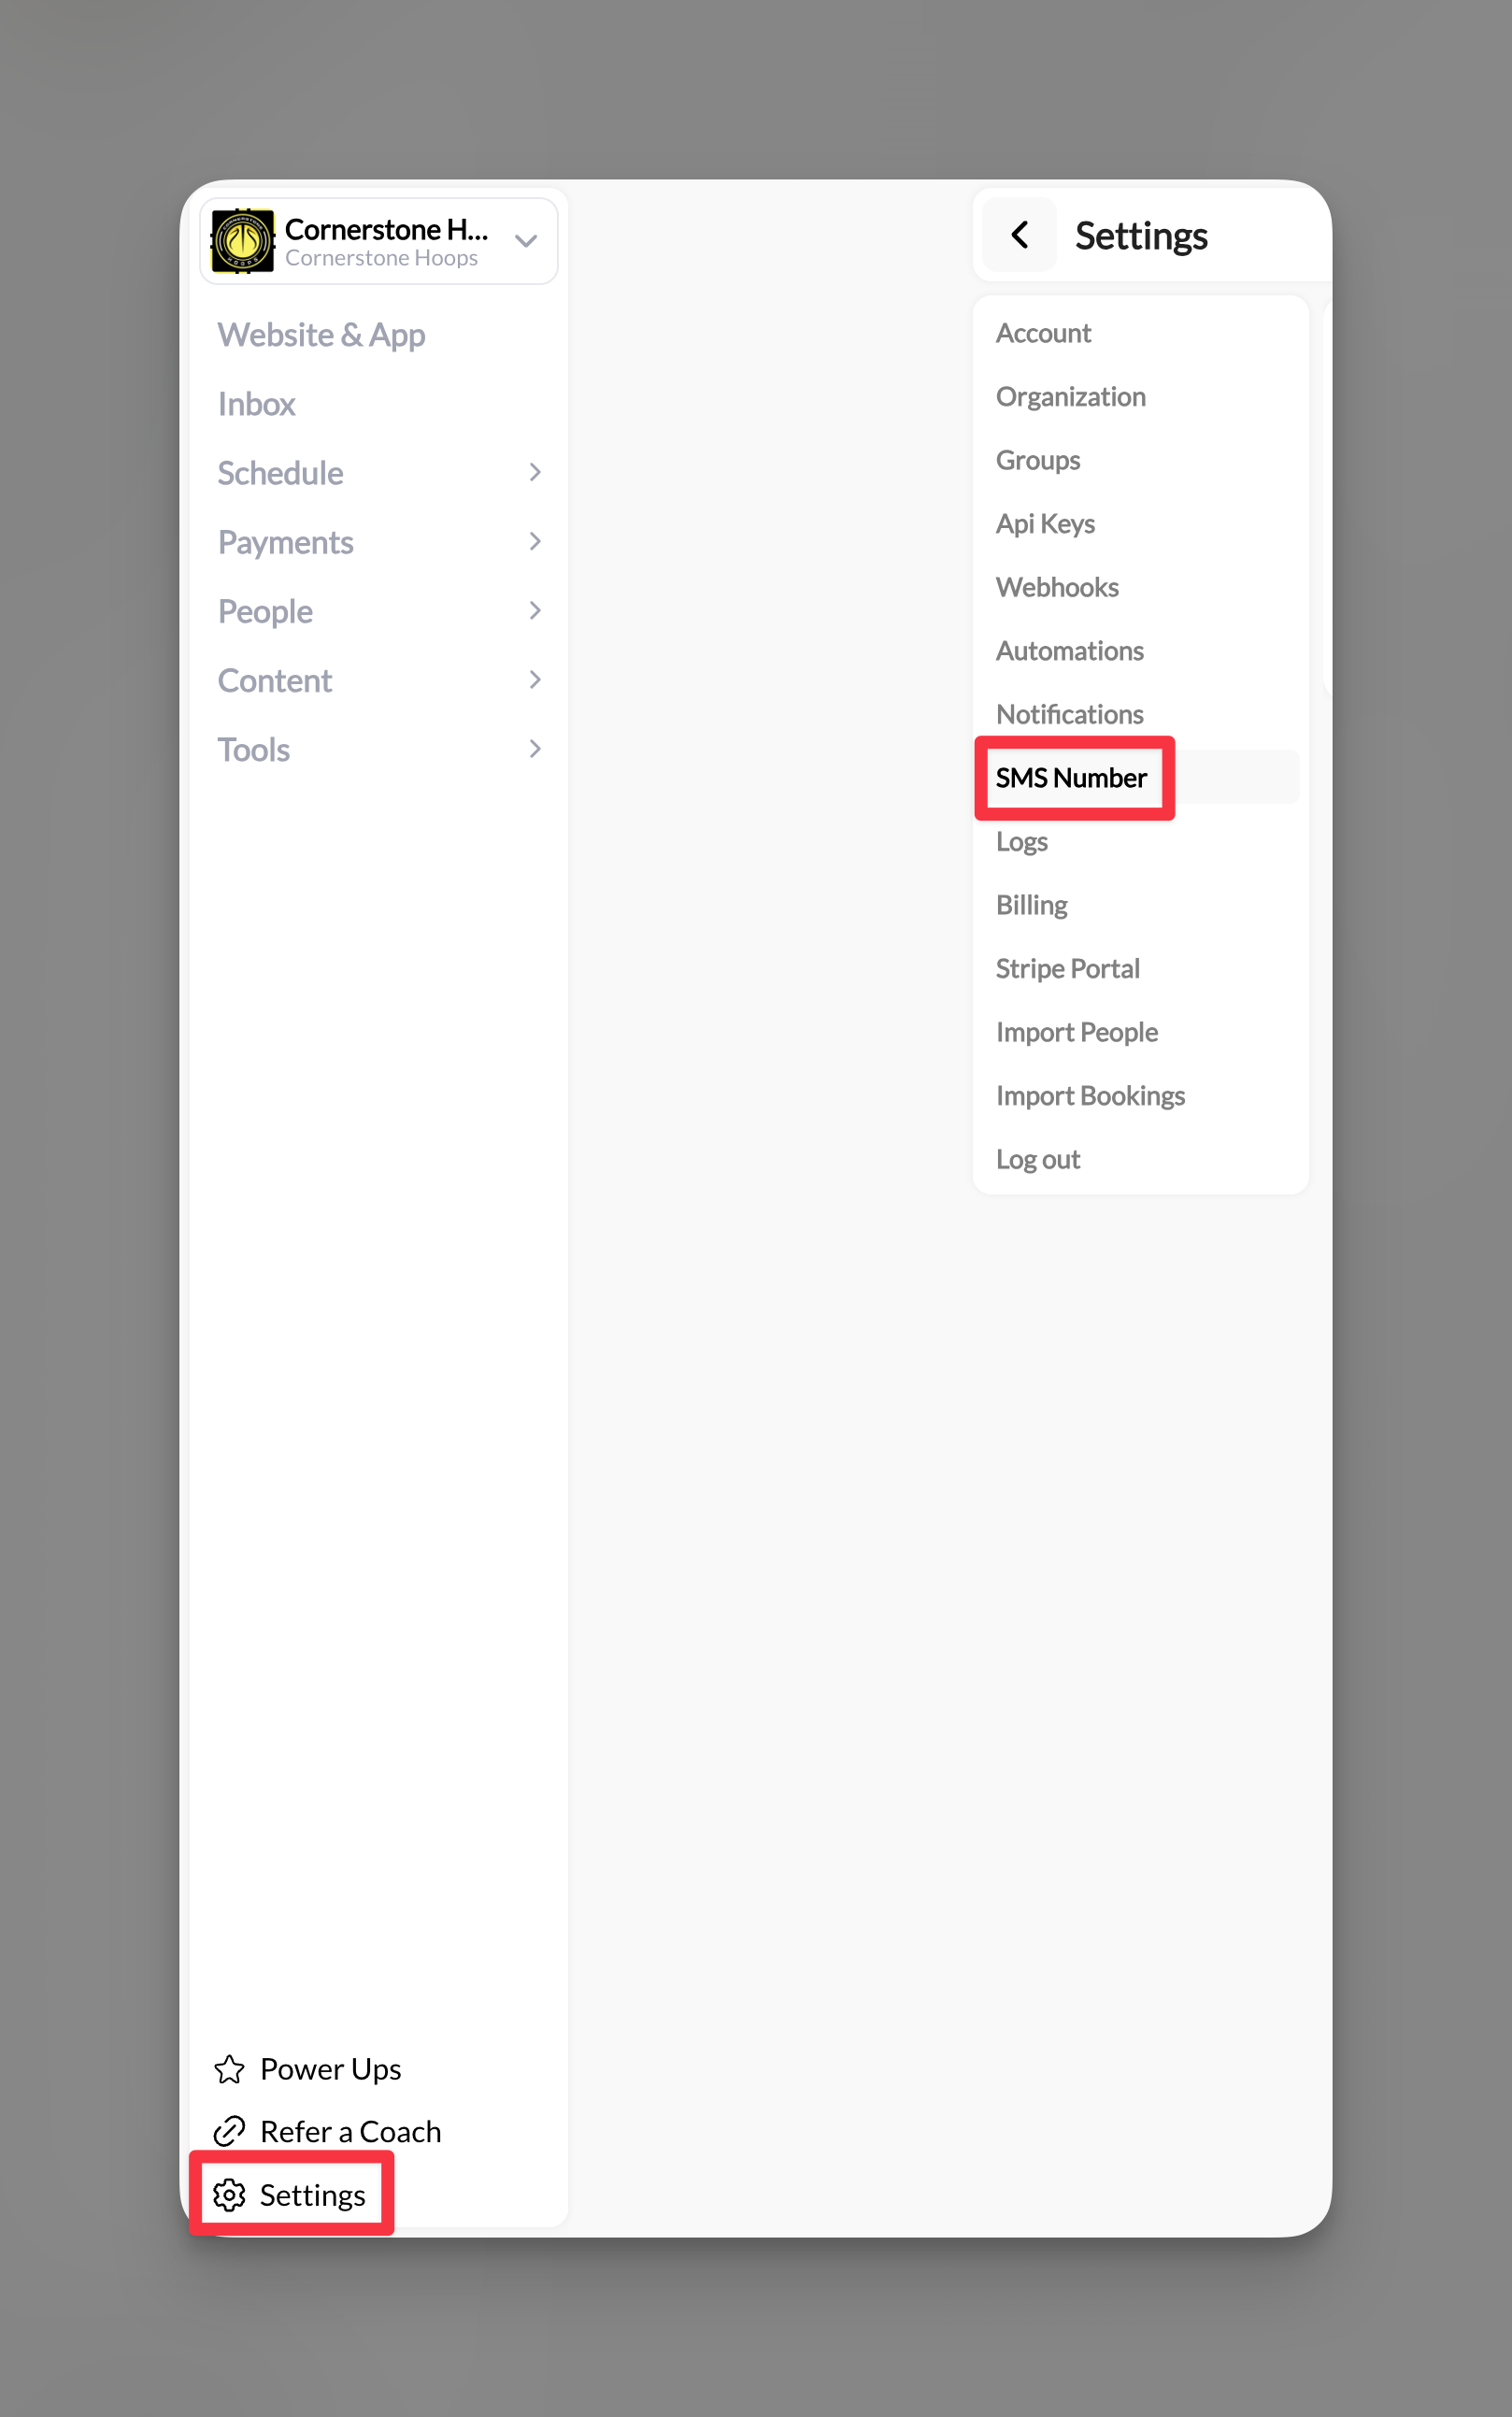
Where to find this: Dashboard → Settings → SMS Number (for setup) Dashboard → Inbox → Create New → SMS (for sending)
Why SMS messaging matters
SMS gives you a direct line to athletes and parents through text messaging - the communication channel with a 98% open rate. Unlike app-based messages, SMS reaches everyone with a phone, making it perfect for urgent updates and reaching parents who don’t use the CoachIQ app.Your business phone number
CoachIQ provides you with a dedicated business phone number for professional text communication. This keeps your personal number private while maintaining professional boundaries.How it works
- You get a unique phone number exclusively for your coaching business
- Send and receive texts through CoachIQ (desktop or mobile app)
- Parents can call this number (with call forwarding to your phone)
- All messages stay organized in your Inbox
- Full conversation history maintained
Behind the scenes: CoachIQ uses enterprise-grade SMS infrastructure to ensure reliable message delivery and compliance with messaging regulations.
Setting up SMS messaging
Complete 10DLC registration
You’ll see the 10DLC Compliance form. This is required by law for business texting.Select your business type:
- Sole Proprietor: Individual coaches
- Business: Established coaching businesses, academies, facilities
Submit your application
Click Begin to submit your application. The information goes through verification to ensure compliance with business messaging regulations.
Configure call forwarding (optional)
Once approved, set up call forwarding in your settings:
- Parents can call your business number
- Calls redirect to your personal phone
- You answer without revealing your personal number
Sending SMS messages
Individual SMS conversations
Compose your message
Write your message (up to 1400 characters for individual conversations).Example: Hi John, practice is moved to 4pm today due to weather. Please confirm you received this. Coach Mike
Add attachments (optional)
Attach forms, sessions, products, or media. These appear as clickable links in the text.
Mass SMS messages
Perfect for team-wide urgent updates:
Select multiple recipients
Use tags or select multiple individuals (remember: 155 character limit for mass texts)
SMS costs and limits
Pricing structure
- Cost per message: $0.0079 (both sent and received)
- Example costs:
- Text to 1 athlete = $0.008
- Team announcement to 50 = $0.40
- Monthly texts to 100 athletes (4 messages each) = $3.16
Character limits
Message segments
- Standard SMS: 160 characters
- Messages over 160 characters split into segments
- Each segment counts as a separate message for billing
- 1400 character limit = approximately 9 segments
Managing SMS conversations
Two-way texting
- Athletes and parents can reply directly
- Replies appear in your Inbox immediately
- Full conversation threading maintained
- Reply costs apply ($0.0079 per inbound message)
Call handling
Important: You cannot make outbound calls from your CoachIQ number, but:
- Parents/athletes CAN call your business number
- Calls forward to your designated phone
- Set redirect number in Settings → SMS Number
Best practices
When to use SMS vs In-App
When to use SMS vs In-App
Use SMS for:
- Practice cancellations
- Weather updates
- Last-minute schedule changes
- Reaching parents (not just athletes)
- Time-sensitive reminders
- Detailed feedback
- Non-urgent updates
- Cost-sensitive communication
- Rich media sharing
Writing effective SMS messages
Writing effective SMS messages
- Front-load critical info: “CANCELLED: Tonight’s practice…”
- Include your name/title: Parents might not recognize the number
- Request confirmation: “Reply YES if you received this”
- Time stamps: “Updated 3:45pm” for changing situations
- Clear action items: “Pick up at WEST entrance today”
Managing costs
Managing costs
- Use In-App for regular communication
- Reserve SMS for truly urgent matters
- Create contact groups to avoid duplicate texts
- Monitor monthly usage in your billing section
- Consider announcement + SMS combo (announce first, SMS reminder for urgent items)
Common questions
What if my application is denied?
What if my application is denied?
This is rare but can happen if information is incomplete. Contact support to understand the issue and resubmit with corrected information.
Can I change my business number later?
Can I change my business number later?
Yes, but you’ll need to go through the approval process again. Your conversation history remains intact.
Do group SMS messages show everyone's replies?
Do group SMS messages show everyone's replies?
No, replies come back as individual conversations to maintain privacy.
What happens if someone calls my business number at night?
What happens if someone calls my business number at night?
Calls forward to whatever number you’ve set. Consider updating your redirect number or using do-not-disturb on your personal phone.
Can I text internationally?
Can I text internationally?
Yes, but international rates vary by country. Contact support for specific international pricing.
Pro tips
SMS limitations
- Cannot delete sent messages
- No formatting (bold, italic, etc.)
- Links must be typed out fully
- No emojis to maintain cost efficiency
- Cannot make outbound calls (receive only)