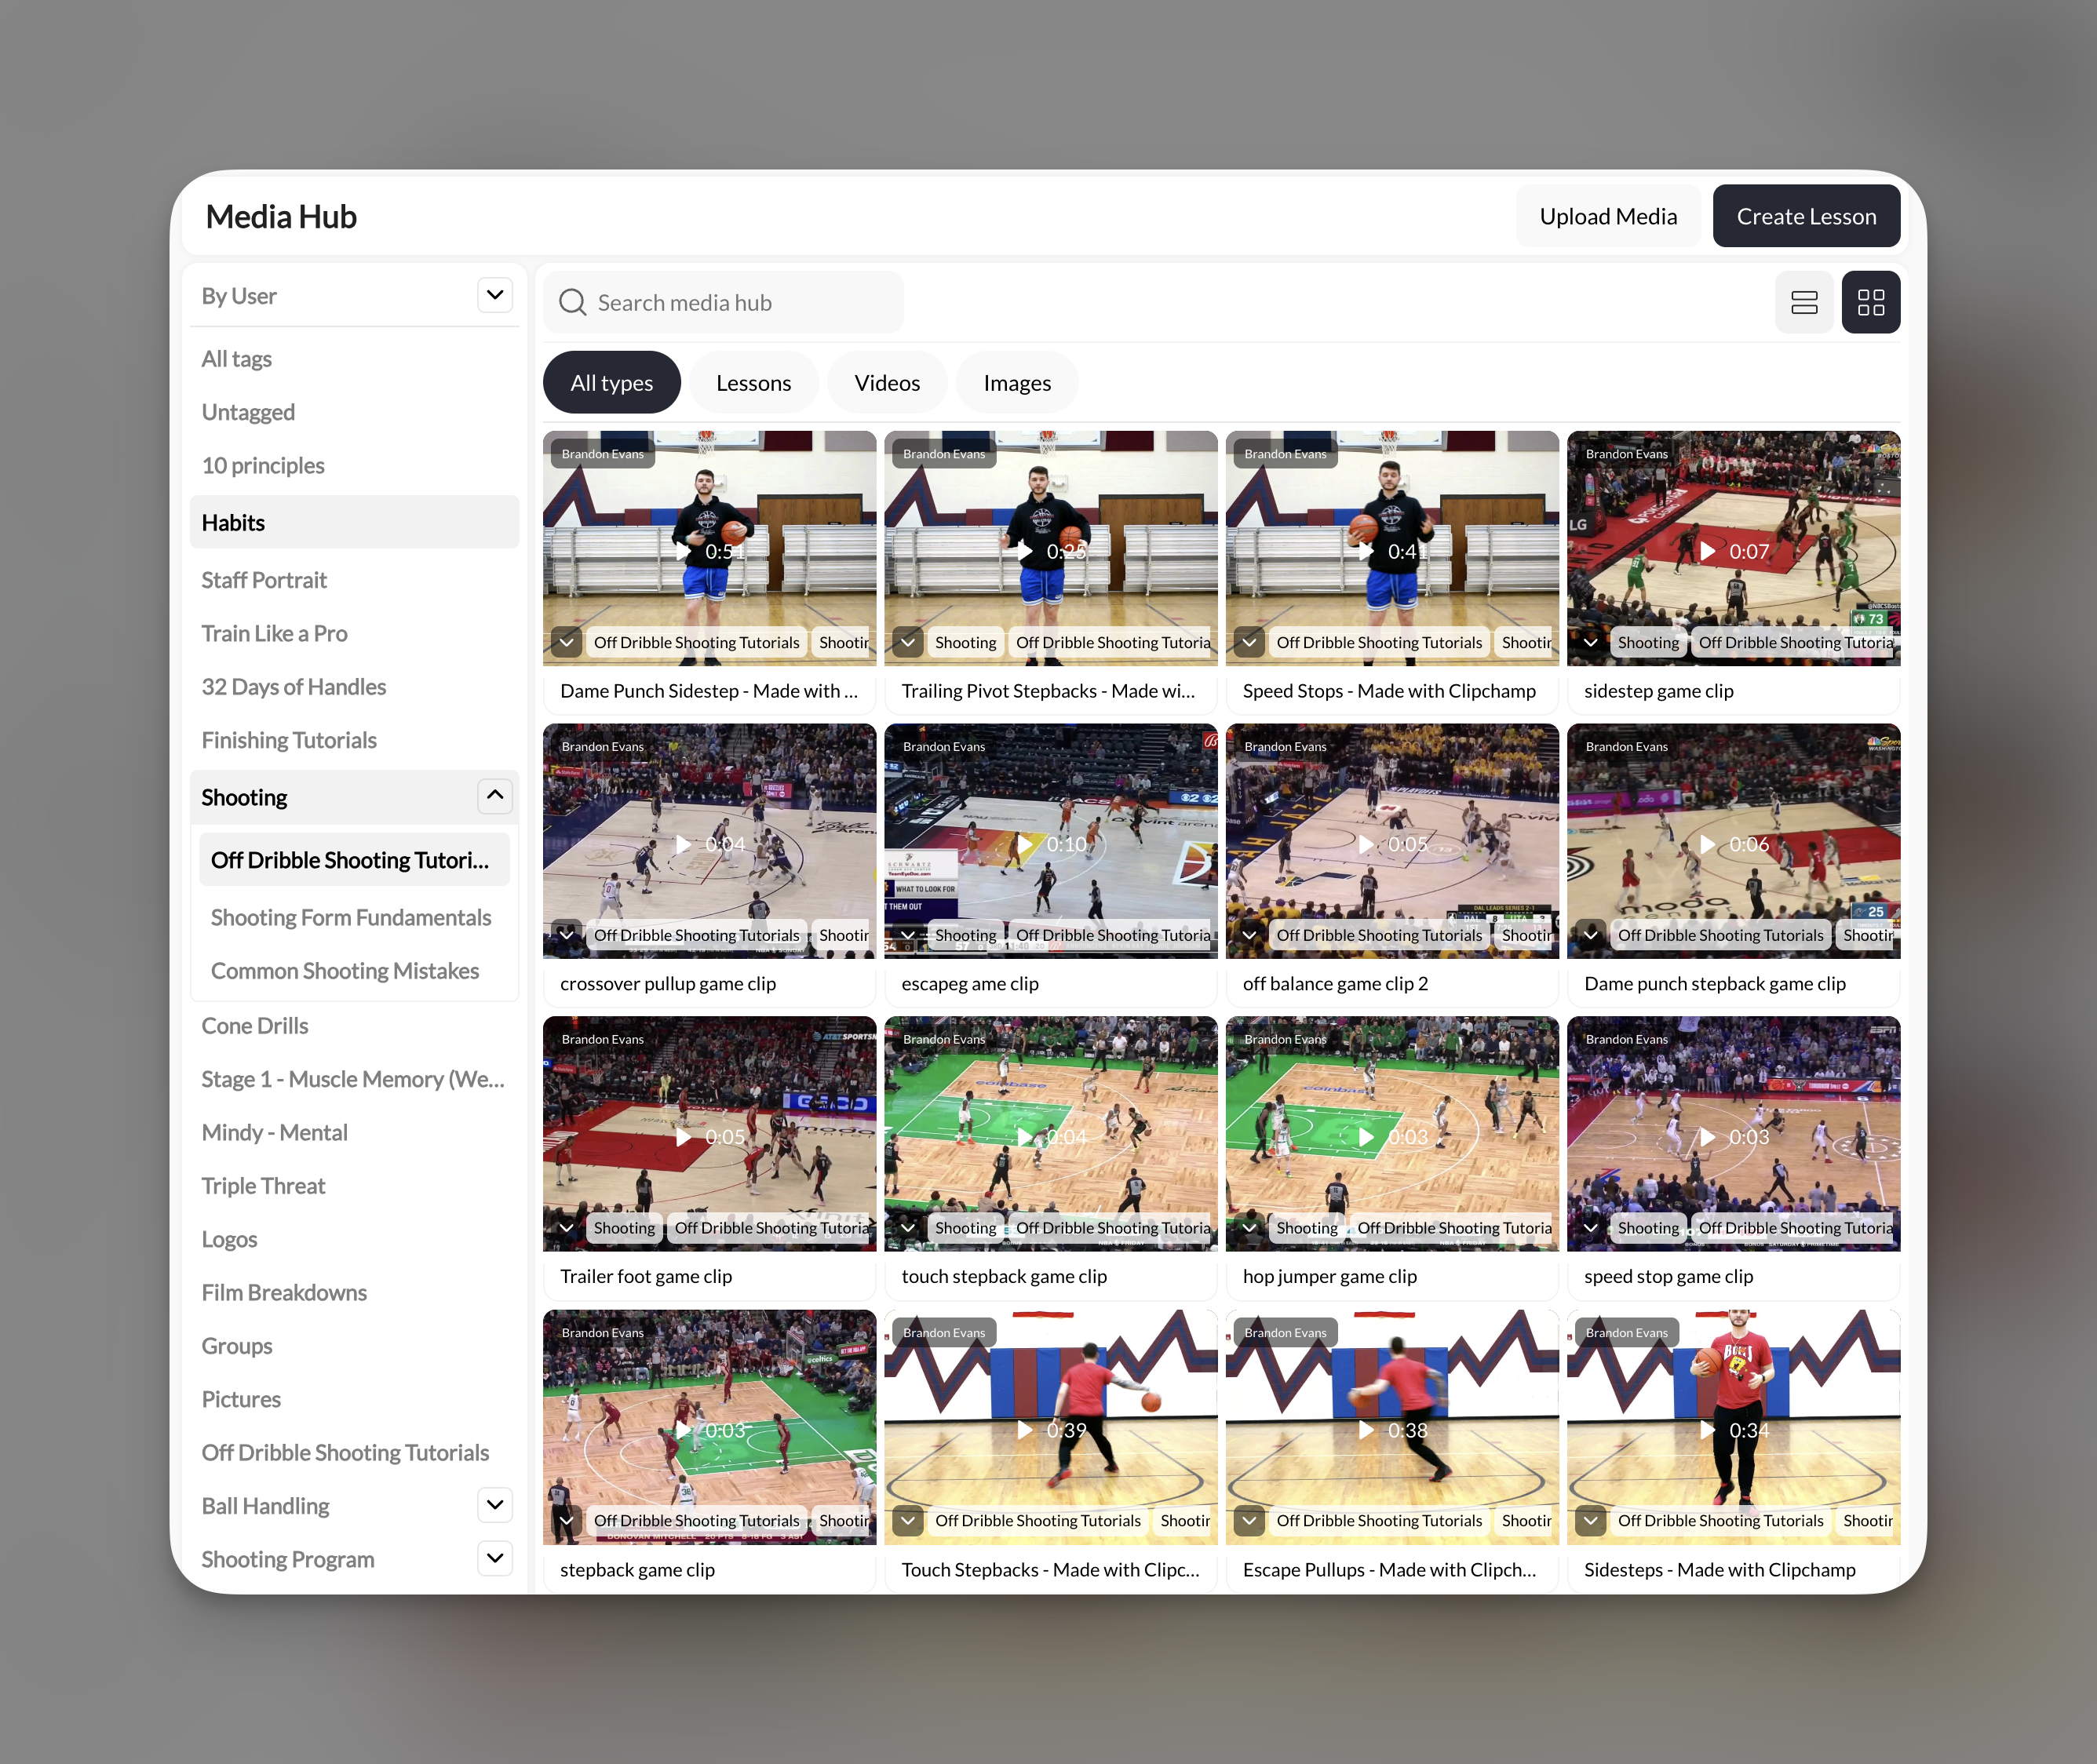
Help Center
Office HoursCoachIQ Login
  • Start Here
    • Quickstart
  • Website
    • Website Overview
    • Pages & Templates
      • Header Navigation and Footer Editing
    • Page Sections
      • Backgrounds in Sections
      • Buttons in Sections
      • Duplicating Sections
      • Scheduling Section
      • Numbered Steps Section
      • Gallery Section
      • Logo Showcase Section
      • Forms Sections
      • Content & Media
      • Features Section
      • Pricing Section
      • Testimonies Section
      • Credibility Section
    • Connecting Your Domain
      • Purchasing a New Domain
      • Connecting a WIX domain
      • Connecting GoDaddy Domain
      • Squarespace Permission Sharing
      • Connecting Namecheap Domain
    • Analytics Tracking
    • Search Optimization
      • Google My Business
      • Apple Maps Listing
      • Keyword Strategy
      • Content Marketing
      • Link Building
    • Get a Professional Email
      • Squarespace
      • GoDaddy
  • Athlete Portal
    • Add Sessions
    • Add Products
    • Add Programs
    • Paywalling Specific Pages
    • Design your Portal
    • Personalized Athlete Portal URL
    • Edit Share Link
    • Athlete Notifications
  • Payment
    • Payment Overview
    • Creating a Product
    • Add Product to a Session
    • Add a Product to a Program
    • Add a Product to a Form
    • Coupons
    • Access Codes
    • Stripe Account
      • Create a Stripe Account
      • Stripe Payout Schedule
    • Connect your Stripe Account
    • Cancel Client Subscription
    • Failed Payment Handling
    • Add Payment Credit to a Customer's Account
    • Update Client Billing Card
    • Managing Subscriptions
    • Stripe Accounts for Multiple Locations
    • Currency Selection
    • Payment FAQ
  • Scheduling
    • Scheduling Overview
    • Create a Session
    • Manually Book Athletes
    • Recurring Bookings
    • Canceling Sessions
    • Credits System
    • Managing Athlete Credits
    • Add Auto-Reminders
    • Overlapping other Sessions
    • Adding & Managing Coaches
    • Black Out Dates
    • Schedule Avaliability
  • Inbox
    • Client Communication Overview
    • Announcements & Emails
    • In App Messaging
    • Texting Clients
      • Create Your Own Business Phone Number
      • Texting Limits & Cost
      • Setting up a Call Redirect Number
  • people
    • Client Management Overview
    • Manage Athlete Credits
    • Import Contacts
    • Adding an Admin
    • Updating User / Admin Info
    • Understanding Groups
    • Reset Password
    • Custom Fields
    • Add Waivers and Liability Forms
    • Managing Customers FAQ
  • Tools
    • Forms Overview
      • Leveraging Forms for Camps
      • Athlete Onboarding Wavier Form
      • Sharing Form Options
      • Add Payments to Forms
      • Require Login/Sign up to Forms
    • How to Create Automations in CoachIQ
      • Using Webhooks in CoachIQ
      • Integrate with Zapier
    • QR Codes in CoachIQ
  • Video
    • Media Hub Overview
      • Adding & Managing Tags
      • Sharing Media as Links
      • Uploading Media
      • Downloading Media
      • Compress Files
      • Deleting Multiple Files
      • Media Organization Examples
    • Virtual Programs Overview
      • Creating a Program
      • Sharing Programs
      • Sharing Programs Privately
      • Paywalling a Program
      • Editing Thumbnails
      • Viewing Users Stats
      • Coach Examples
    • Video Lessons Overview
      • Adding a Lesson to a Program
      • Lesson Best Practices
    • Video Analysis Overview
      • Record and Create a New Video
      • Running a Live Zoom
      • Take a Screenshot
      • Switching Clips
      • Split Screen
      • Other Coach Examples
  • Advanced
    • Migrating from Stripe Express to a Regular Stripe Account
    • Transfer from Wix Subscriptions
    • How to Launch Facebook Ads with CoachIQ
    • How to Warm Up Your Email with CoachIQ Leads
    • Personalized IOS App Benefits
    • Personalized IOS App Set Up
      • Update Apple Agreements
    • Billing Info
Powered by GitBook
On this page
  • Introduction
  • Steps to Compress Files Using HandBrake
  • Steps to Upload the File to the CoachIQ Media Hub
  • Troubleshooting or FAQs
  • Conclusion
  1. Video
  2. Media Hub Overview

Compress Files

Learn how to compress files using the open-source software HandBrake and upload your content to the CoachIQ media hub. Follow this step-by-step guide to optimize your files.

PreviousDownloading MediaNextDeleting Multiple Files

Last updated 4 months ago

Introduction

This guide will help you compress video files using HandBrake, a free, open-source software, to reduce their size while maintaining quality. You’ll also learn how to upload the compressed files to the CoachIQ media hub.

Steps to Compress Files Using HandBrake

Step 1: Download and Install HandBrake

  1. Download the software:

    • Click the Download button for your operating system (Windows, macOS, or Linux).

  2. Install HandBrake:

    • Open the downloaded file and follow the on-screen instructions to install HandBrake.

Step 2: Open HandBrake and Load Your Video File

  1. Launch HandBrake:

    • Open the application after installation.

  2. Load your video file:

    • Click the Open Source button at the top left of the interface.

    • Select the video file you want to compress from your computer.

Step 3: Configure Compression Settings

  1. Choose a preset:

    • On the right side, select a preset that matches your needs. For example, choose Fast 1080p30 for a good balance of quality and compression.

  2. Adjust video settings:

    • In the Video tab, set the Constant Quality slider to a lower value (e.g., 20-23) to reduce file size without significant quality loss.

    • Adjust the Frame Rate (FPS) to match your source or set it to 30 FPS for most standard videos.

  3. Select output format:

    • Ensure the output container is set to MP4 for compatibility with CoachIQ.

Step 4: Compress and Save the File

  1. Choose a destination:

    • Under the Save As field, click Browse to select a folder and name your compressed file.

  2. Start compression:

    • Click the Start Encode button at the top to begin compressing your file.

    • Wait for the process to finish; the duration depends on your file size and system performance.

Step 5: Test Your Compressed File

  • Play the compressed video file to ensure the quality is acceptable. If needed, tweak the settings and re-encode the file.

Steps to Upload the File to the CoachIQ Media Hub

Step 1: Log in to CoachIQ

  1. Go to the CoachIQ login page.

  2. Enter your credentials and log in.

Step 2: Access the Media Hub

  1. Navigate to the Media Hub section from the main dashboard.

Step 3: Upload Your Video

  1. Click the Upload File button.

  2. Drag and drop your compressed file into the upload area or click to browse for it.

  3. Wait for the upload to complete. Once done, the file will be available in your media library for use.

Troubleshooting or FAQs

  • Q: My file is still too large after compression. What should I do?

    • A: Lower the Constant Quality slider in HandBrake or reduce the resolution (e.g., from 1080p to 720p).

  • Q: The video quality is too low. How can I improve it?

    • A: Increase the Constant Quality value or use a slower preset like HQ 1080p30 in HandBrake.

  • Q: I can’t upload my file to CoachIQ. What’s wrong?

    • A: Ensure the file is in MP4 format and meets CoachIQ’s maximum file size requirements. Contact support if issues persist.

Conclusion

Compressing files using HandBrake ensures your videos are optimized for upload to CoachIQ, saving storage and improving loading times.

Visit the HandBrake website: Go to .

https://handbrake.fr/