Introduction
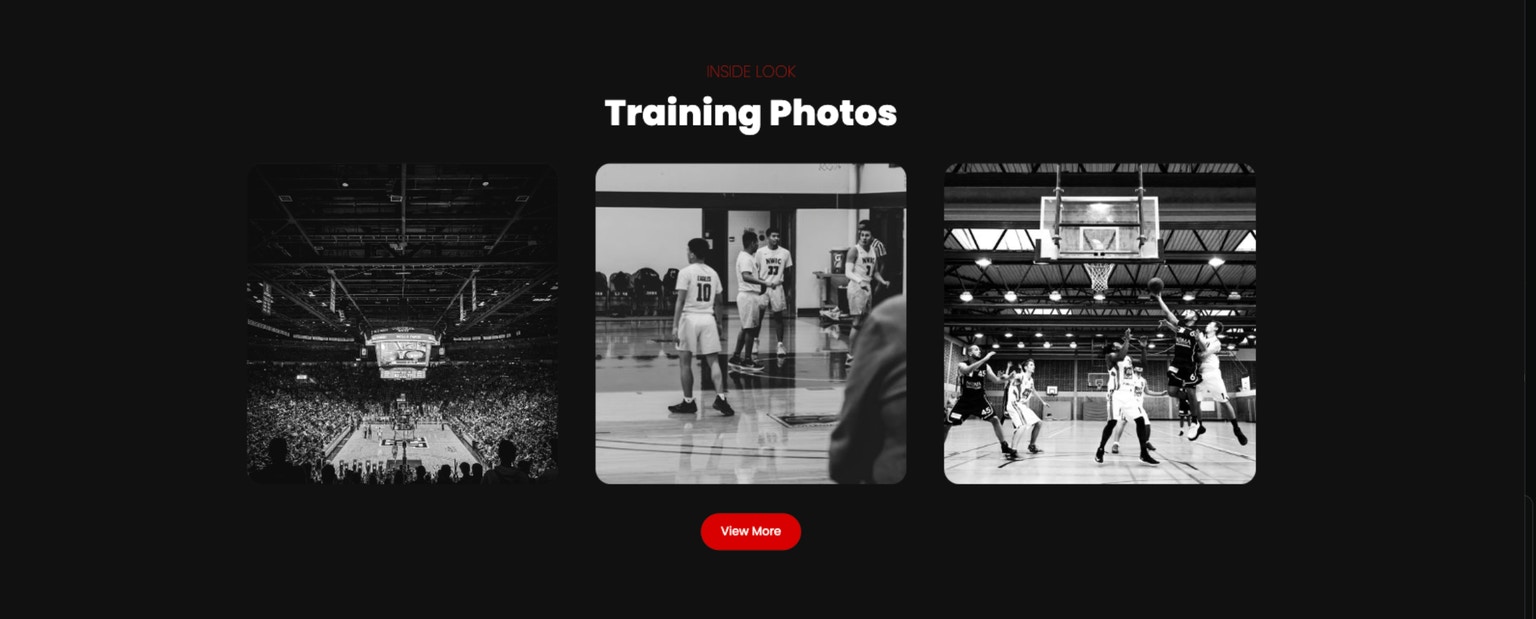
The Gallery Block in the CoachIQ website builder allows you to display a collection of images in a customizable layout. This guide will walk you through adding, customizing, and managing your gallery to enhance your website’s visual appeal.Adding a Gallery Section
- Open the website builder.
- Click
Add Section. - Select
CoachIQ Gallery. - The gallery section will appear at the bottom of the page.
- Click and drag the section to reposition it where you want.
Uploading and Managing Images
- Click on the gallery section to open its settings.
- Click the Edit (pencil icon).
- Upload new images or select from existing media.
- Create a tag for your images (e.g.,
Homepage Gallery). - Apply the created tag to the uploaded images.
Displaying Tagged Images
- Close the image uploader.
- Enter your created tag under Search Media Tags.
- The gallery will automatically populate with images associated with that tag.
Customizing the Gallery Layout
- View More Option: Allows users to scroll through more images.
- Columns & Image Size:
- Adjust the number of columns displayed.
- Modify the spacing between images.
- Resize images as needed.
- Border Radius:
- Set the border radius to change image shape.
- Set to
0for square images or increase for rounded edges/circles.
- Static Grid Mode:
- Enable to display all images at once, disabling the View More function.
Publishing Your Gallery
- After customizing, click
Publish. - Your gallery is now live on your website.
Troubleshooting
- Images Not Showing?
- Ensure the correct tag is applied and entered in Search Media Tags.
- Gallery Section Not Moving?
- Refresh the page and try dragging the section again.
- Changes Not Applying?
- Make sure to click
Publishafter making updates.
- Make sure to click