Scheduling Blocks in CoachIQ
Introduction
This feature is ideal for hosting events, running camps, and addressing various scheduling needs on your webpage. This guide will walk you through the process of adding and customizing a scheduling block, helping you make the most of this powerful feature.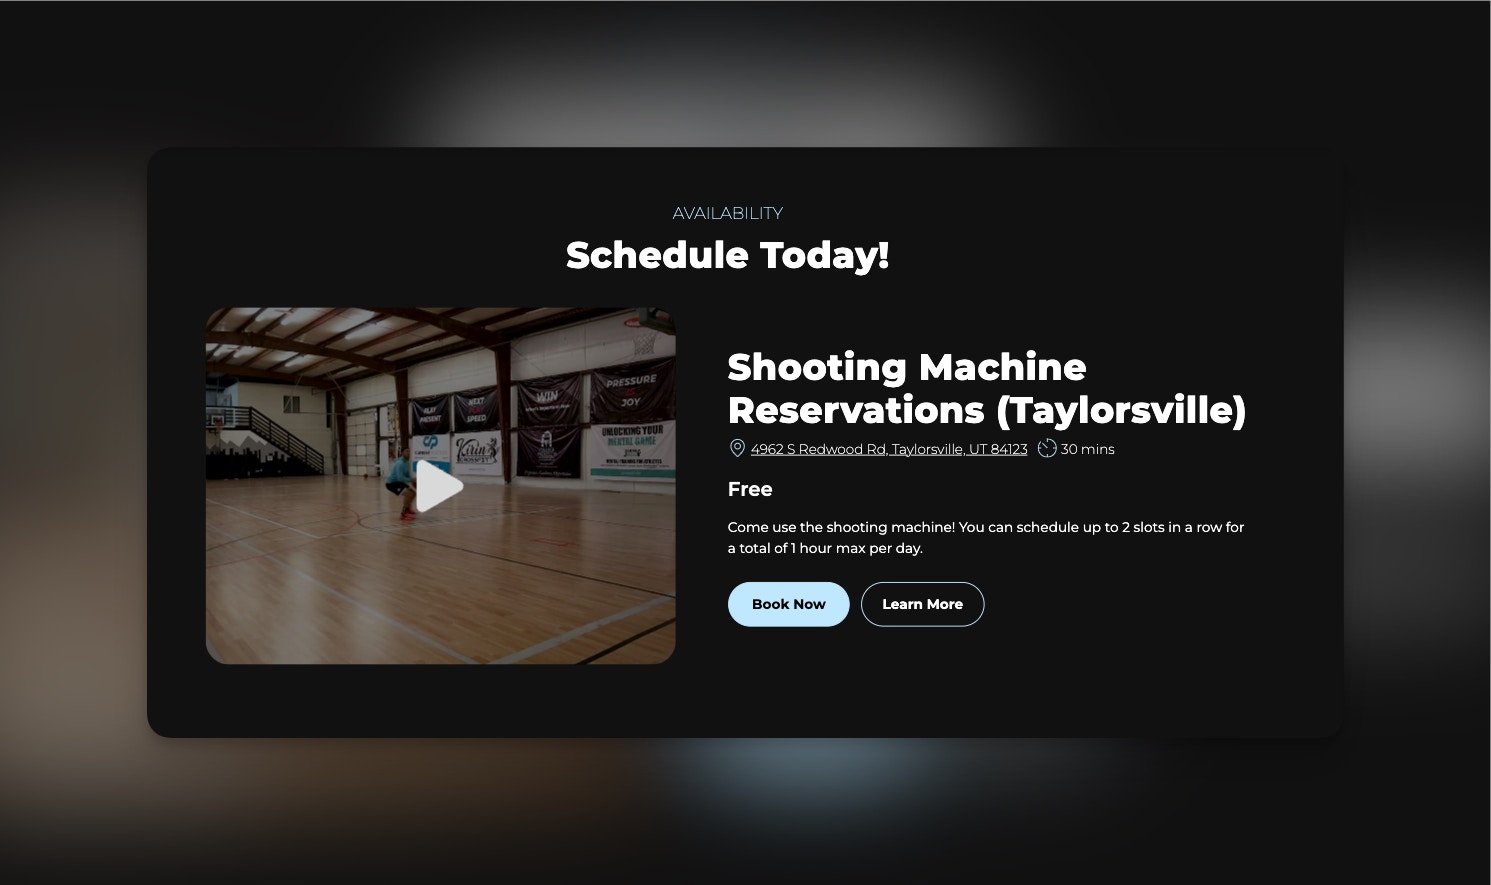
Adding a Scheduling Block
To add a scheduling block in CoachIQ, follow these steps:- Navigate to the Scheduling Section: Begin by accessing the scheduling section within your CoachIQ account.
- Edit the Block via the Sidebar: Use the sidebar to locate and edit the scheduling block options.
- Click on “Add a Schedule”: Initiate the scheduling process by selecting the option to add a new schedule.
Selecting a Session
When selecting a session for your scheduling block, you have two options:- Select from Sessions Built within CoachIQ: Choose from pre-existing sessions that are already configured in CoachIQ.
- Create a Custom Session: Alternatively, design a custom session tailored to your specific needs.
Customizing the Scheduling Block
Session Selection
- Choose Your Session: For instance, selecting the “shooting machine” session will automatically fill in all relevant information from that session.
Button Functionality
- “Book Now” Button: This button directs users to book the selected session.
- “Learn More” Button: Offers users an expanded description of the session, providing additional context and information.
Additional Features
- Media Addition: Enhance your scheduling block by adding media, such as videos or photos, which is particularly useful for events like camps.
- Information Editing: Customize various aspects of the session, including the title, location, and other pertinent details.
- Button Customization: By default, the button links to the selected session, but you can modify the destination to suit your needs.
Use Cases
This scheduling block feature is particularly beneficial for:- Running camps and workshops
- Hosting sessions directly on your webpage
- Addressing a variety of scheduling requirements