Where to find this: Dashboard → Website Builder → Pages (left sidebar)
Understanding your coaching website structure
Your CoachIQ website uses a hierarchical page structure that makes it easy for athletes and parents to find information about your coaching services. Pages can be standalone or organized as parent pages with subpages, creating logical navigation paths.Parent Pages
Main categories like “Training Programs” or “Services”
Subpages
Specific offerings like “Basketball Skills” or “Group Training”
Templates
Pre-built page layouts for different coaching content
Managing your website pages
Accessing your pages
1
Navigate to Website Builder
From your CoachIQ dashboard, click **Edit **under the **CoachIQ Site **section to access your site management tools.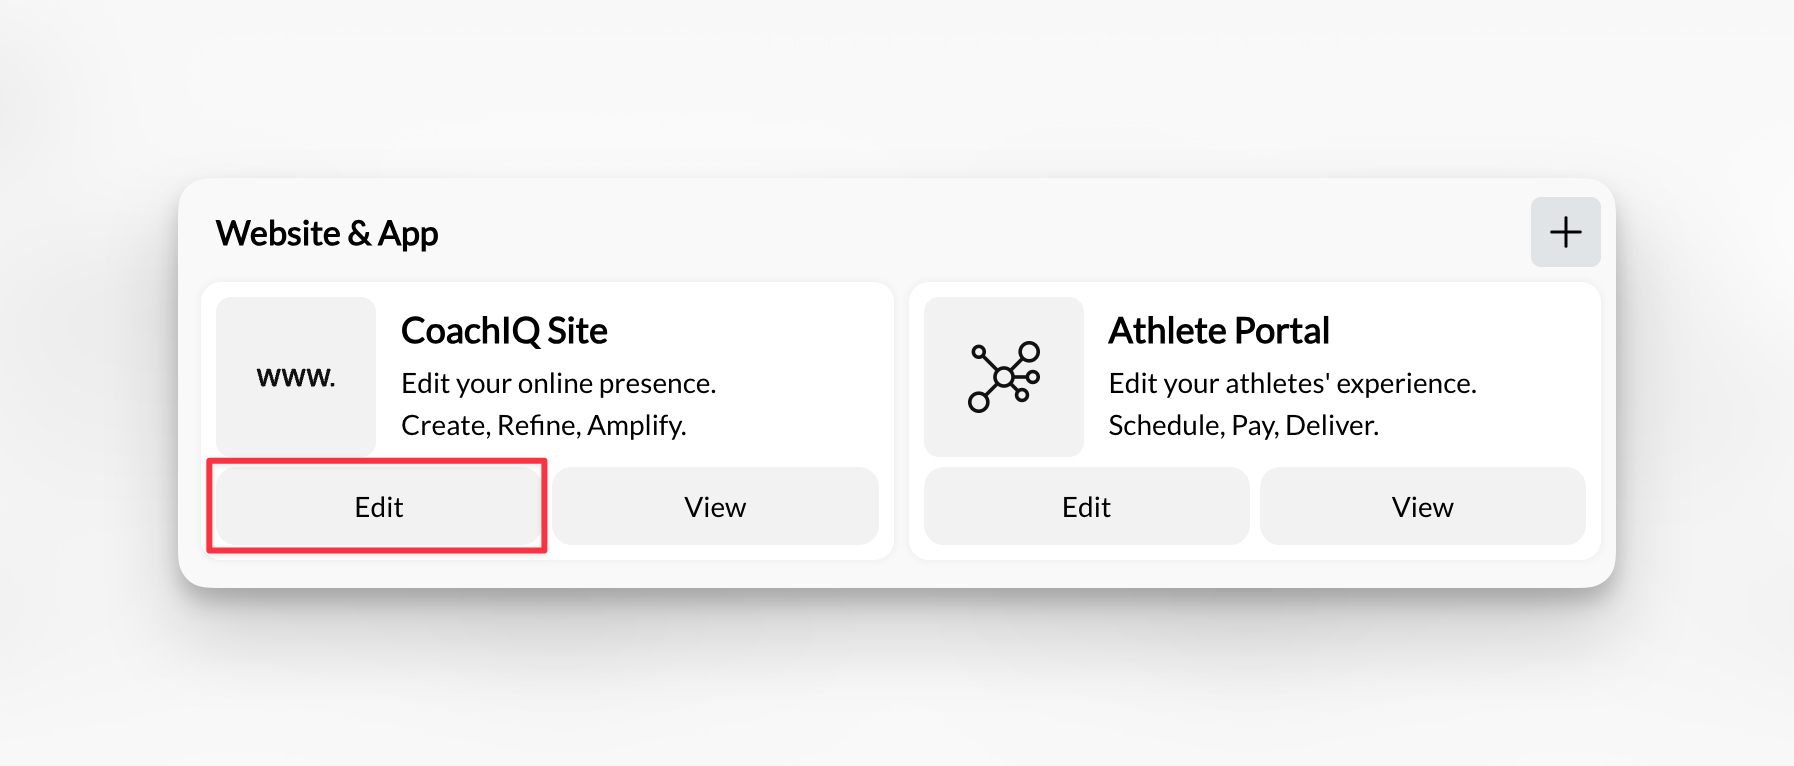
2
View your pages list
In the left sidebar, you’ll see Pages with a dropdown arrow. Click to expand and view all your current pages.
Default pages: Most coaching websites start with Home and About pages, which we create during your initial website build.
3
Switch between pages
Click any page name to switch to editing that page. The page name will appear at the top of the builder interface.
Success indicator: You’ll see the selected page name displayed prominently at the top of the interface.
Creating new pages for your coaching website
Adding a new page
1
Click Add New Page
In the Pages section of the left sidebar, click the Add New Page button to open the page creation dialog.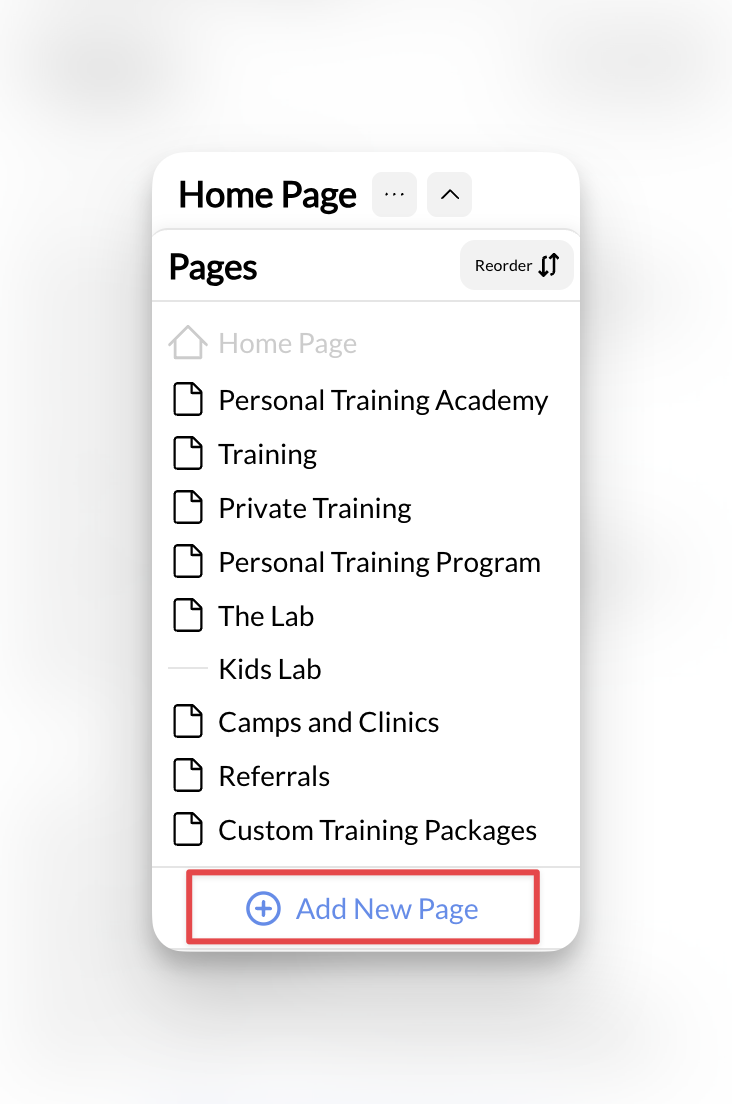
2
Configure your new page
Fill out the page creation form with your coaching content details:Required fields:
- Page Title: What visitors see (e.g., “Basketball Skills Training”)
- Page Slug: URL-friendly version (automatically generated)
- Parent Page: Select if this is a subpage, or leave blank for main page
- Page Template: Choose the layout that fits your content type
3
Select the right template
Choose from coaching-specific templates:
- Default: Basic page layout for general content
- Training Programs: Showcases your coaching services
- About: Perfect for coach biography and credentials
- Contact: Contact forms and location information
4
Create and publish
Click Create New Page to generate your page, then Publish to make it live on your coaching website.
Page created: Your new page appears in the pages list and is ready for content editing.
Setting up page hierarchy and templates for coaching services
Understanding page templates
Page templates provide pre-built layouts optimized for different types of coaching content. Each template includes relevant sections and structure for specific purposes:- Training Programs
- About Templates
- Contact Templates
- Default Template
Best for: Service pages, program overviews, training offerings
- Hero section with program highlights
- Service description areas
- Pricing displays
- Call-to-action buttons for booking
Creating parent and subpages
Many coaches benefit from organizing services into logical groups. Here’s how to structure your offerings:- Training Programs Structure
- About Structure
- Services Structure
Training Programs (Parent Page)
- In-Person Training
- Online Coaching
- Group Sessions
- One-on-One Training
Frequently asked questions
How many pages should my coaching website have?
How many pages should my coaching website have?
Most successful coaching websites have 5-10 pages total. Start with essential pages (Home, About, Services, Contact) and add specialized pages as your business grows. Focus on quality content that serves your athletes and parents rather than creating many pages with thin content.
Can I delete pages after creating them?
Can I delete pages after creating them?
Yes, you can delete pages through the page management interface. However, be careful not to delete pages that are linked in your navigation menus, scheduling system, or payment products. Always update your navigation and remove internal links before deleting pages.
What's the difference between page templates?
What's the difference between page templates?
Templates provide pre-built layouts optimized for different content types. “Training Programs” templates include sections for service descriptions, pricing, and booking buttons. “About” templates focus on coach credentials and philosophy. “Contact” templates emphasize forms and location information. Choose the template that best matches your page’s purpose.
Ready to build your coaching website structure?
Learn About Page Sections
Discover how to customize content within your pages using CoachIQ’s section system
Domain Setup Guide
Connect your custom coaching domain once your pages and navigation are configured
SEO & Marketing
Optimize your website structure for search engines and local discovery
Analytics & Tracking
Set up tracking to measure how visitors navigate your coaching website