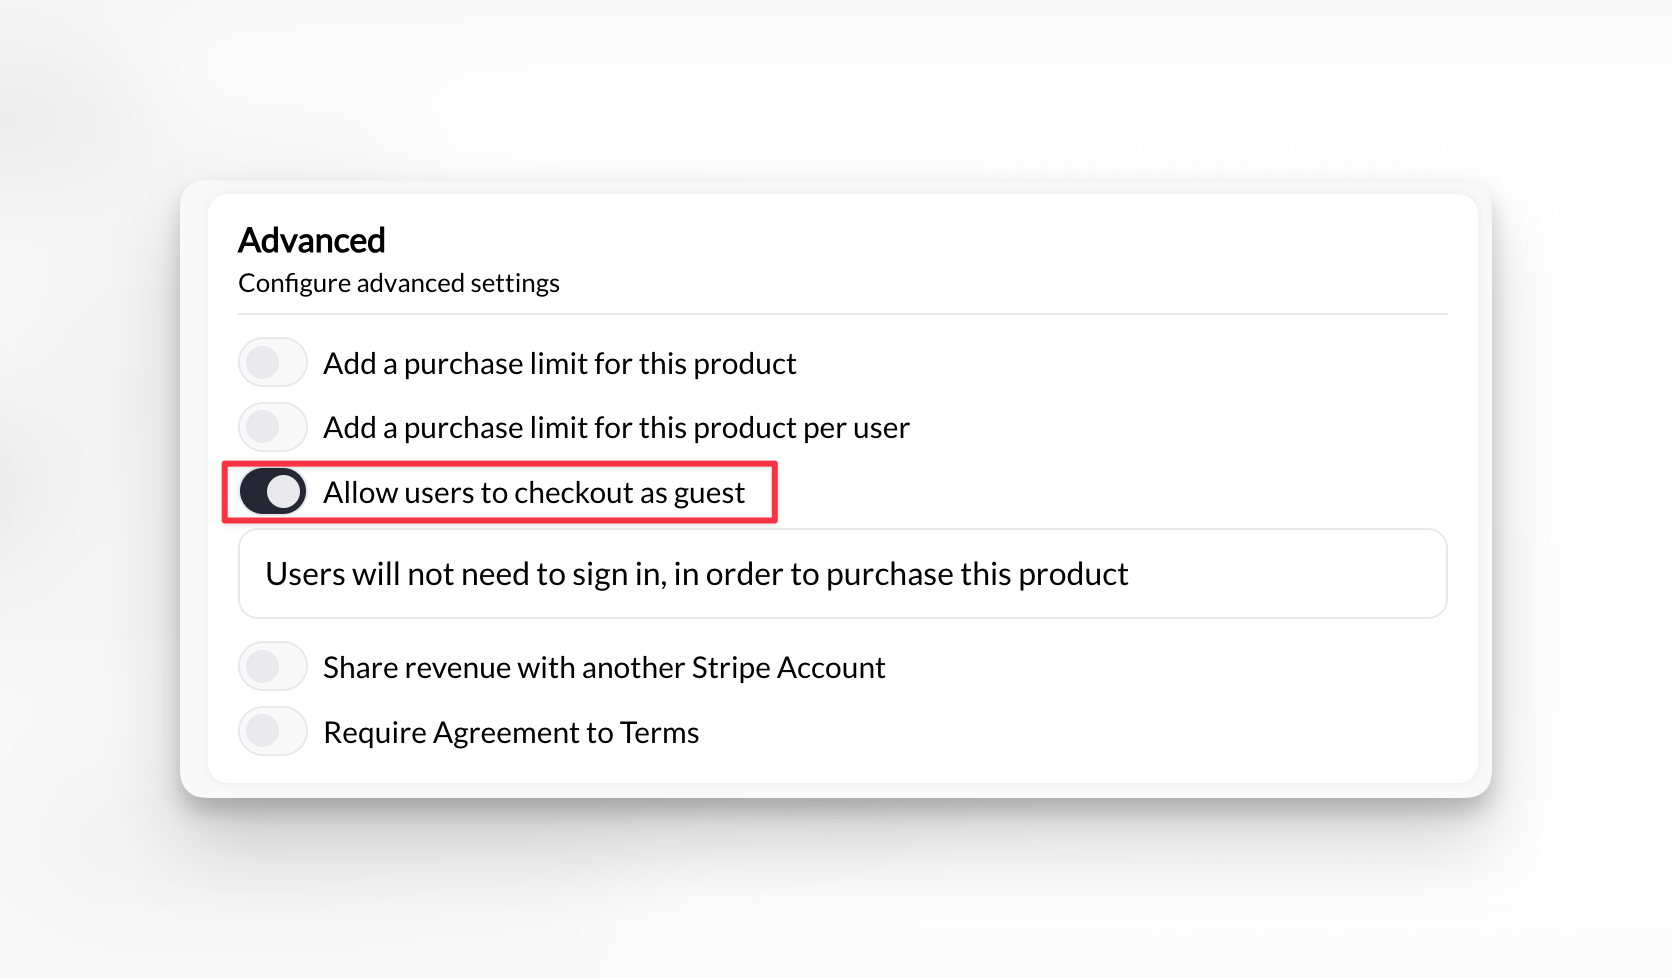

Where to find this: Products: Product Builder → Section 6 (Advanced Settings) → Guest Checkout. Schedulers: the guest checkout setting in the scheduler builder (see Guest checkout for schedulers).

What guest checkout is

Guest checkout lets people pay with just their contact and payment details - no account creation required. It exists in two places:
  • Products - a toggle on each product, for merchandise, event fees, and other one-off sales.
  • Schedulers - a toggle on each scheduler, so someone can book an intro call or trial session straight from an ad, a quiz funnel, or your website without hitting a login wall.
With guest checkout enabled:
  • Guest enters name and email
  • Guest enters payment details
  • Purchase or booking completes
  • No password or portal login is created
With guest checkout disabled (default):
  • Person must create a CoachIQ account (or log in)
  • Account required before checkout
  • Person gets Athlete Portal access

When to enable guest checkout

Sales and bookings that don’t need ongoing access:Merchandise or equipment sales
  • T-shirts, gear, supplements
  • One-time physical products
  • No need for portal access
One-time workshops or events
  • Single-session clinics
  • Drop-in classes
  • Public seminars
Intro calls and trial sessions (schedulers)
  • The first touch in a marketing funnel
  • Free or paid trial sessions
  • Anyone landing from an ad or your website can book immediately
Non-client purchases
  • Community members
  • One-time visitors
  • People who won’t book again
Gift purchases
  • Someone buying for another person
  • No need for buyer to have account
Enable guest checkout when you’re selling to the general public, not just your established client base. For a funnel, put guest checkout on the intro-call scheduler and keep it off everything that comes after.

Enable guest checkout on a product

1

Open Product Builder

Go to Payments → Products and either:
  • Click + Create Product for new product
  • Click existing product to edit
2

Navigate to Advanced Settings

Scroll to Section 6: Advanced Settings
3

Toggle guest checkout ON

Find Guest Checkout toggle and switch to ON.
Guest checkout toggle in CoachIQ Product Builder advanced settings
4

Save product

Click Create.
Guest checkout enabled. People can purchase without creating an account.

Guest checkout for schedulers

Schedulers have their own guest checkout setting, separate from any product. Turn it on and anyone who reaches the scheduler - from your booking page, your website, or a link in an ad - can reserve a time without logging in.
1

Open the scheduler

Go to Schedule → Schedulers and open the scheduler you want to open up (typically an intro call or trial session).
2

Turn on guest checkout

In the scheduler builder, switch the guest checkout setting ON and save.
3

Share the scheduler link

Use the scheduler’s link or embed it on your website. Visitors book without being asked to create an account.
Guest booking enabled. The login step is skipped for this scheduler only.
What a guest provides when booking:
  • Name and email (and phone, if the scheduler asks for it)
  • Payment details, if the scheduler is paid
  • Any form connected to the scheduler is still completed
What you see:
  • The booking appears on your calendar with the guest’s name and contact details
  • The guest is not added to your client list and has no portal login
  • For a paid scheduler, the payment appears in Payments → Transactions like any other
Guest bookings are best for the first session. Once someone becomes a client, have them create an account so they can reschedule, use credits, and receive reminders in the portal. Booking schedulers only accept guests when this setting is on; a scheduler with guest checkout off still requires login even if the attached product allows guests.
Scheduler payment settings (free, price, or credits) are covered in Setting up payment options.

What guests provide at checkout

Required information: NOT required:
  • Password
  • Phone Number (unless the scheduler or form asks for it)
  • Account creation
  • Profile setup
Minimal friction checkout. Faster for one-time buyers who don’t need ongoing access.

What guests receive

After purchase or booking: Email receipt
  • Payment confirmation
  • Purchase details
  • Transaction amount
Product, booking, or access (if applicable)
  • Booking confirmation for a guest-enabled scheduler
  • Event confirmation if workshop/clinic
No Athlete Portal access
  • Can’t log into CoachIQ
  • Can’t view purchase history
  • Can’t manage account or reschedule from the portal
No credits
  • Even if product issues credits
  • Credits require account to track and use
No booking on other schedulers
  • Only schedulers with guest checkout ON can be booked as a guest
  • Everything else still asks for an account

What you see

In your Transactions:
  • Guest purchases appear normally
  • Transaction recorded with email
  • Payment processed successfully
In your client list:
  • Guest does NOT appear as client
  • No profile created
  • Email captured but not as full client record
On your calendar (scheduler guests):
  • The booking shows with the guest’s name and email
  • Treat it like any other booking for check-in, cancel, or reschedule
Guest transactions are tracked for your records, but the guest doesn’t become a full client in your system.

Guest checkout flow

1

Guest selects product or time

Guest finds the product on your booking page or website, or picks a time on a guest-enabled scheduler.Clicks purchase, buy, or book.
2

Guest enters name & email

Checkout form asks for name and email address.No “create password” field appears.
3

Guest enters payment

Guest provides payment details (skipped for a free scheduler).Standard Stripe payment form.
4

Purchase or booking completes

Transaction processes immediately.Guest receives email receipt or booking confirmation.
Complete. Guest paid or booked, you received the order, no account created

Guest vs. account checkout comparison

Next steps

  1. Product Builder - Complete Product Builder guide
  2. Processing fees - Configure who pays Stripe fees
  3. Setting up payment options - Free, priced, or credit-based schedulers