Once you’ve requested your Personalized App, this guide walks you through everything needed to get it built, approved, and live on the App Store. If you haven’t requested one yet, start with the Personalized App overview.
How it works: You set up an Apple Developer account and invite CoachIQ to it. From there, CoachIQ builds, submits, and maintains your branded app.

What You’ll Need

Before getting started, have these ready:
  • A credit card for the Apple Developer Program fee ($99/year, paid directly to Apple)
  • Your business’s legal name and D-U-N-S number (required for Organization enrollment)
  • Your coaching brand assets: high-resolution logo, brand colors (hex codes), app icon
  • Access to your business email

Setup Process

1

Request the Personalized App

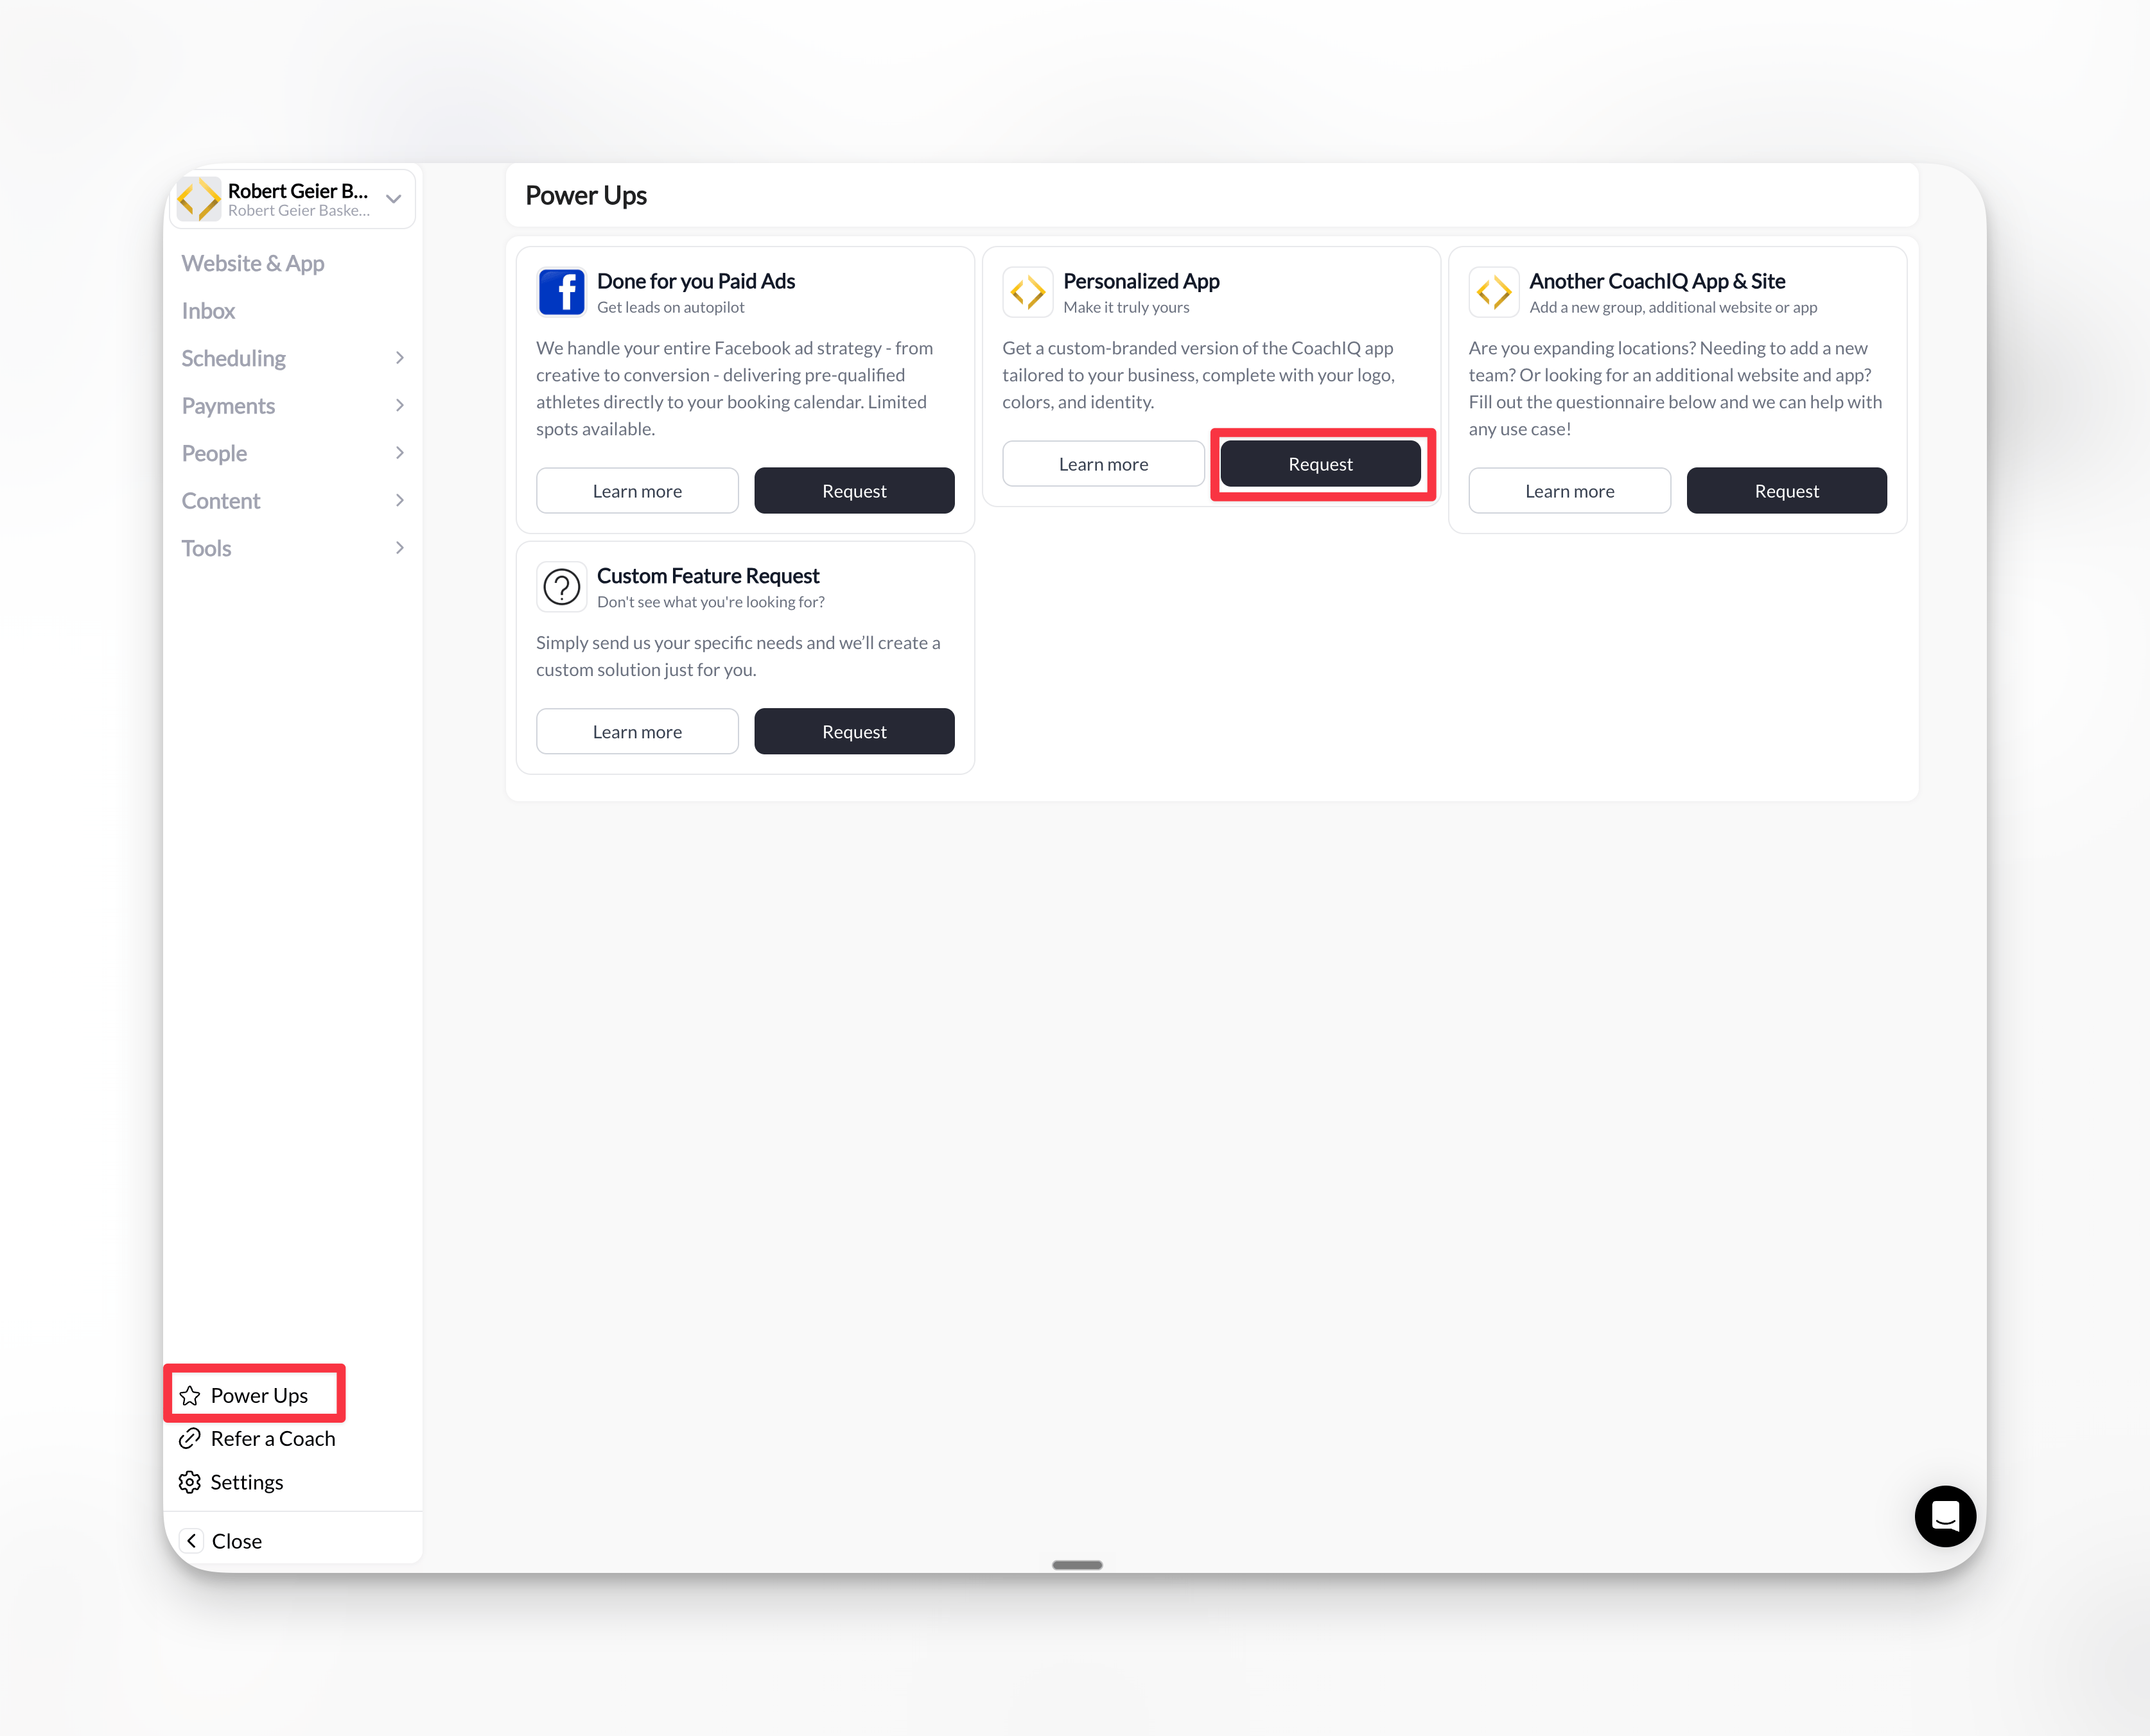
In your CoachIQ admin, go to Power-Ups in the bottom-left sidebar. Find the Personalized App card and click Request.
CoachIQ admin Power-Ups page with Personalized App Request button highlighted
Have your brand colors (hex codes), high-resolution logo, and app store description ready before submitting your request.
2

Create your Apple Developer account

You’ll need an Apple Developer account enrolled as an Organization (not Individual) to publish your branded app.

Enrollment steps

  1. Create a free Apple Developer account: Go to developer.apple.com, click Account, and sign in with your Apple ID
  2. Enroll in the program ($99/year): Click Join Apple Developer ProgramEnrollStart Enrollment
  3. Select Organization as your entity type: Enter your company information and submit your application
  4. Wait for Apple’s approval: Apple will verify your information and send an email with your enrollment status
  5. Complete your enrollment: After approval, log in to Apple Developer and access App Store Connect
Important: Enable auto-renewal for your Apple Developer membership to prevent app interruptions. Complete any verification steps Apple requests after enrollment.
Need detailed guidance? Review Apple’s official Enrolling as an Organization guide before starting.
3

Invite CoachIQ to your Apple Developer account

Grant CoachIQ the access needed to build and publish your app.

How to send the invitation

  1. Sign in to developer.apple.com with your Apple ID
  2. Click the Account tab, then select Users and Access from the sidebar
  3. Click the + button to add a new user
  4. Enter the CoachIQ developer email: dev@coachiq.io
  5. Configure the following permissions:
    • Role: Admin
    • Access to Certificates, Identifiers & Profiles: ✓ Enabled
  6. Click Invite to send the invitation
Invitation sent! CoachIQ will receive an email from Apple and accept the invitation to begin building your app.
4

Provide your brand assets

Our team will reach out to collect:
  • Your logo (high-resolution)
  • Brand colors (hex codes if you have them)
  • Business name as you want it to appear
  • A brief description of your business
We’ll handle the rest, including designing your App Store screenshots and listing.

What Happens Next

After you complete the steps above:
  1. We build your app — Our team creates your branded iOS app using your submitted assets
  2. You review the test version — We’ll push a test build directly to your device for approval
  3. App Store submission — Once you approve, we submit your app to Apple for review
  4. Launch — After Apple approves (typically 1–3 days), your app goes live on the App Store
Timeline: The complete process takes approximately 30 days from request to live app.

Common Questions

Organization accounts allow you to transfer app ownership, add team members, and present your business professionally in the App Store. Individual accounts are tied to a single person and have limitations for business use.
A D-U-N-S number is a unique nine-digit identifier for businesses issued by Dun & Bradstreet. Apple requires this for Organization enrollments. You can request a free D-U-N-S number through Apple’s lookup tool if you don’t have one.
Go to Users and Access in your Apple Developer account. If the status shows “Pending” next to dev@coachiq.io, the invite hasn’t been accepted yet. Allow 1–2 business days for our team to accept.
Your app will be removed from the App Store until you renew. Enable auto-renewal in your Apple Developer account to prevent interruptions.

Troubleshooting

Common reasons include: mismatched business name with D-U-N-S records, incomplete business registration, or missing verification documents. Contact Apple Developer Support for specific guidance on your rejection.
Ensure you’re signed in at developer.apple.com (not App Store Connect) and that your enrollment is fully approved. The Users and Access option only appears after your membership is active.
Double-check you entered dev@coachiq.io exactly. If the issue persists, contact CoachIQ support and we’ll provide an alternative email address.