Documentation Index
Fetch the complete documentation index at: https://help.coachiq.io/llms.txt
Use this file to discover all available pages before exploring further.
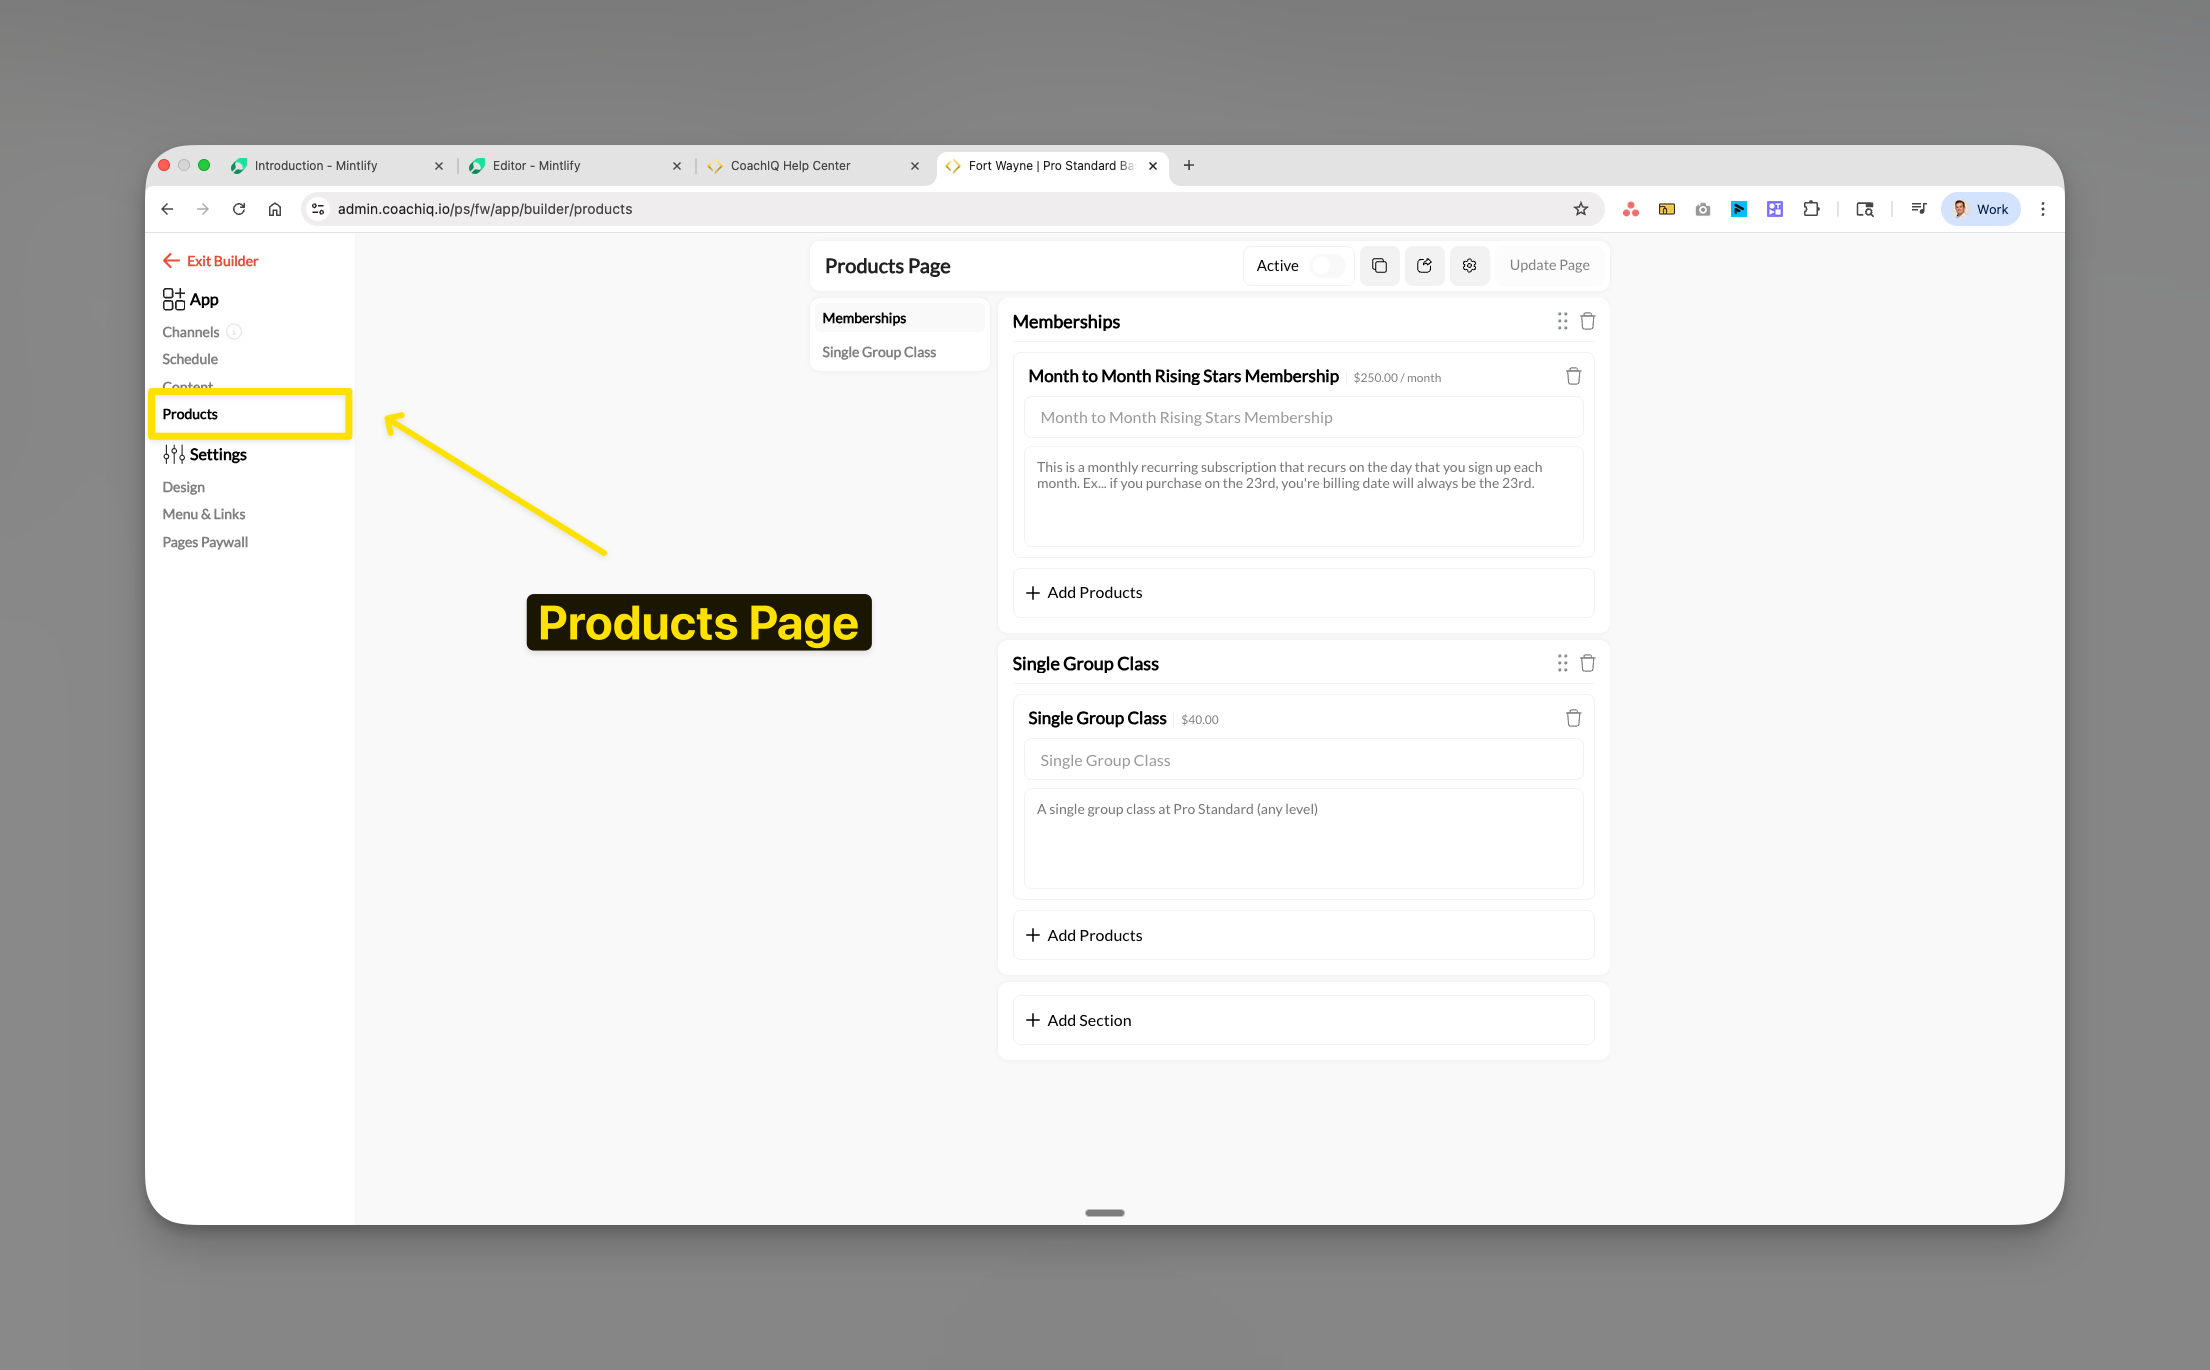
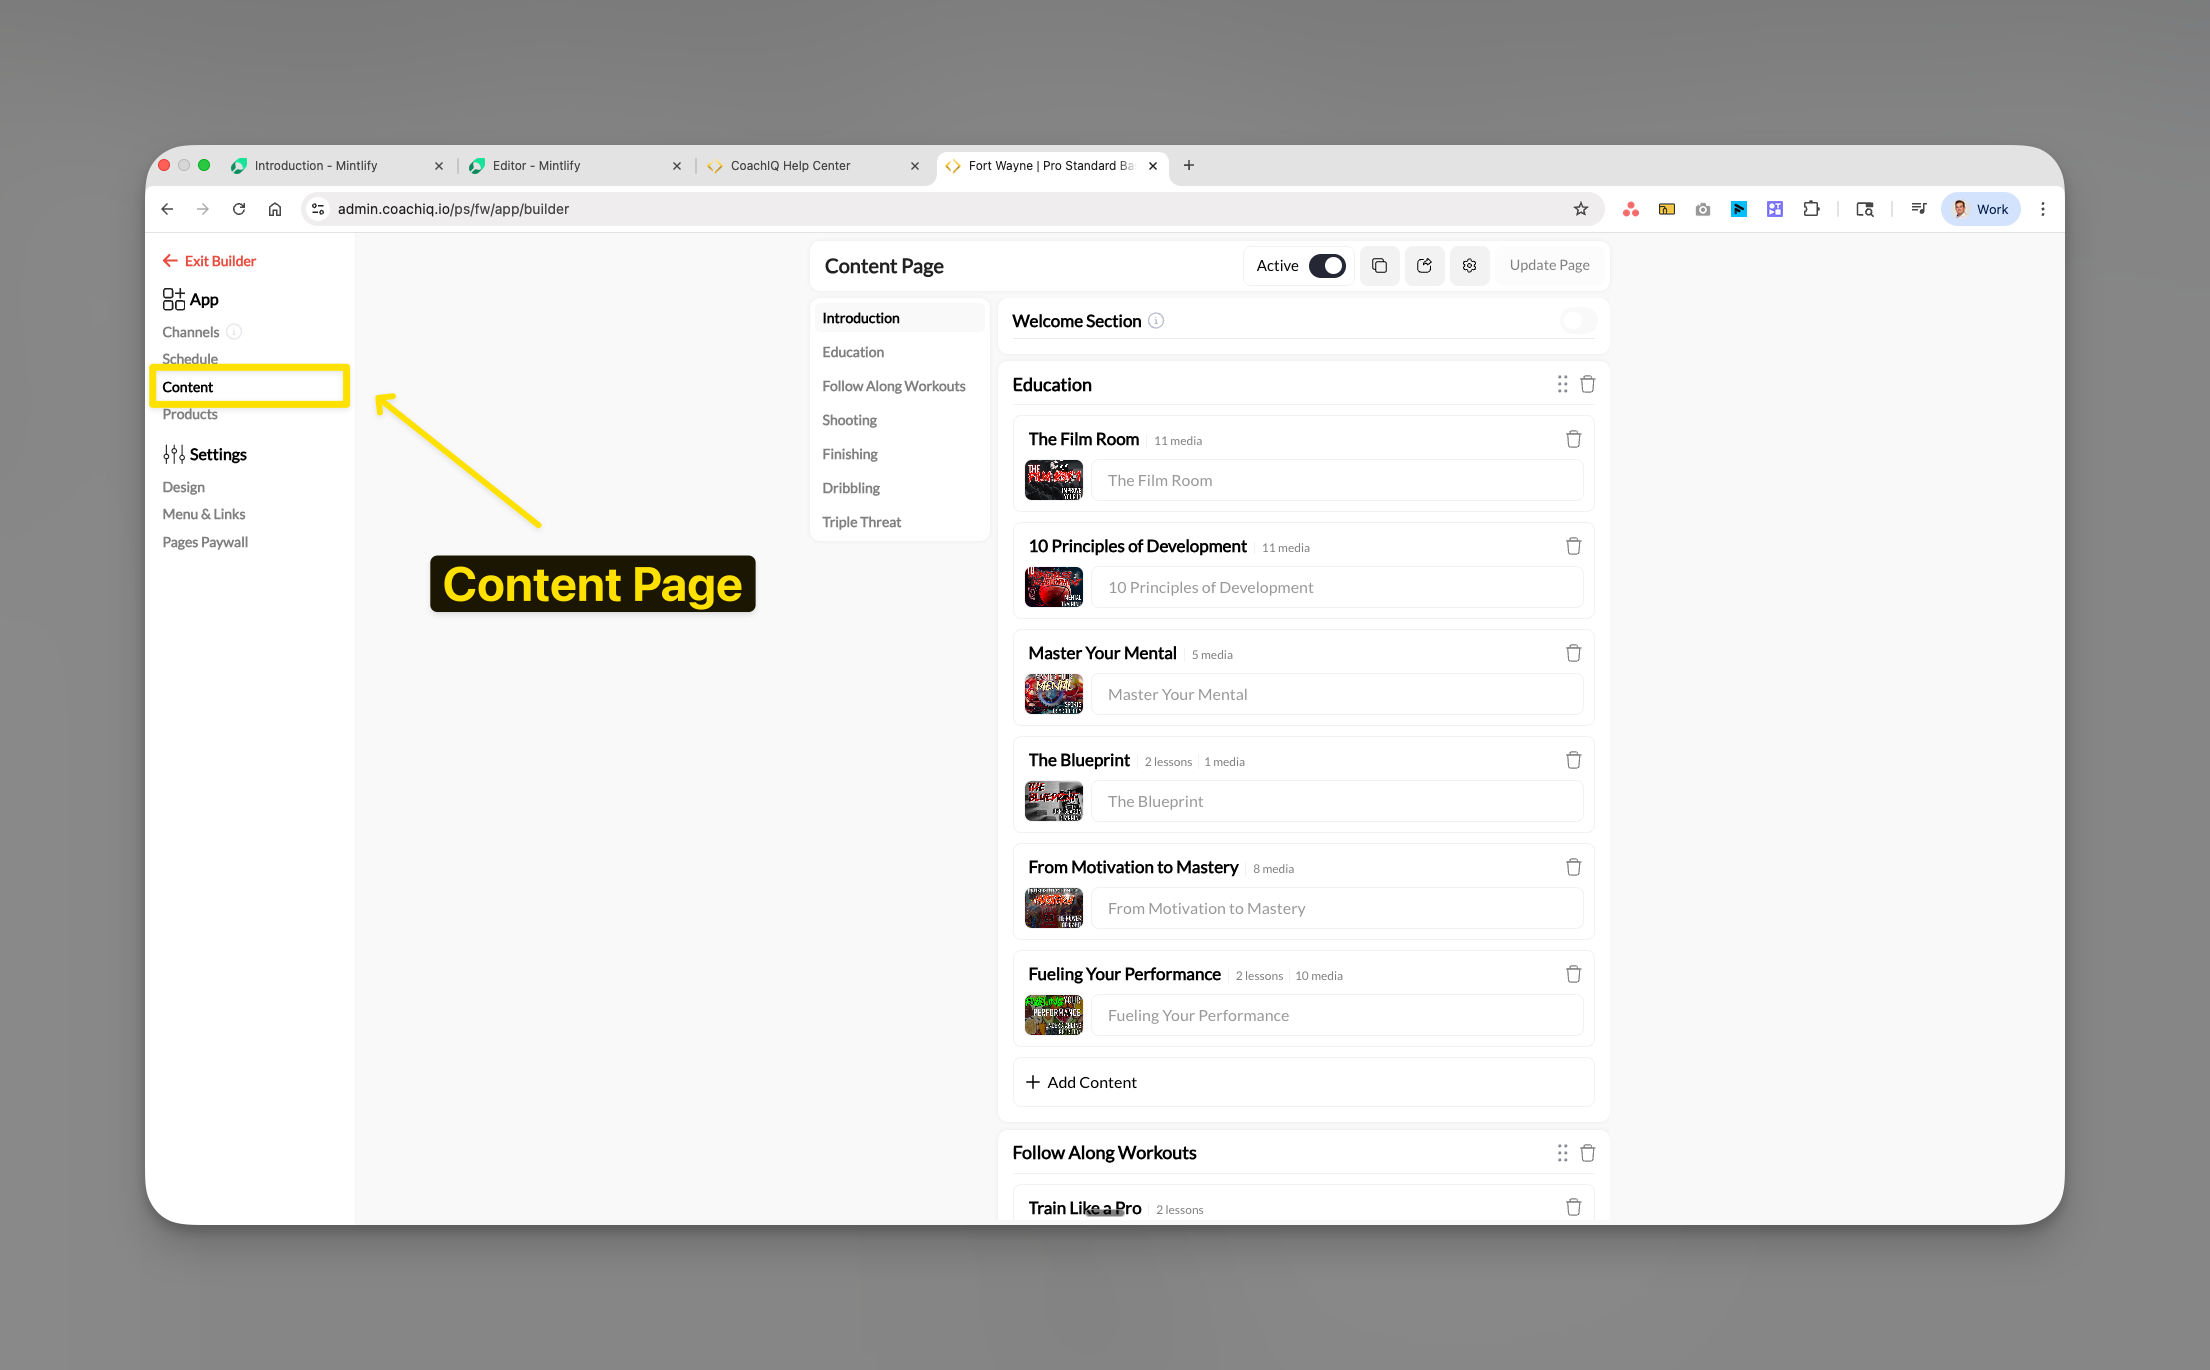
Where to find this: Dashboard → App Builder → Products
What you’ll accomplish
Set up your products page to display memberships, packages, and services for purchase through your web portal. You’ll learn how to organize products into sections, manage visibility settings, and understand critical platform limitations that affect how athletes access your payment options.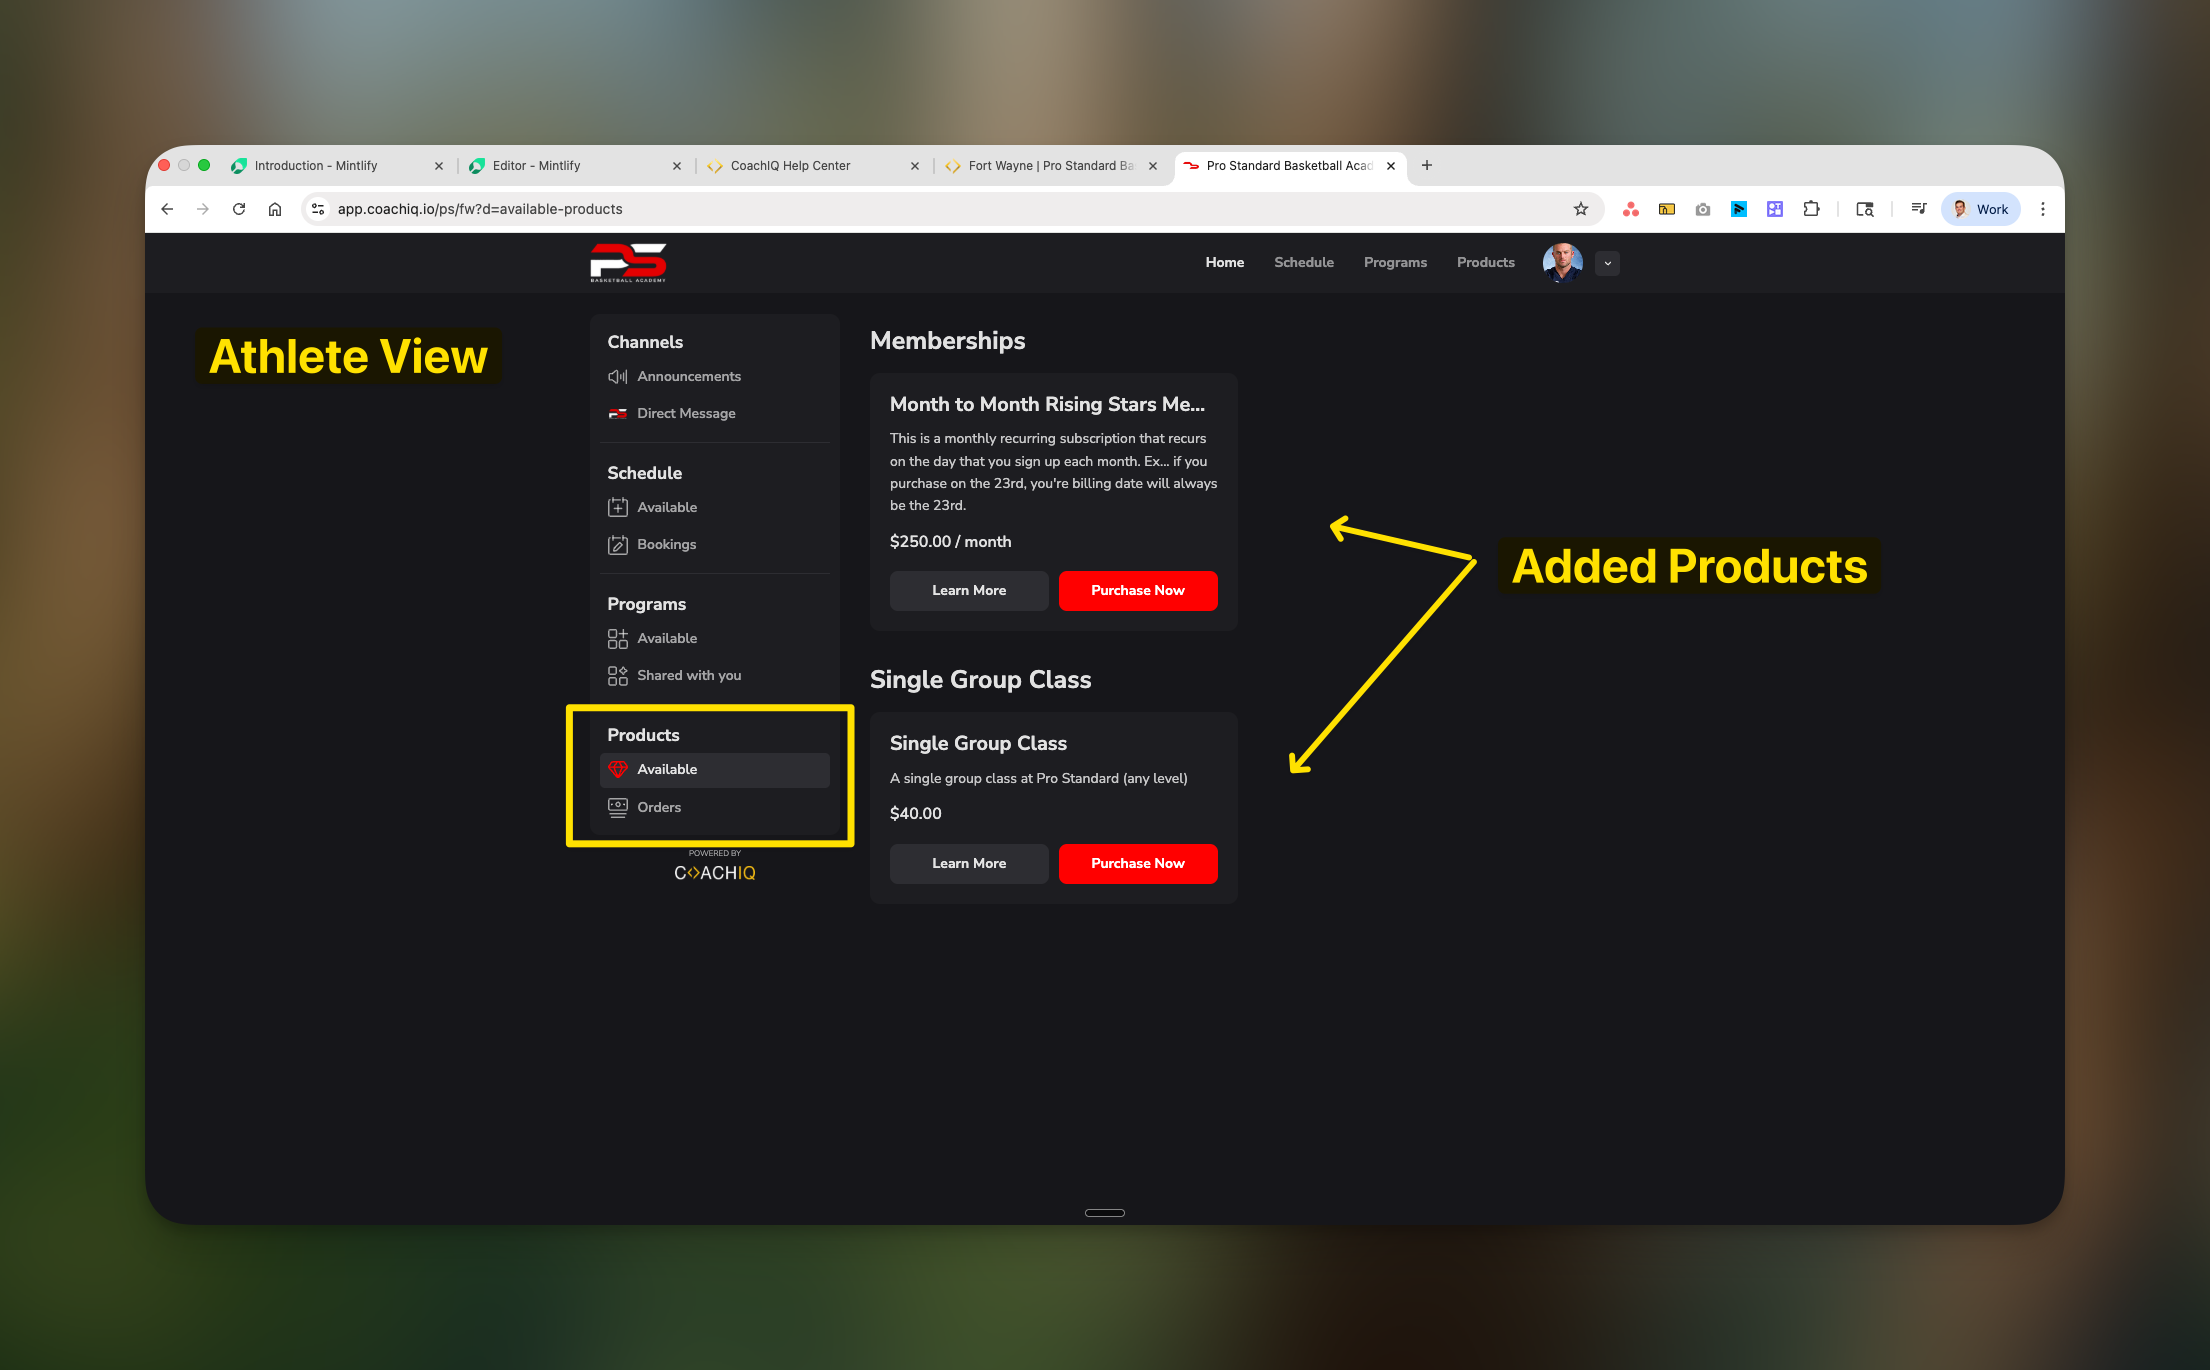
Platform restrictions you must know
- ⚠️ Mobile Apps
- ✅ Web Portal
iOS & Android Apps - Products NOT AvailableDue to App Store policies:
- Products page is completely hidden
- No in-app purchases allowed
- Athletes cannot see or buy products
- This is NOT a bug - it’s a platform requirement
Understanding the Products page
The Products page displays your payment options, memberships, and packages that athletes can purchase to access your services. It functions identically to the Programs page in terms of organization, but focuses on payment products rather than content.Overview
- Purpose: Payment collection vs. content delivery
- Access: Purchase required vs. content access rules
- Platform availability: Web-only vs. all platforms
- Primary action: Buy button vs. view content
Before you begin
Required:
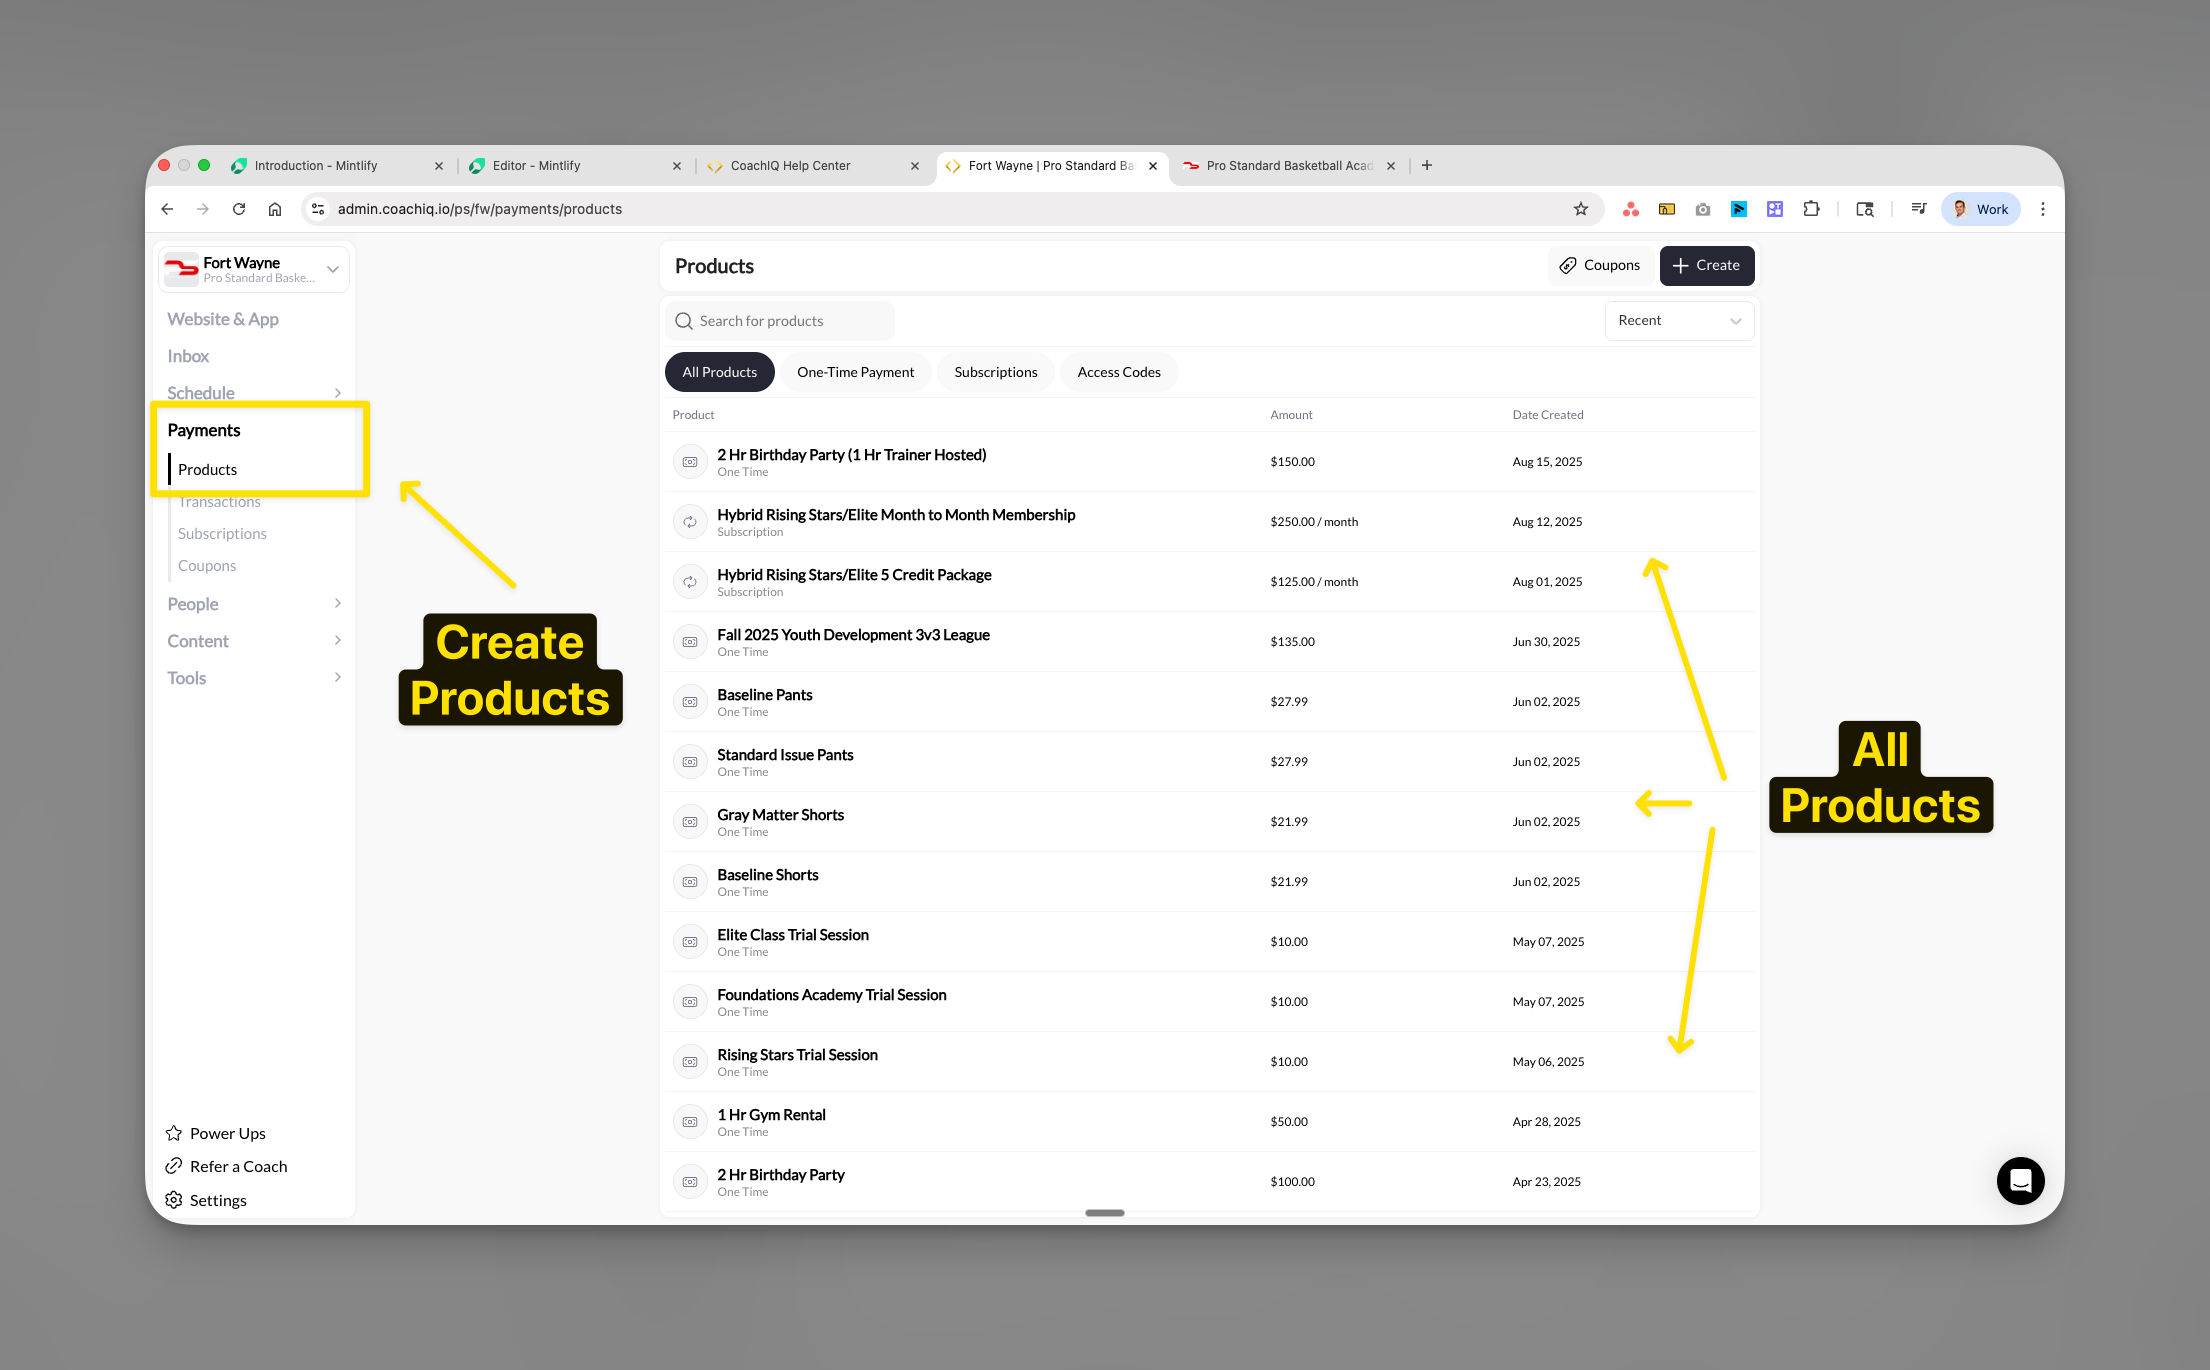
- At least one product must exist in Payments → Products
- Stripe account must be connected for payment processing
Products are hidden by default: Creating a product in Payments → Products doesn’t automatically make it visible to athletes. You must explicitly add products to this page (or attach them to schedulers/forms) for athletes to discover them. This lets you set up products before you’re ready to launch. Learn more about product visibility →
Accessing product settings
Activating the Products page
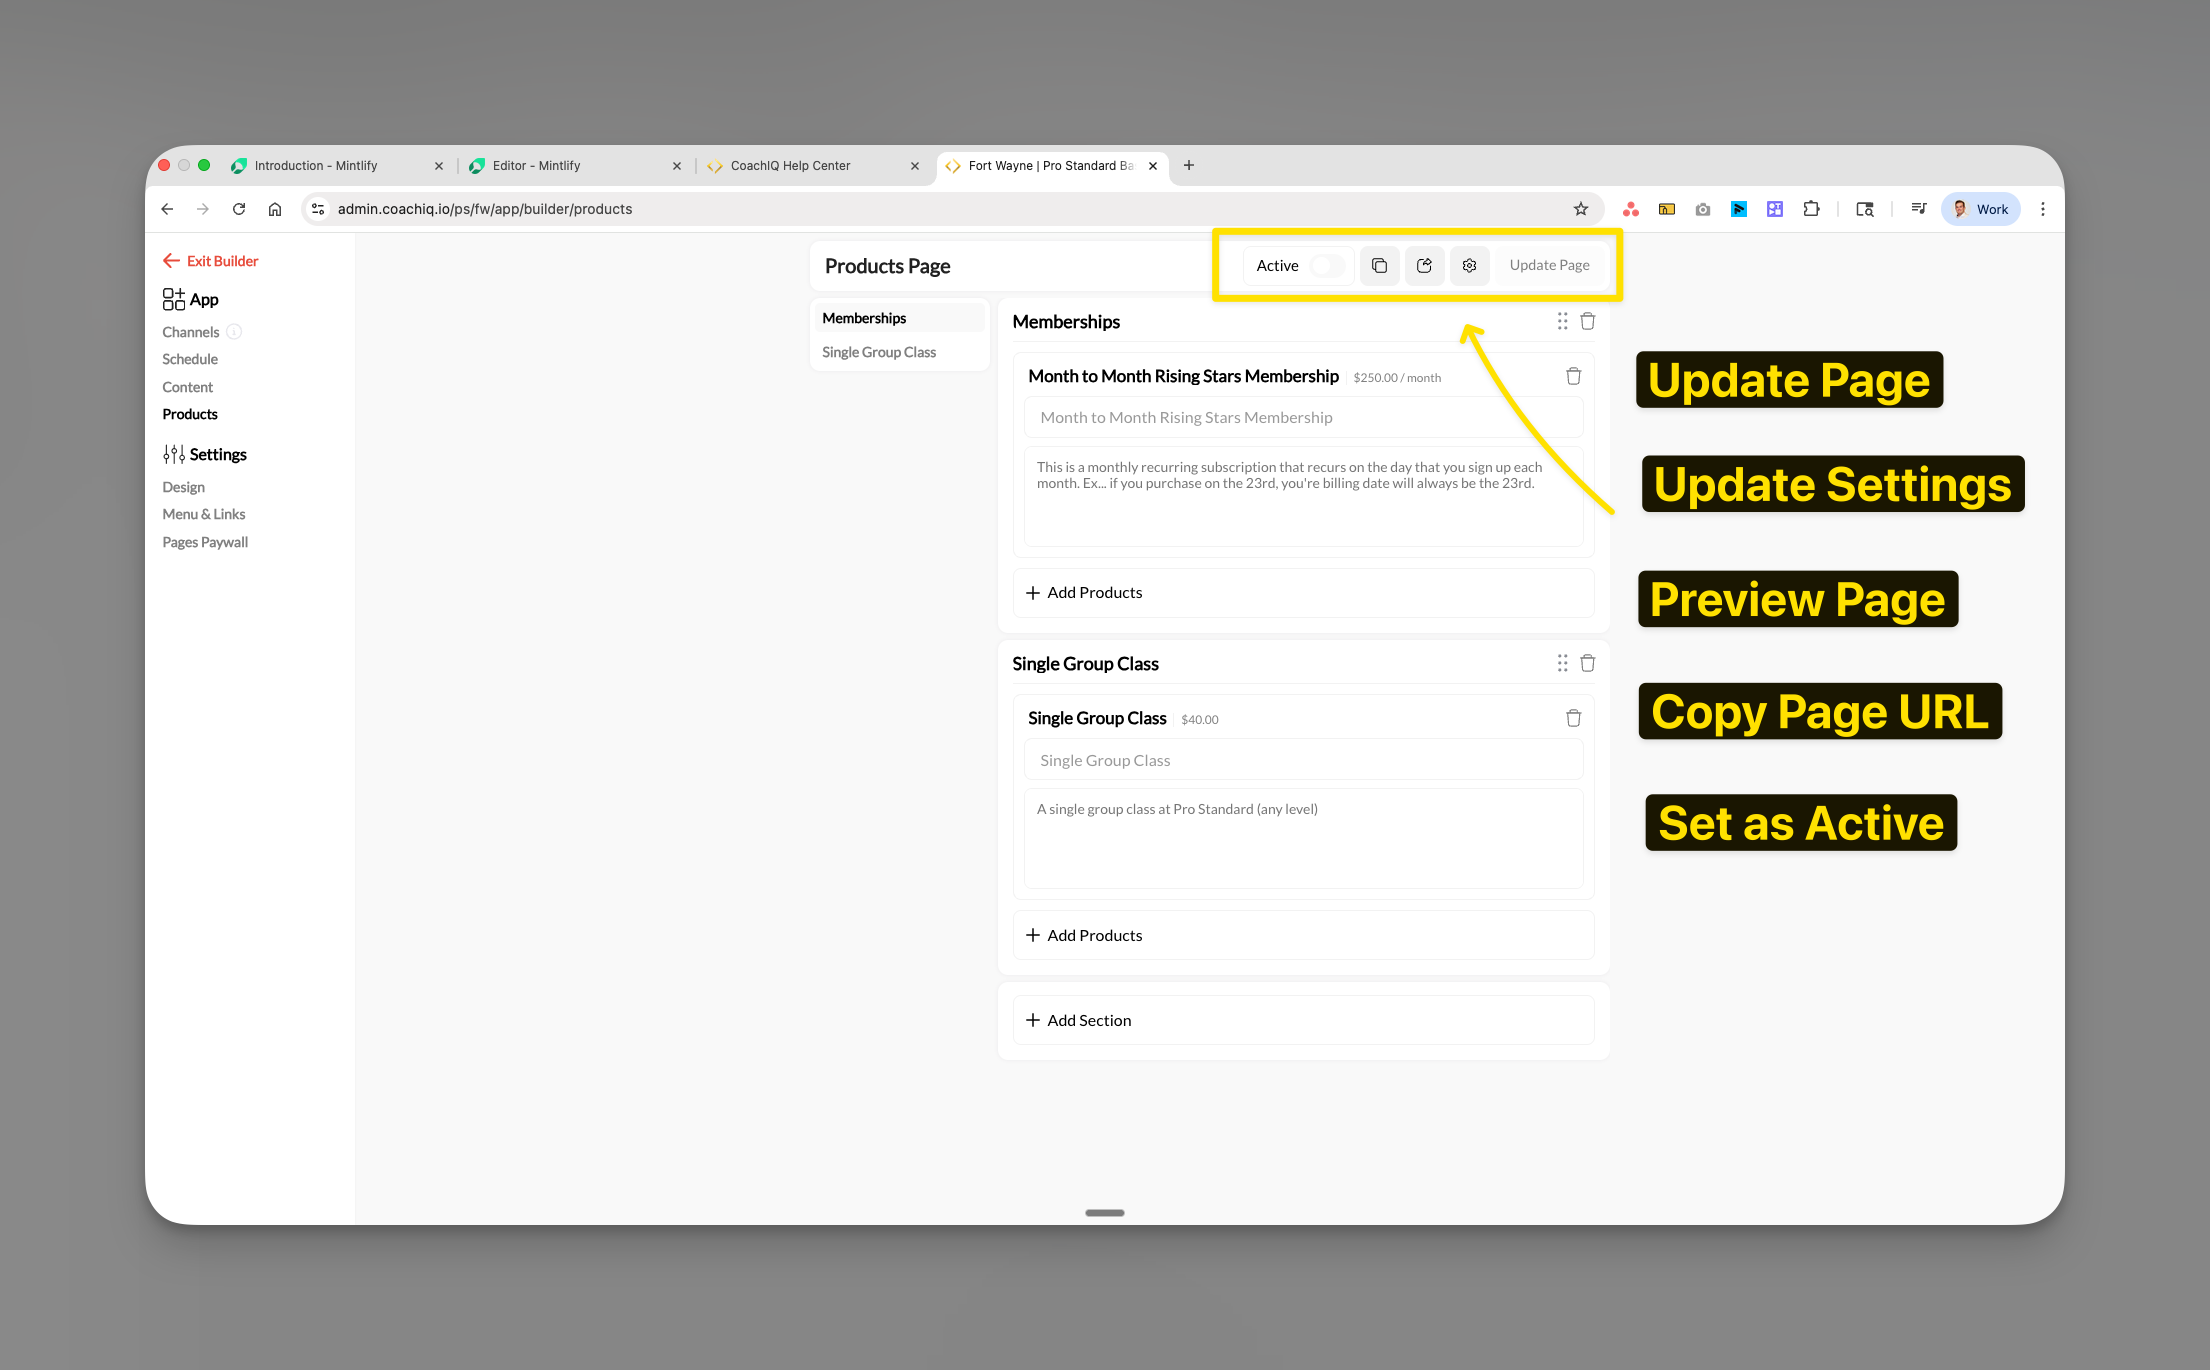
Toggle visibility
- ON: Products visible in web portal only
- OFF: Products hidden everywhere
Remember: Even when Active is ON, products remain hidden on iOS/Android apps due to platform restrictions.
Adding products to sections

Select products to display
Choose from your available products:
- Memberships (recurring subscriptions)
- One-time packages
- Session bundles
- Credit packages
- Product name
- Price
- Billing frequency (if subscription)
- Description preview
Creating and organizing sections
Sections help organize your products into logical categories for easier shopping.Adding new sections
Name your section
Use clear, descriptive names:
- “Memberships”
- “Single Group Class”
- “Training Packages”
- “Elite Programs”
- “Beginner Packages”
Section organization best practices
- Place most popular products at the top
- Group by commitment level (monthly, yearly, one-time)
- Separate memberships from individual purchases
- Consider price-point organization (budget to premium)
Configuring page settings

Customize page details
URL Slug: Set your page path (e.g.,
/products, /memberships, /pricing)Page Name: Display name in navigationDescription: SEO description explaining your offeringsWorking around platform restrictions
Since products don’t appear on mobile apps, you need alternative strategies to drive sales.Recommended workarounds
- Direct Link Strategy
- Communication Strategy
- Alternative Sales
Send athletes to web portal
- Share your portal link via SMS/email
- Include link in app announcements
- Add “Purchase on Website” message in app
- Use QR codes at facility
Preview and testing
Test on web browser
Verify display and functionality:
- Product cards show correctly
- Prices display accurately
- Purchase buttons work
- Sections organized properly
Publishing changes
Common questions
Why can't my athletes see products on the mobile app?
Why can't my athletes see products on the mobile app?
This is not a bug. Apple App Store and Google Play Store policies prohibit in-app purchases that bypass their payment systems. CoachIQ must hide the Products page on mobile apps to comply with these requirements.Solution: Direct athletes to purchase through:
- Web browser on their phone
- Desktop computer
- Tablet browser
- Any web-based access
How do I sell to athletes who only use the app?
How do I sell to athletes who only use the app?
Best practices:
- Send purchase links via SMS or email
- Add announcements in the app directing to web portal
- Include instructions in your welcome message
- Process payments in person or over the phone
- Share QR codes that link to your web products page
Can I accept payments through the app at all?
Can I accept payments through the app at all?
No direct payment processing is possible within iOS/Android apps. However, you can:
- Use credits (pre-purchased on web)
- Book sessions that require payment later
- Send payment links through in-app messaging
Will this restriction ever change?
Will this restriction ever change?
This is an App Store/Play Store policy, not a CoachIQ limitation. Unless Apple and Google change their policies, this restriction will remain in place.
How do I explain this to frustrated athletes?
How do I explain this to frustrated athletes?
Sample message:
“To keep our app free and avoid Apple/Google’s 30% fees, purchases must be made through our web portal. Visit [your-portal-url] on any browser to buy memberships and packages. This helps us keep prices lower for you!”
Do credits purchased on web work in the app?
Do credits purchased on web work in the app?
Yes! Once athletes purchase credits through the web portal, they can use them to book sessions within the mobile app. The restriction only applies to the purchase process, not credit usage.
Troubleshooting
Products not appearing in selection
- Verify products exist in Payments → Products
- Check the product isn’t archived (use the status filter dropdown to check)
- Confirm Stripe is properly connected
- Refresh the App Builder page
Athletes report they can’t find products
- First question: Are they using the mobile app?
- If yes → Direct them to web browser
- If no → Continue troubleshooting
- Check Products page Active toggle is ON
- Verify their account has access
- Test the web portal link yourself
Purchase buttons not working (web)
- Verify Stripe integration is active
- Check product configuration in Payments
- Ensure product has valid pricing
- Test in incognito/private browser
Pro tips
Critical reminders
Best practice: Add a permanent message to your app onboarding flow explaining that purchases happen on the web for the best prices and to avoid app store fees.
Related articles
Creating Products
Build memberships, packages, and one-time products in the Product Builder
Setting Up Stripe
Connect your Stripe account for payment processing
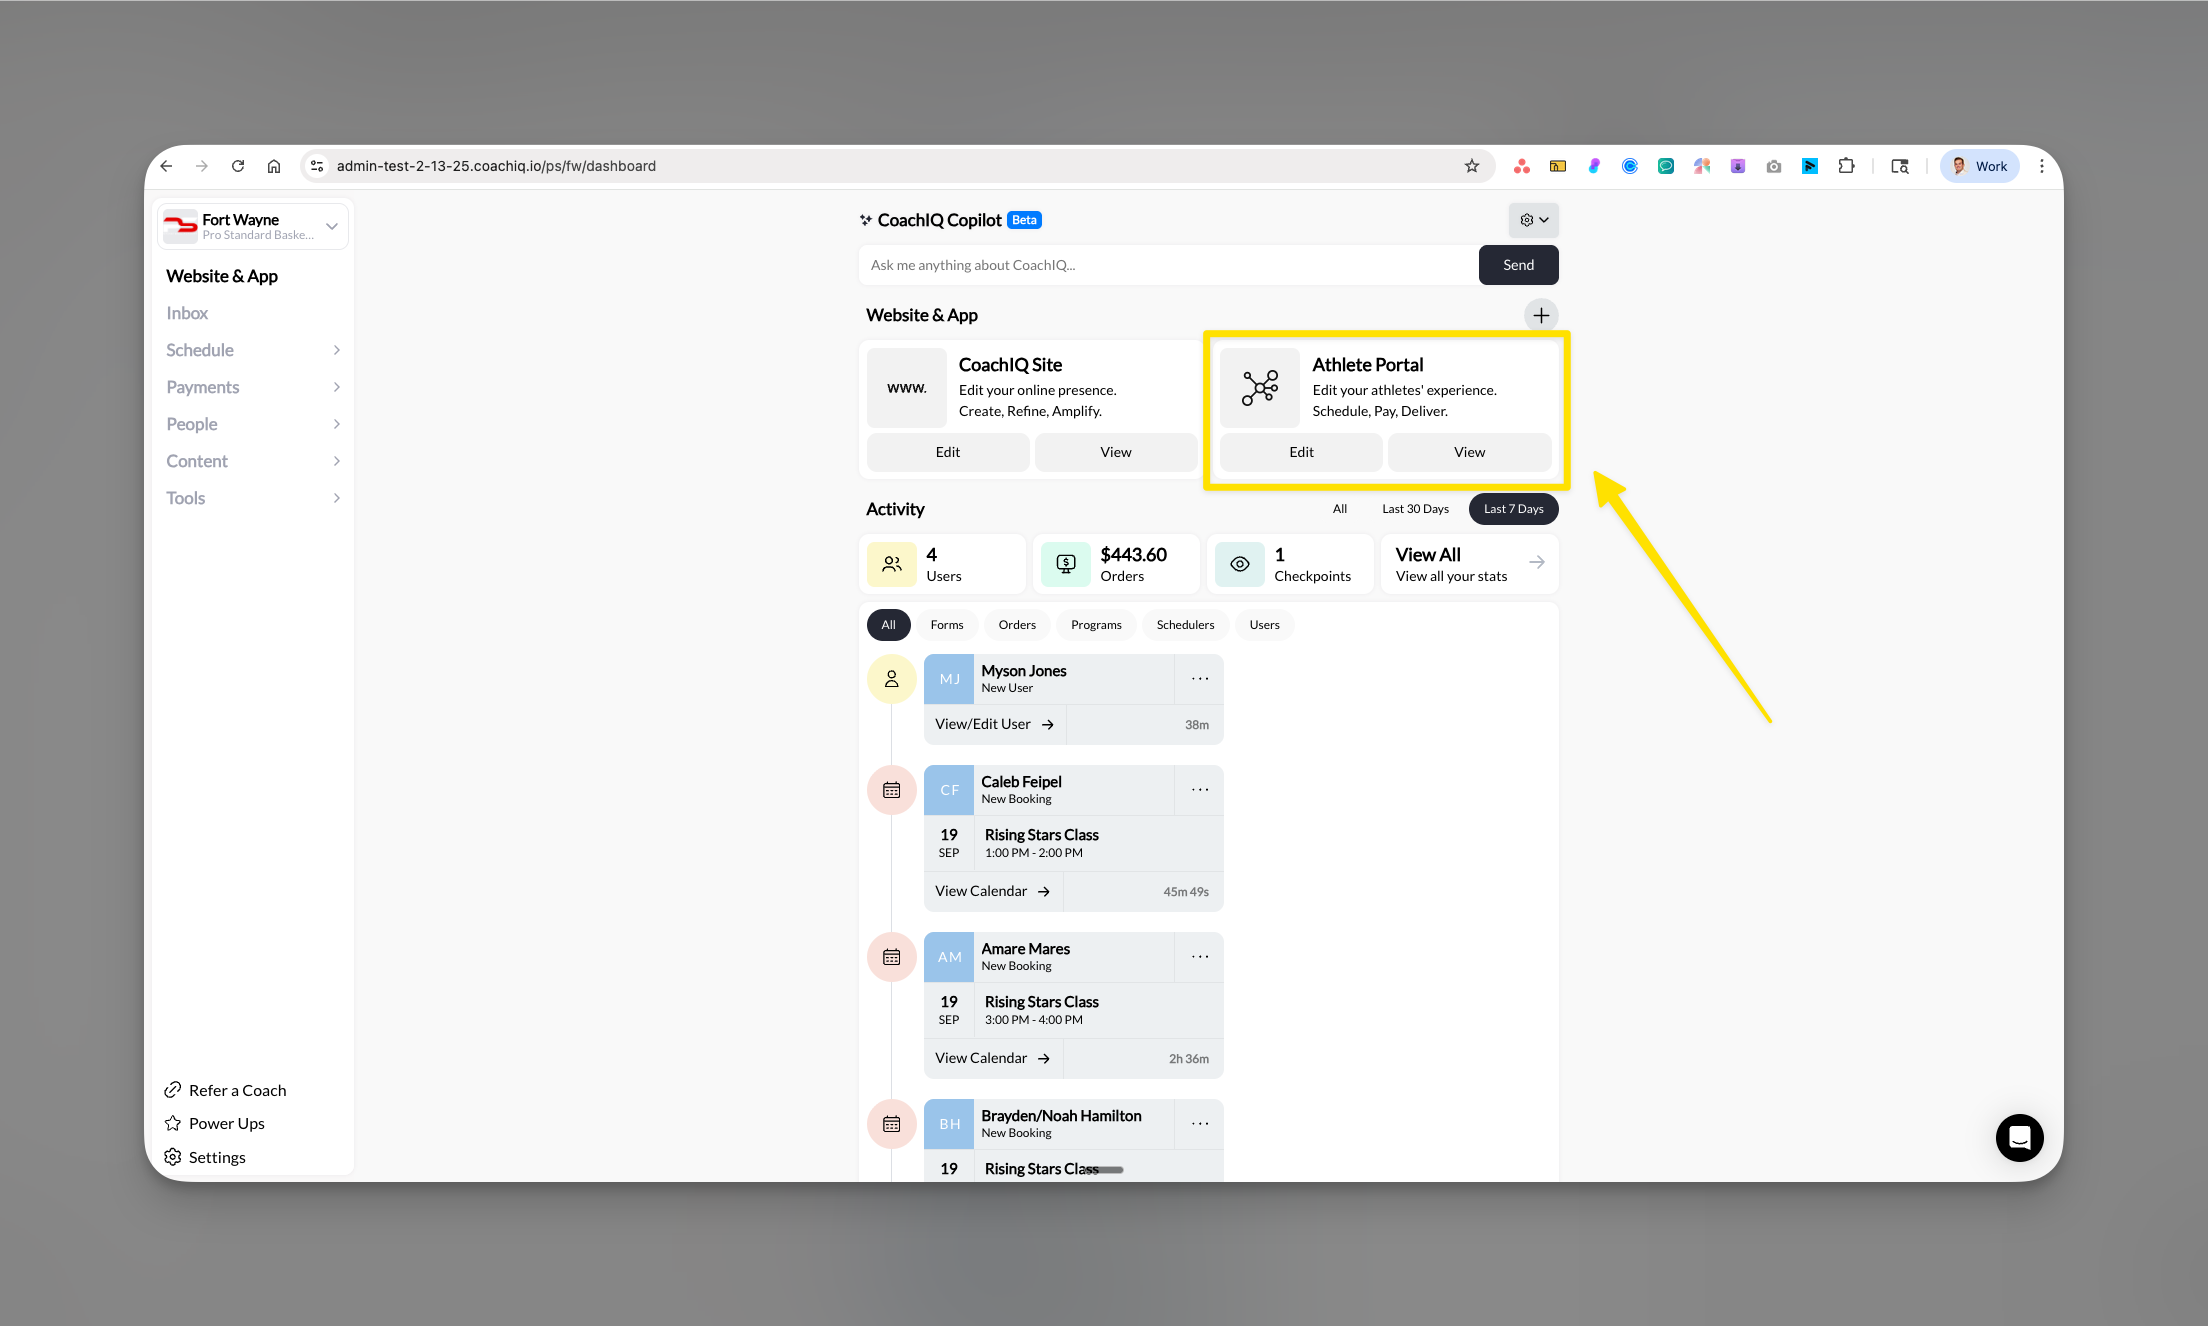
Understanding the Athlete Portal
Learn how the Athlete Portal works for coaches and athletes
Paywall Settings
Restrict page access until athletes purchase a qualifying product
Product Types
Understand the different product types available in CoachIQ
Communicating with Athletes
Send messages and announcements through your Inbox