Where to find this: Payments → Subscriptions → Click subscription → Actions
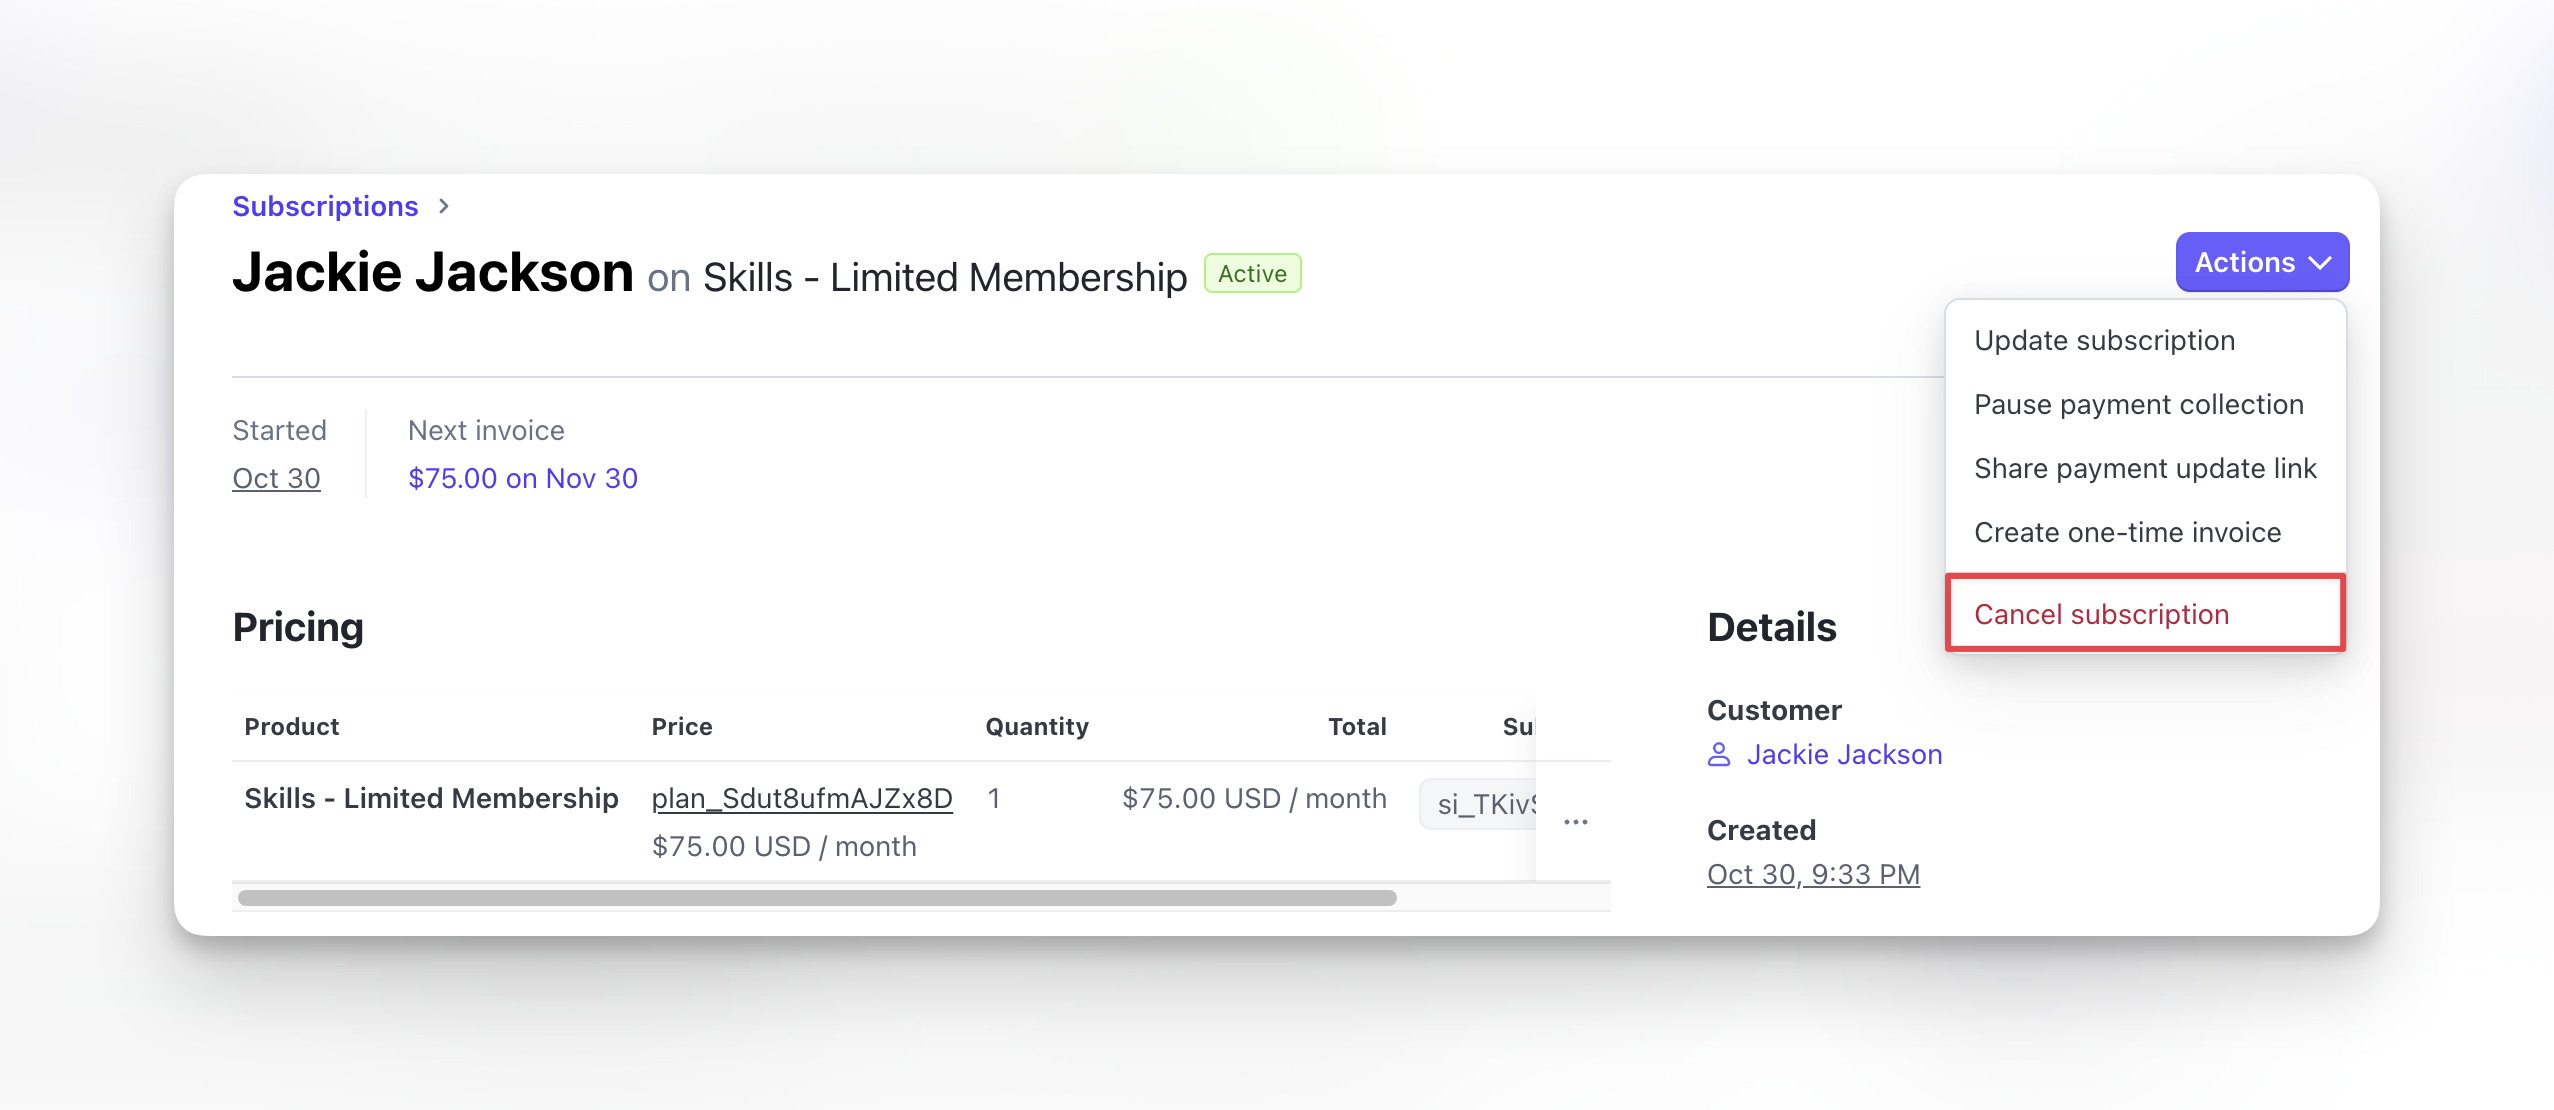
Canceling subscriptions
Two ways to cancel a subscription:- Cancel at period end
- Cancel immediately
Recommended approachClient keeps access through current billing period. Subscription ends on next billing date.What happens:
- Client retains access until period ends
- Credits remain valid until period ends
- No refund issued
- No future charges
- Subscription status changes to “Canceled” on end date
How to cancel a subscription
Find the subscription
Go to Payments → Subscriptions and click the Open under the source column to redirect to Stripe.
Choose cancellation timing
Select:
- Cancel at period end (access continues until paid period expires)
- Cancel immediately (access ends now)
What happens after cancellation
Access:- Cancel at period end: Access until period expires
- Cancel immediately: Access ends now
- Cancel at period end: Valid until period expires
- Cancel immediately: Expire immediately
- No future charges
- Past payments remain (no automatic refund)
- Client must purchase subscription product again
- Creates new subscription (not reactivation of old one)
- New subscription ID and billing schedule
Canceled subscriptions remain visible in your Subscriptions list filtered by “Canceled” status.
Refunding subscription payments
Issue full or partial refund for subscription charges.Find transaction to refund
Scroll to invoices and click most recent invoice.Scroll to Payment History section. Locate the charge to refund.
Choose refund amount
Full refund: Return entire payment amountPartial refund: Enter specific dollar amount to refund
Decide on subscription status
Continue subscription: Issue refund but keep subscription activeCancel subscription: Issue refund and end subscriptionMost common: Refund + Cancel together
Updating client payment methods
Client needs to update their card for future charges. Client updates from their portal Instruct client:- Log into Athlete Portal
- Click profile picture in top right hand corner
- Navigate to Billing
- Add or update card
Handling failed subscription payments
When subscription payment fails, status changes to Past Due. Automatic Stripe retries:- First retry: 3 days after failure
- Second retry: 5 days after first retry
- Third retry: 7 days after second retry
- Final attempt: 10 days after third retry
Common subscription management scenarios
Client wants to downgrade from unlimited to limited sessions
Client wants to downgrade from unlimited to limited sessions
Current approach:
- Cancel current subscription (at period end)
- Client purchases new subscription product after period ends
- New subscription starts with different pricing/credits
Client paid but wants immediate refund and cancellation
Client paid but wants immediate refund and cancellation
Steps:
- Issue full refund for current period
- Choose “Cancel subscription” when refunding
- Select “Cancel immediately”
Client wants to pause subscription for 2 months (injury, travel)
Client wants to pause subscription for 2 months (injury, travel)
CoachIQ doesn’t support pause directly.Options:
- Cancel now, client resubscribes when ready (loses pricing if changed)
- Use Stripe Dashboard to pause subscription (requires setup)
- Let subscription continue, client just doesn’t book sessions
When you pause collection on a Stripe subscription, Stripe keeps the subscription status as Active — it just stops collecting payment. Because CoachIQ reads subscription status directly from Stripe, athletes with paused-collection subscriptions will still appear as Active in CoachIQ, including when filtering by Active in Payments > Products. Keep this in mind when reviewing your active subscriber count.
Client's card expires next month
Client's card expires next month
Proactive approach:
- Check upcoming card expirations (visible in Stripe)
- Send payment update link before expiration
- Avoid failed payment entirely
Client disputes subscription charge with bank
Client disputes subscription charge with bank
Bank chargeback process:If client disputes with bank (not you), Stripe notifies you of chargeback.Your response:
- Check Stripe Dashboard for chargeback details
- Provide evidence (subscription terms, usage logs, confirmation emails)
- Stripe submits evidence to bank
- Bank makes final decision (can take 60-90 days)
Preventing cancellations
Best practices to reduce churn: Before cancellation:- Understand why client wants to cancel
- Offer solutions (schedule flexibility, product downgrade)
- Provide pause option if temporary issue
- Remind of progress made and value received
- Multiple failed payments
- Declining session bookings
- No recent activity
- Support complaints
- Proactive check-ins with inactive subscribers
- Usage reports showing progress
- Exclusive member benefits
- Loyalty rewards or discounts
Resubscribing canceled clients
When client wants to restart canceled subscription: Process:- Client purchases subscription product again (like new customer)
- New subscription created with new ID
- New billing schedule starts
- Old subscription remains canceled in history
- Reactivate old canceled subscription
- Restore previous subscription ID
- Resume old billing schedule
Each subscription is independent. Cancellation is permanent. Resubscribing creates entirely new subscription.
Next steps
- Handle failed payments - Recover Past Due subscriptions
- Issue refunds - Process subscription refunds
- View Subscriptions Dashboard - Monitor all subscriptions