How to Use the Features & Benefits Block in CoachIQ’s Web Builder
Overview
By highlighting key skills, values, and goals, this feature makes it easier for potential clients to understand the value of your coaching services.Use Cases for Private Sports Coaches
- Skill Development Highlights
- Purpose: Emphasize specific skills athletes will acquire, such as agility, strength, or strategic thinking.
- Example: List features like “Build Real Skills,” “Increase Game IQ,” and “Enhance Coordination” to highlight tangible skill improvements.
- Motivational Goals
- Purpose: Inspire potential clients by outlining aspirational goals your coaching can help achieve.
- Example: Use phrases like “Reach College Level” or “Become a Leader” to demonstrate how your training can uplift an athlete’s future prospects.
- Training Benefits
- Purpose: Highlight broader benefits beyond skill-building, such as resilience, discipline, and confidence.
- Example: Include benefits such as “Build Resilience” and “Improve Faster” to communicate the holistic growth in athletes.
- Competitive Edge
- Purpose: Illustrate how your coaching gives athletes an advantage in competitive sports.
- Example: List benefits like “Improve Athleticism” and “Develop Mental Toughness” to show how athletes will excel in their sport.
- Program-Specific Results
- Purpose: Detail results tied to specific programs, such as speed training or mental coaching.
- Example: Include items like “Increase Vertical Jump,” “Boost Endurance,” and “Enhance Focus,” based on the program’s objectives.
Steps to Add a Features & Benefits Block
- Access the Web Builder:
- Log in to CoachIQ.
- Navigate to your dashboard and open the Web Builder.
- Select the Features & Benefits Block:
- Click “Add Block.”
- Choose “Features & Benefits” from the list of options.
- Add Key Points:
- Benefit Titles: Use concise, impactful titles that are easy to understand.
- Descriptions (Optional): Add brief descriptions for each point for added context.
- Customize the Layout:
- Alignment & Icons: Adjust the layout and choose icons, or use simple checkmarks for clarity.
- Background & Styling: Modify colors and fonts to align with your brand’s theme.
- Preview and Publish:
- Review the block on different devices.
- Click “Save” and “Publish” to make it live.
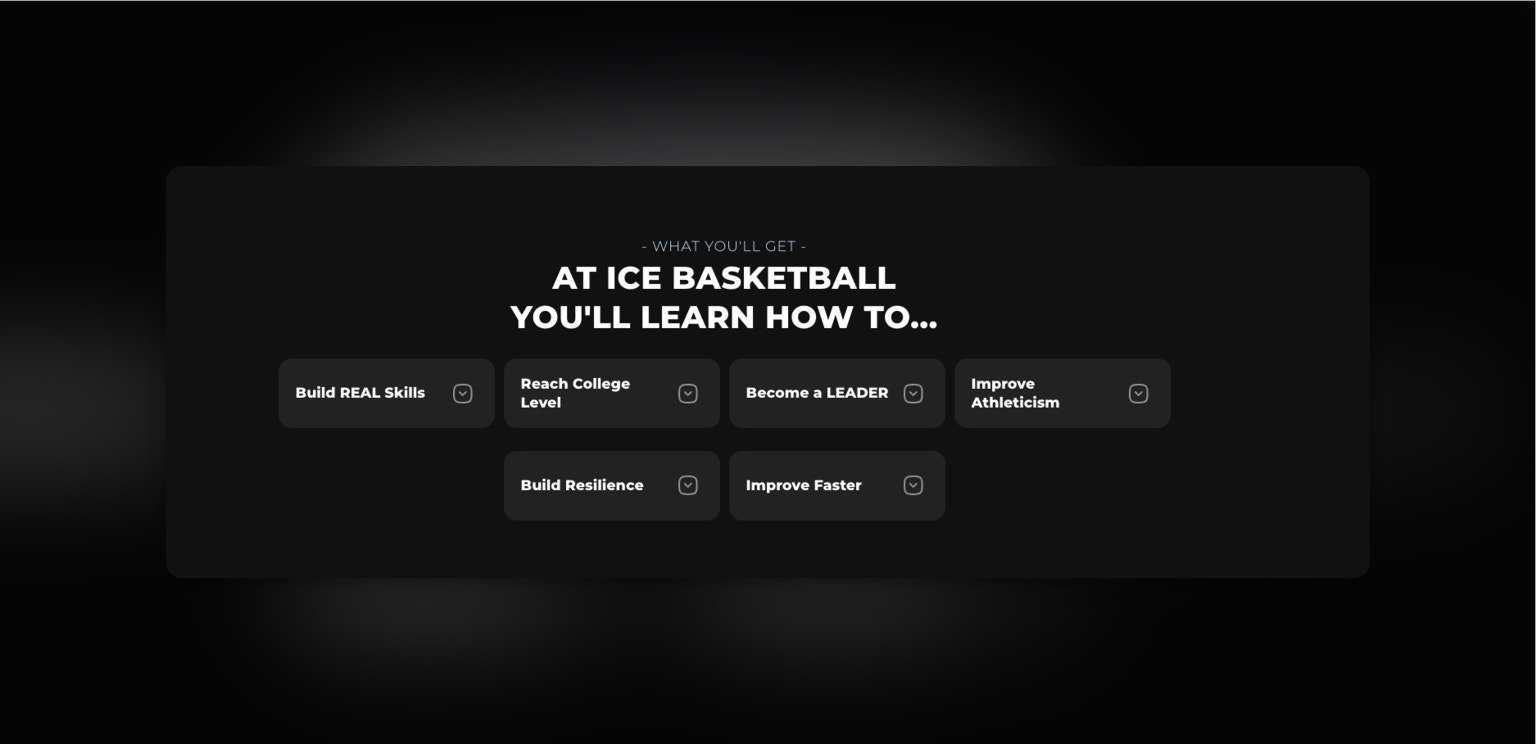
Example List for Features & Benefits Block
- Build Real Skills
- Reach College Level
- Become a Leader
- Improve Athleticism
- Build Resilience
- Improve Faster
Tips and Best Practices
- Be Concise: Use short, impactful phrases to maintain clarity.
- Visual Appeal: Use icons and consistent styling to make the block visually engaging.
- Target Audience: Tailor your features and benefits to the specific needs of your target athletes.