How to Use the Stats Block for a Credibility Section in CoachIQ’s Web Builder
Introduction
By highlighting key achievements and years of experience, it helps potential clients trust in your expertise and coaching success. Use this section to emphasize numbers that showcase your proven track record.Use Cases for Establishing Credibility
1. Number of Athletes Coached
- Purpose: Demonstrate the breadth of your coaching experience by displaying how many athletes you’ve trained.
- Example: “150+ Athletes Coached” — This shows numerous athletes have trusted and benefited from your expertise.
2. Professional or Elite Athletes Coached
- Purpose: Highlight any high-level or professional athletes you’ve coached to reinforce your expertise at the elite level.
- Example: “5 NBA Athletes Trained” — Mentioning professional athletes showcases your experience at the highest levels of the sport, boosting credibility among aspiring players.
3. Years of Coaching Experience
- Purpose: Emphasize your long-standing dedication to coaching, reassuring clients of your expertise and reliability.
- Example: “10 Years as a Professional Coach” — This conveys experience and stability, building trust with new clients by demonstrating a strong foundation in the field.
4. Athlete Achievements
- Purpose: Showcase the accomplishments of your athletes, such as awards or recognitions, as a testament to your effective coaching.
- Example: “10 All-State Athletes” — Sharing these achievements demonstrates that your coaching translates into real success for your athletes.
5. Specialized Coaching Certifications
- Purpose: If applicable, list any advanced certifications or credentials to add further credibility.
- Example: “Certified Strength & Conditioning Specialist” — Certifications show a commitment to professional development and expertise in specialized areas.
Steps to Add a Stats Block for Credibility
- Access the Web Builder:
- Log in to CoachIQ, go to your dashboard, and open the Web Builder.
- Select the Stats Block:
- Click “Add Block” and choose “Stats” from the options.
- Add Key Credibility Metrics:
- Number: Input each key metric (e.g., “150+”, “5”, “10”).
- Description: Briefly describe each number with a focus on credibility (e.g., “Athletes Coached”, “NBA Athletes Trained”, “Years Coaching”).
- Customize the Design:
- Font & Colors: Choose a style that matches your brand and emphasizes professionalism.
- Spacing & Alignment: Ensure the stats are clearly visible and well-spaced to make an impact.
- Preview and Publish:
- Check how the block appears on various devices, then click “Save” and “Publish” to make it live.
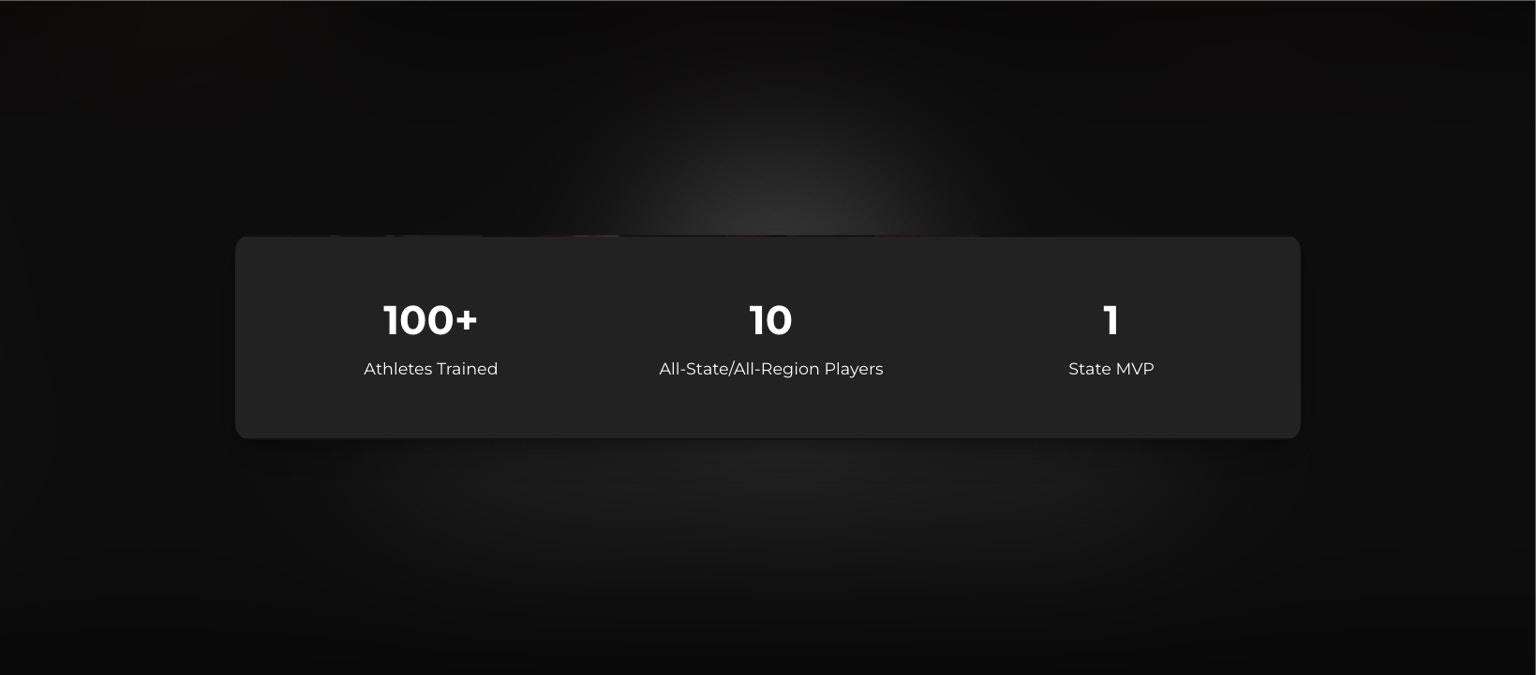
Example Stats Block Content for Credibility
- 150+ – Athletes Coached
- 5 – NBA Athletes Trained
- 10 – Years as a Coach
Tips and Best Practices
- Highlight Unique Achievements: Focus on unique aspects of your coaching that set you apart from others.
- Keep It Concise: Use straightforward language and avoid clutter to maintain the impact of your stats.