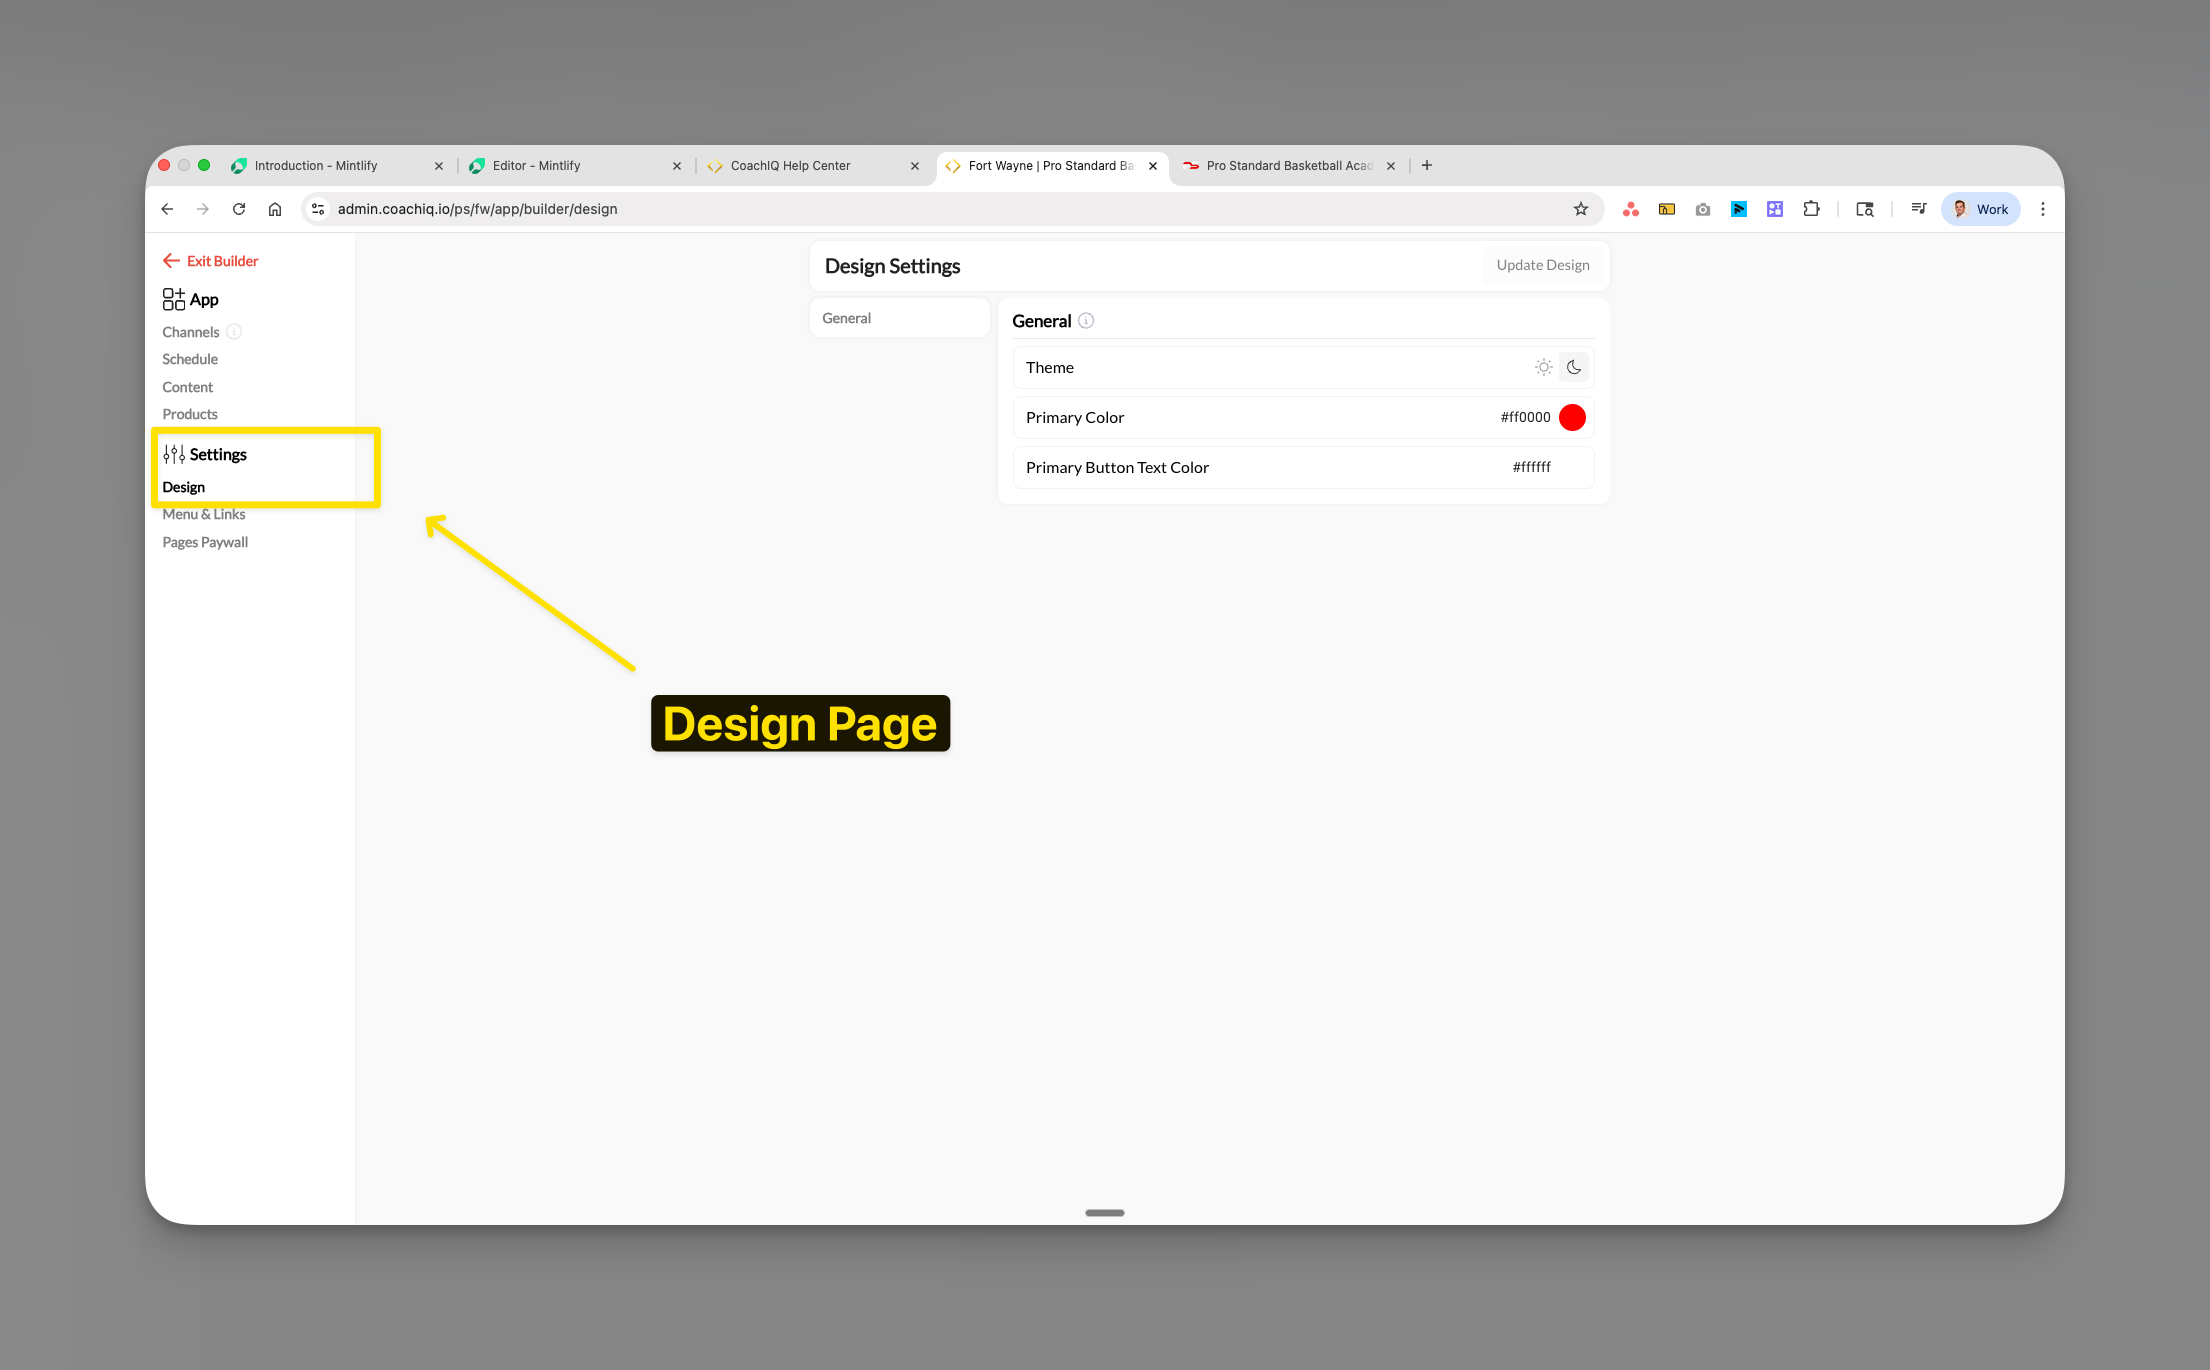
Where to find this: Dashboard → App Builder → Settings → Design
What you’ll accomplish
Customize your Athlete Portal’s visual appearance to match your brand. You’ll configure the theme (dark or light mode), set your primary brand color, and customize button text colors.Accessing design settings
Configuring your design
Theme selection
Choose your theme
In the Theme dropdown, select either: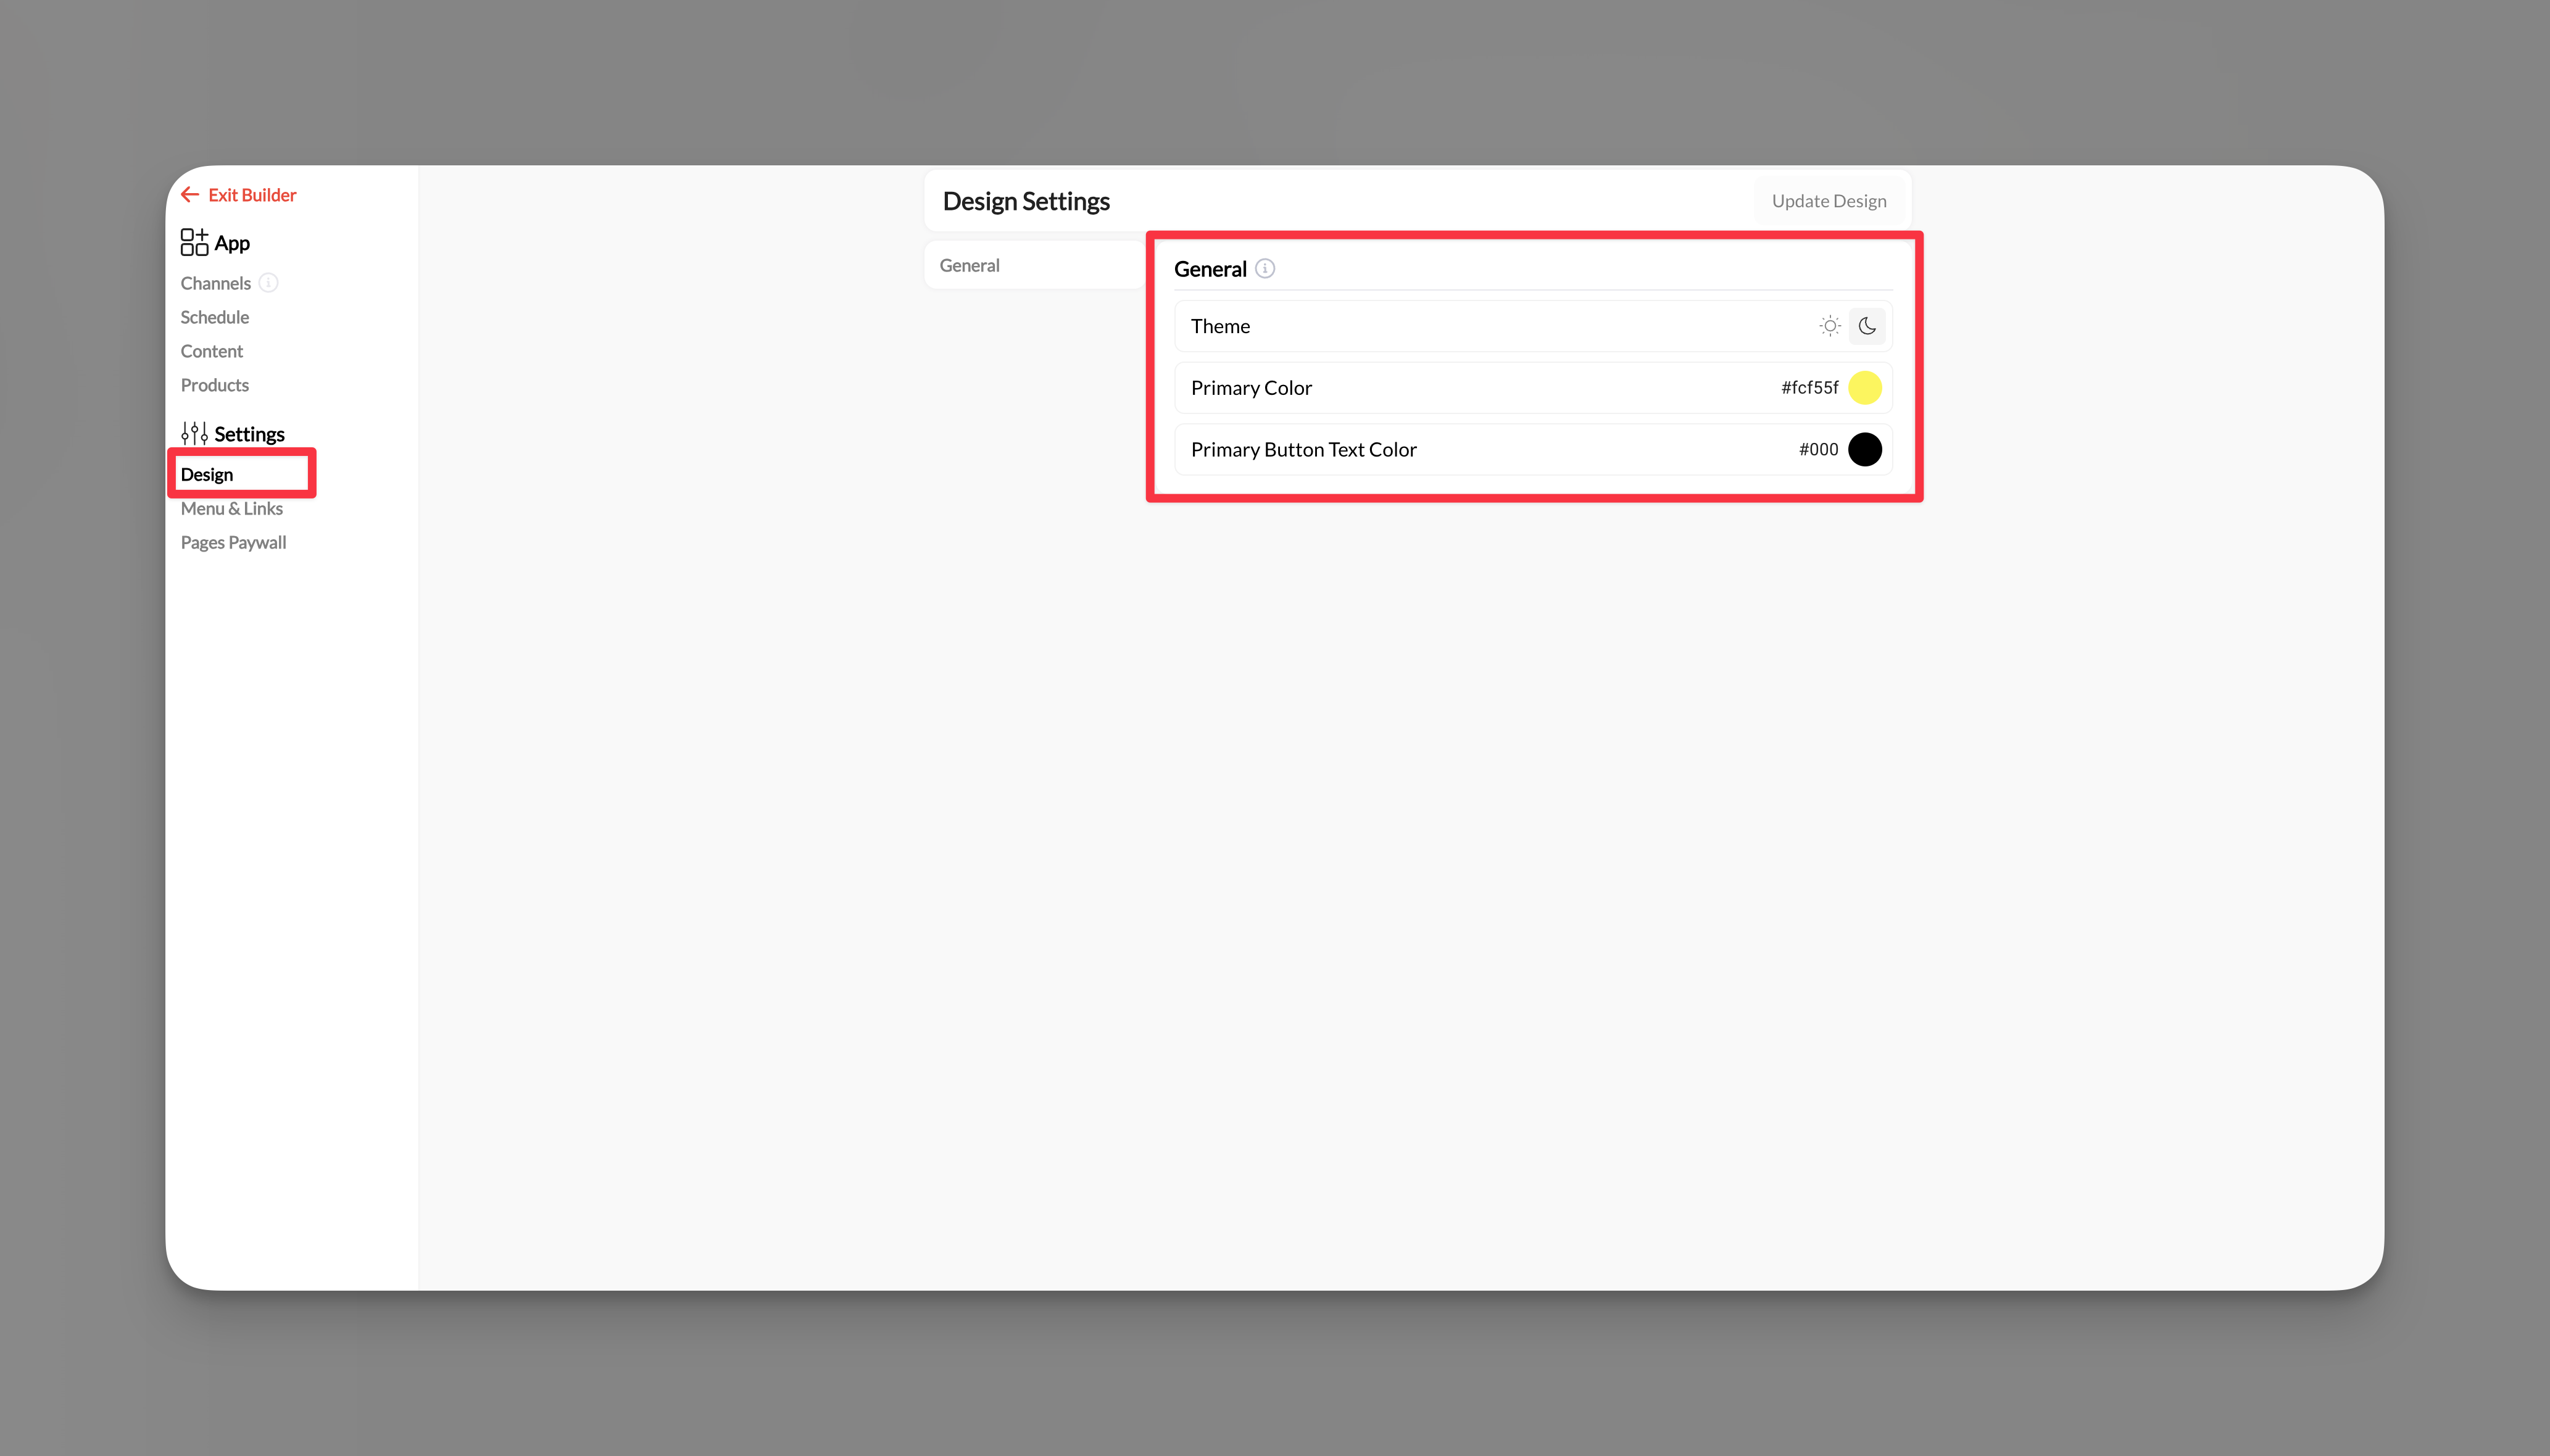
- Light mode - Clean, bright interface ideal for daytime use
- Dark mode - Reduced eye strain, modern appearance
Brand colors
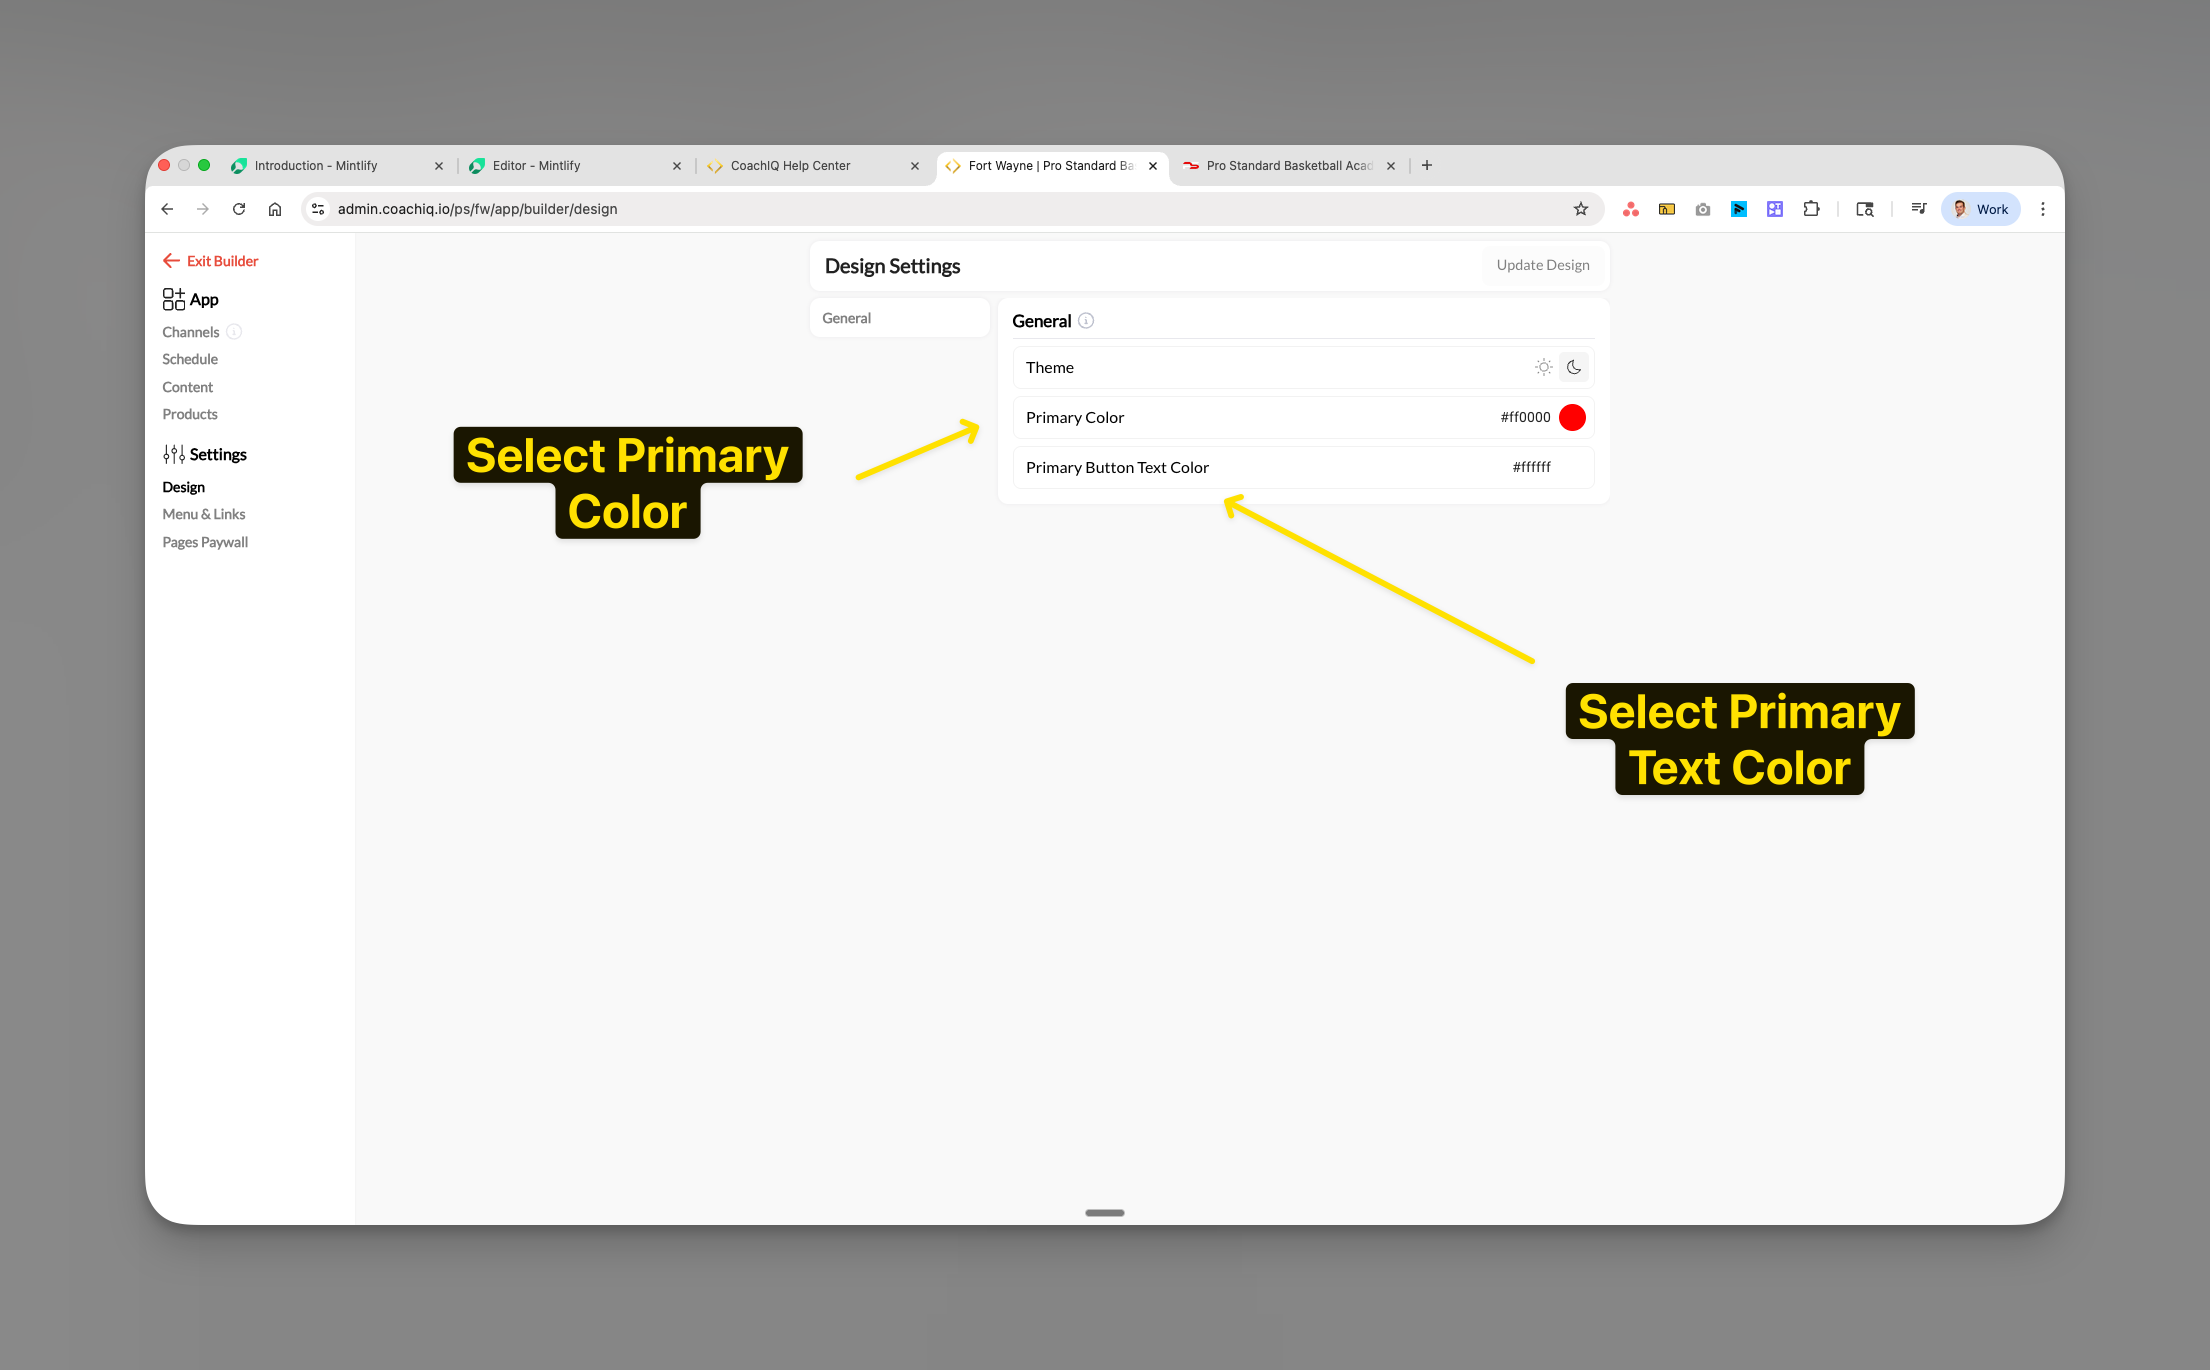
Set Primary Color
Click the Primary Color selector and choose your main brand color. This affects:
- Navigation highlights
- Active buttons
- Links and accents
- Selected items
Saving your design
Design best practices
Common questions
Can athletes choose their own theme?
Can athletes choose their own theme?
No, the theme you select applies to all athletes. This ensures brand consistency across your portal.
How do I find my brand's hex color?
How do I find my brand's hex color?
You can:
- Ask your designer for brand hex codes
- Use online color pickers
- Extract colors from your logo using free tools
- Common format: #ff0000 (red) or #000000 (black)
Will this affect my website too?
Will this affect my website too?
No, these settings only apply to your Athlete Portal (App Builder). Website design is configured separately in Website Builder.
Can I use different colors for different sections?
Can I use different colors for different sections?
The primary color applies globally throughout the portal. Individual section customization is not currently available.