Three places to use products: Session schedulers, programs, and forms
Where products attach
Products don’t generate revenue until attached to something clients interact with: Session Schedulers → Clients book time slots and pay Programs → Clients purchase access to locked content Forms → Clients submit forms with payment One product can attach to multiple places. Reuse products across your offerings.Attach products to session schedulers
Navigate to scheduler payment settings
- Go to Schedule in left sidebar
- Click Schedulers
- Select the scheduler you want to add payment to
- Scroll to Payment Settings section
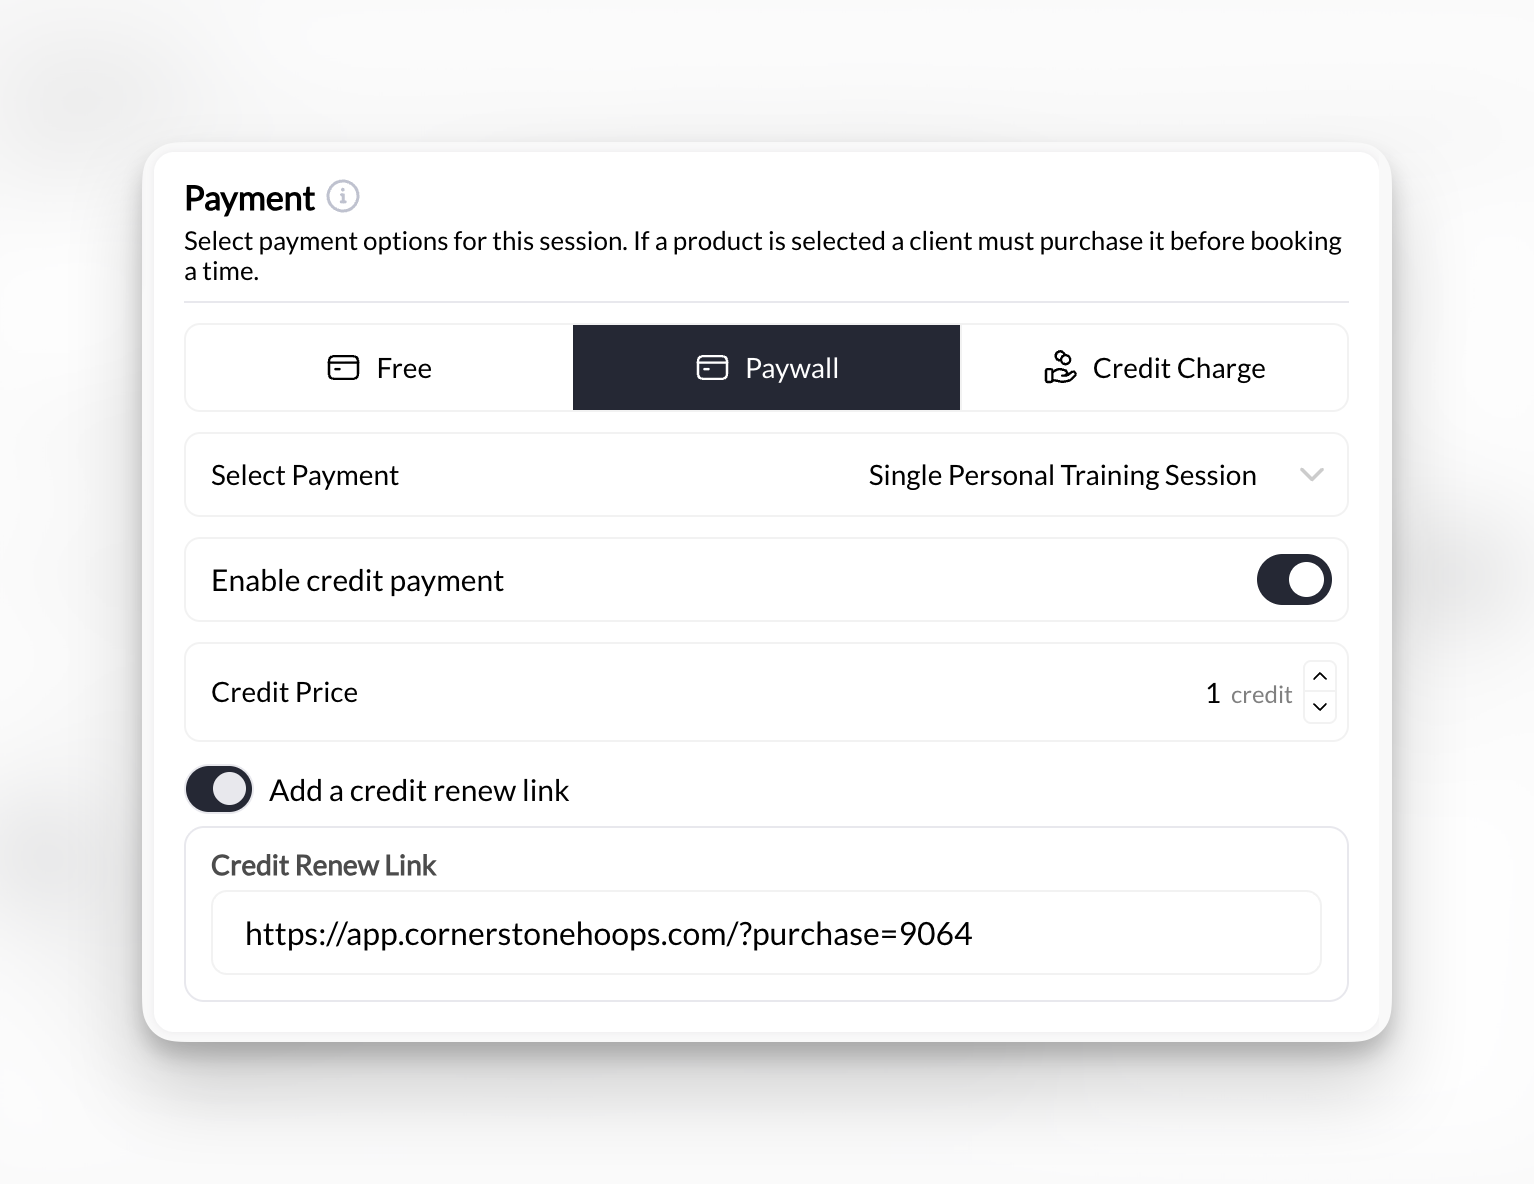
Choose payment method
Select one of four options:Free - No payment required, clients book without chargeProduct - Client must purchase a product to bookCredits - Client must have credits to book (no direct payment)Product OR Credits - Client can either buy product or use existing credits
Select product(s)
If you selected Product or Product OR Credits:
- Click Add Product
- Select product from dropdown
- Add multiple products if offering different pricing options
How clients book paid sessions
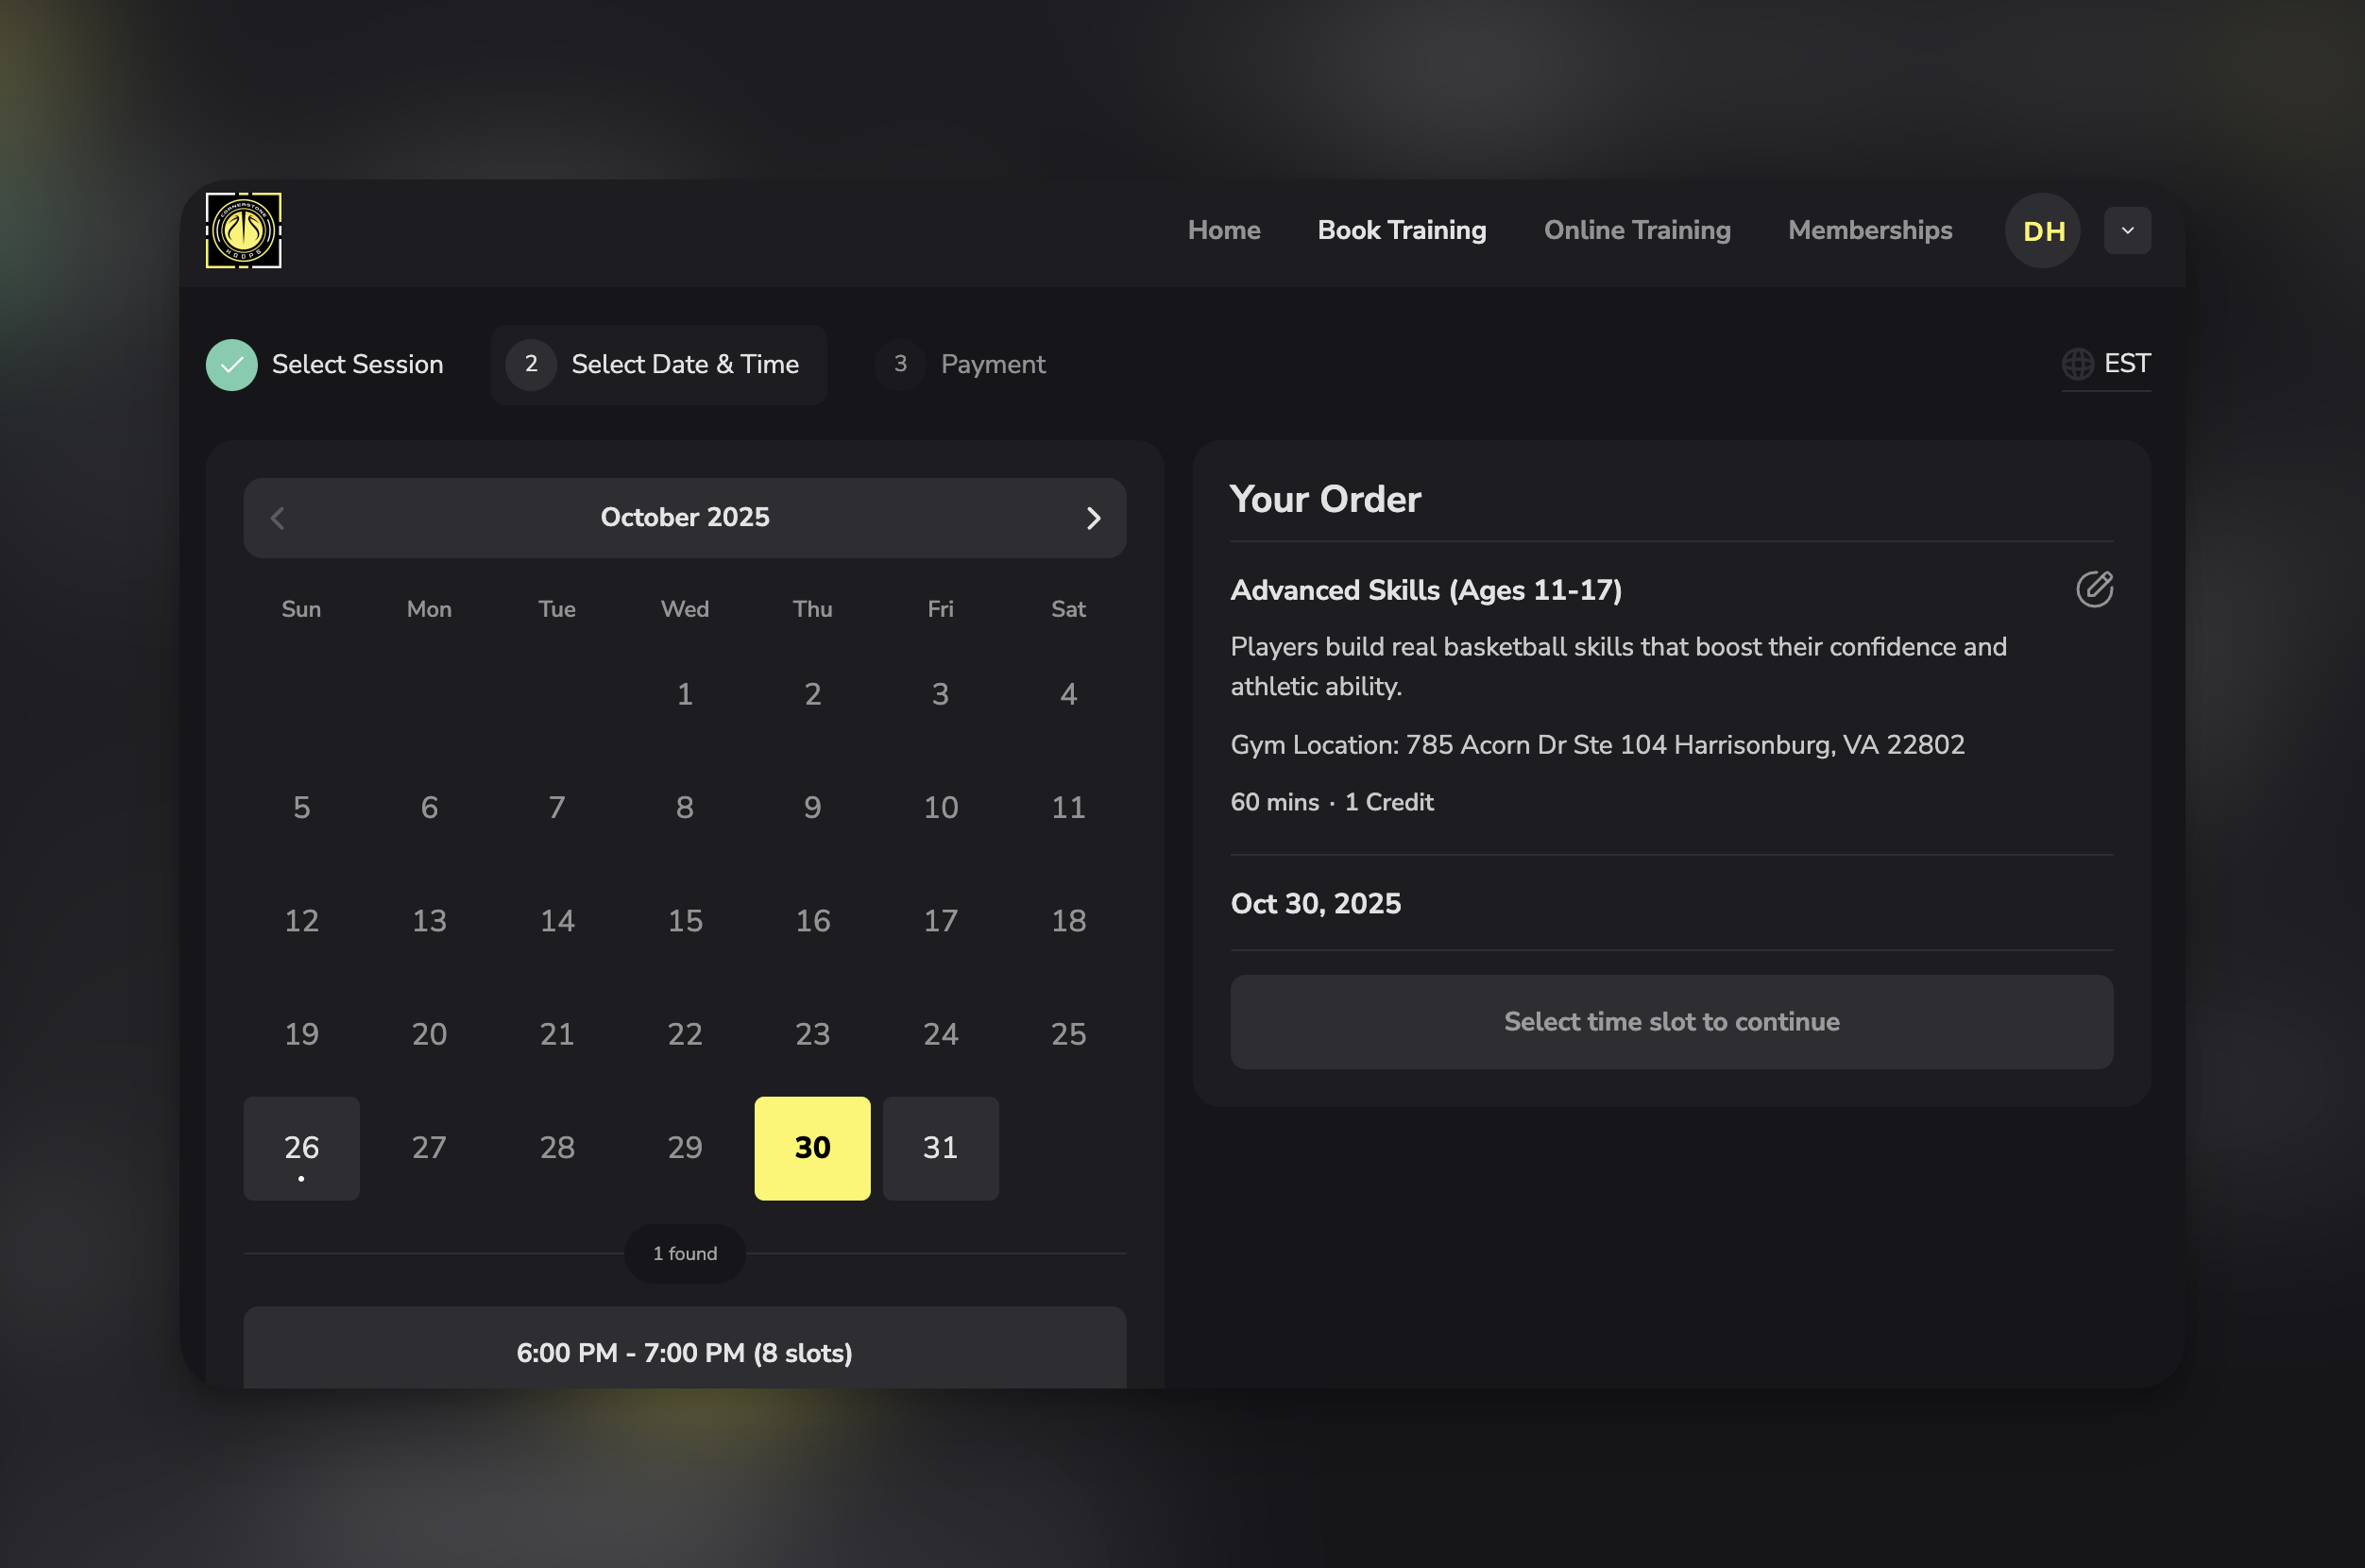
Payment screen appears
Client sees payment options:
- Product(s) you attached
- Use Credits (if Product OR Credits is configured and they have credits)
Attach products to programs
Navigate to program paywall settings
- Go to Content in left sidebar
- Click Programs
- Select the program you want to paywall
- Click Change next to the **Share **at the top of the page
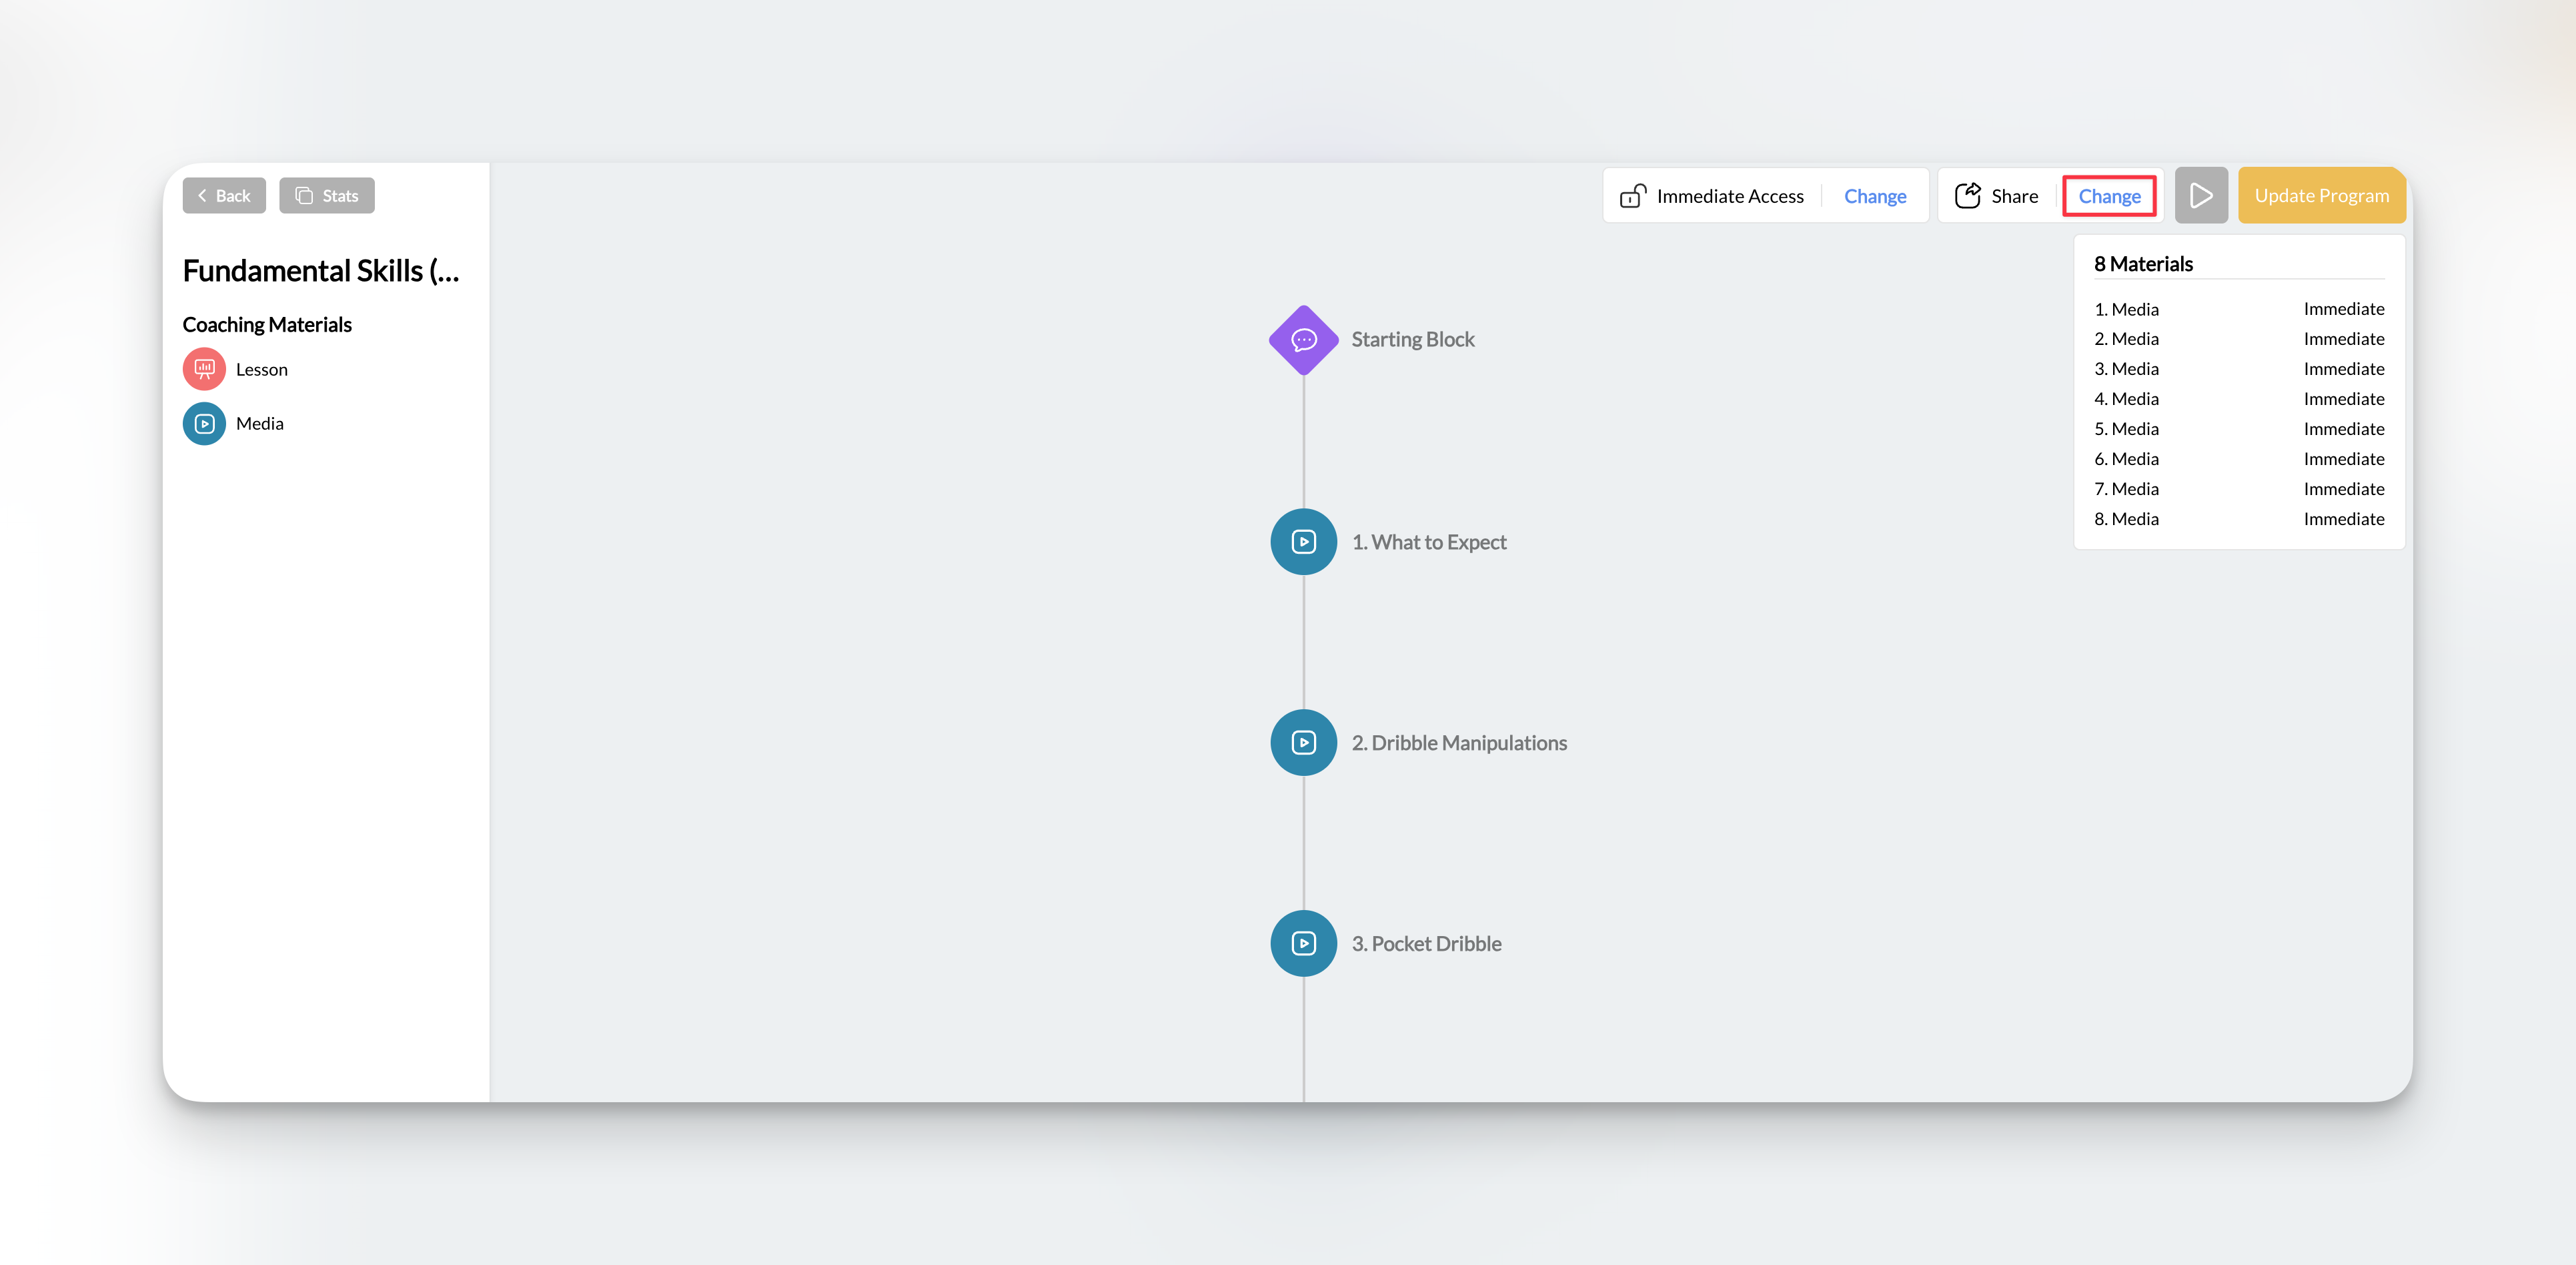
Enable paywall
Toggle Paywalled to ON.
Paywall locks all program content behind a purchase requirement.
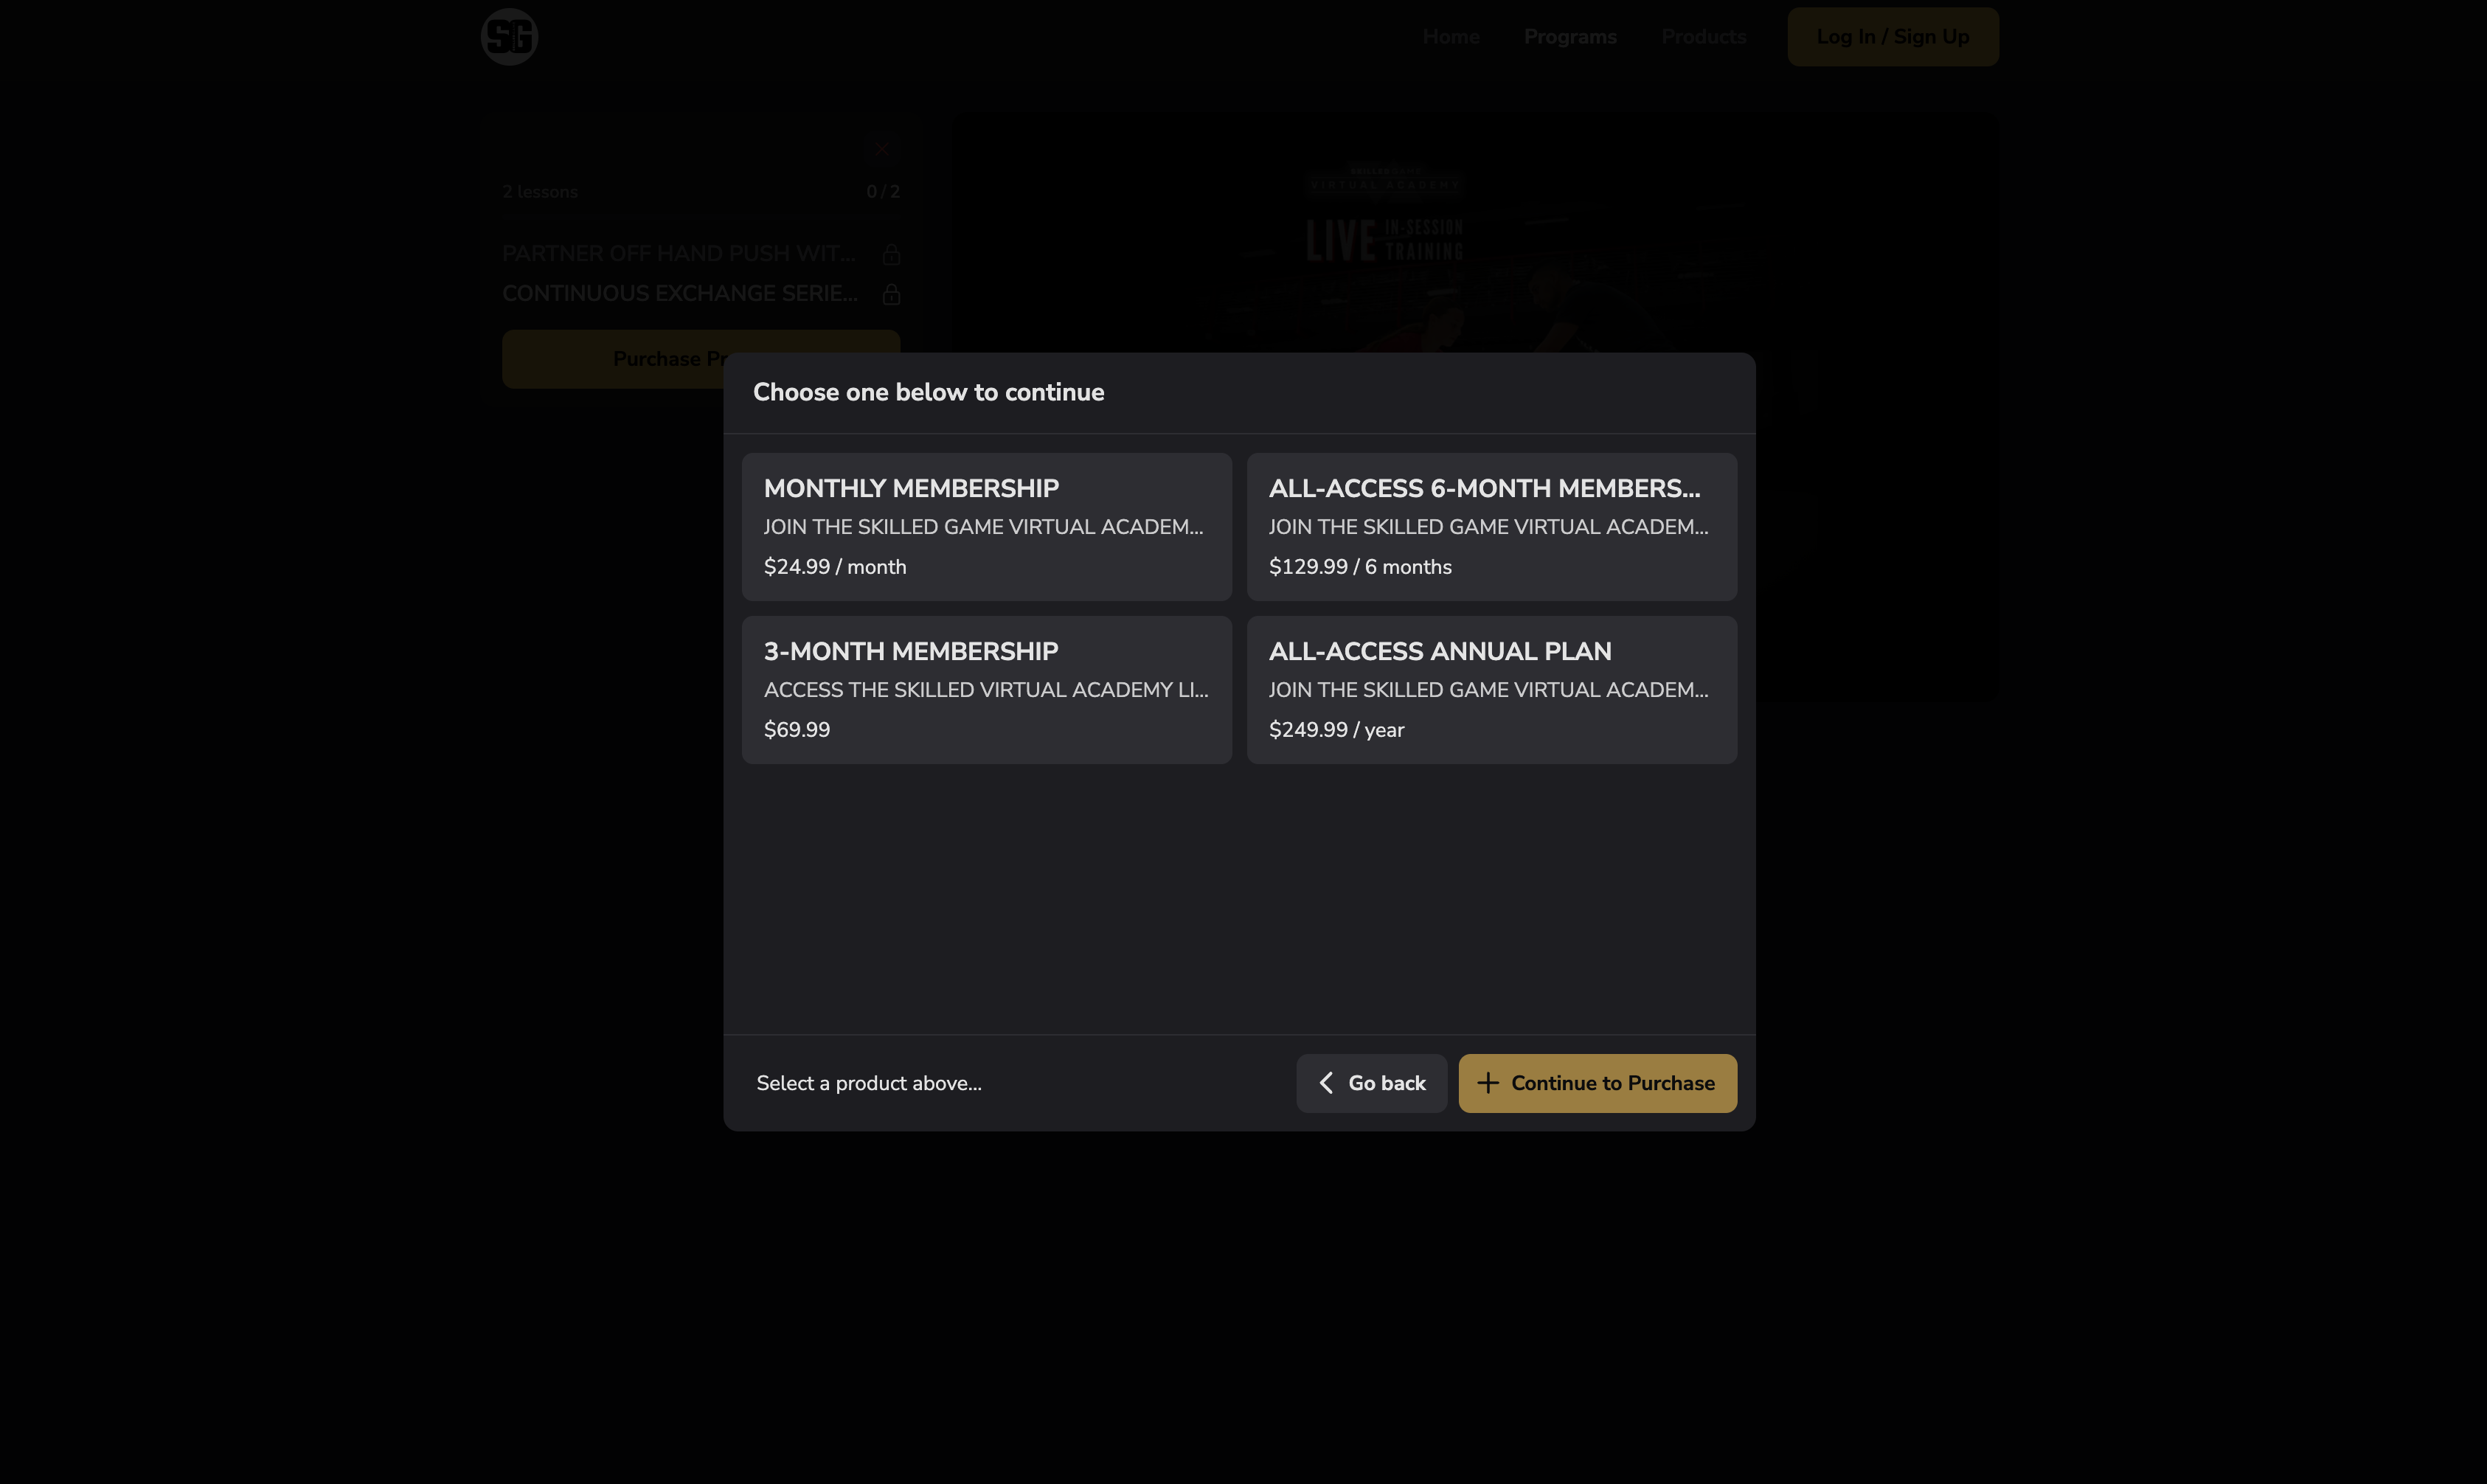
Select product(s)
Choose which product grants access to this program.Clients must purchase this product to unlock program content.
How clients access paid programs
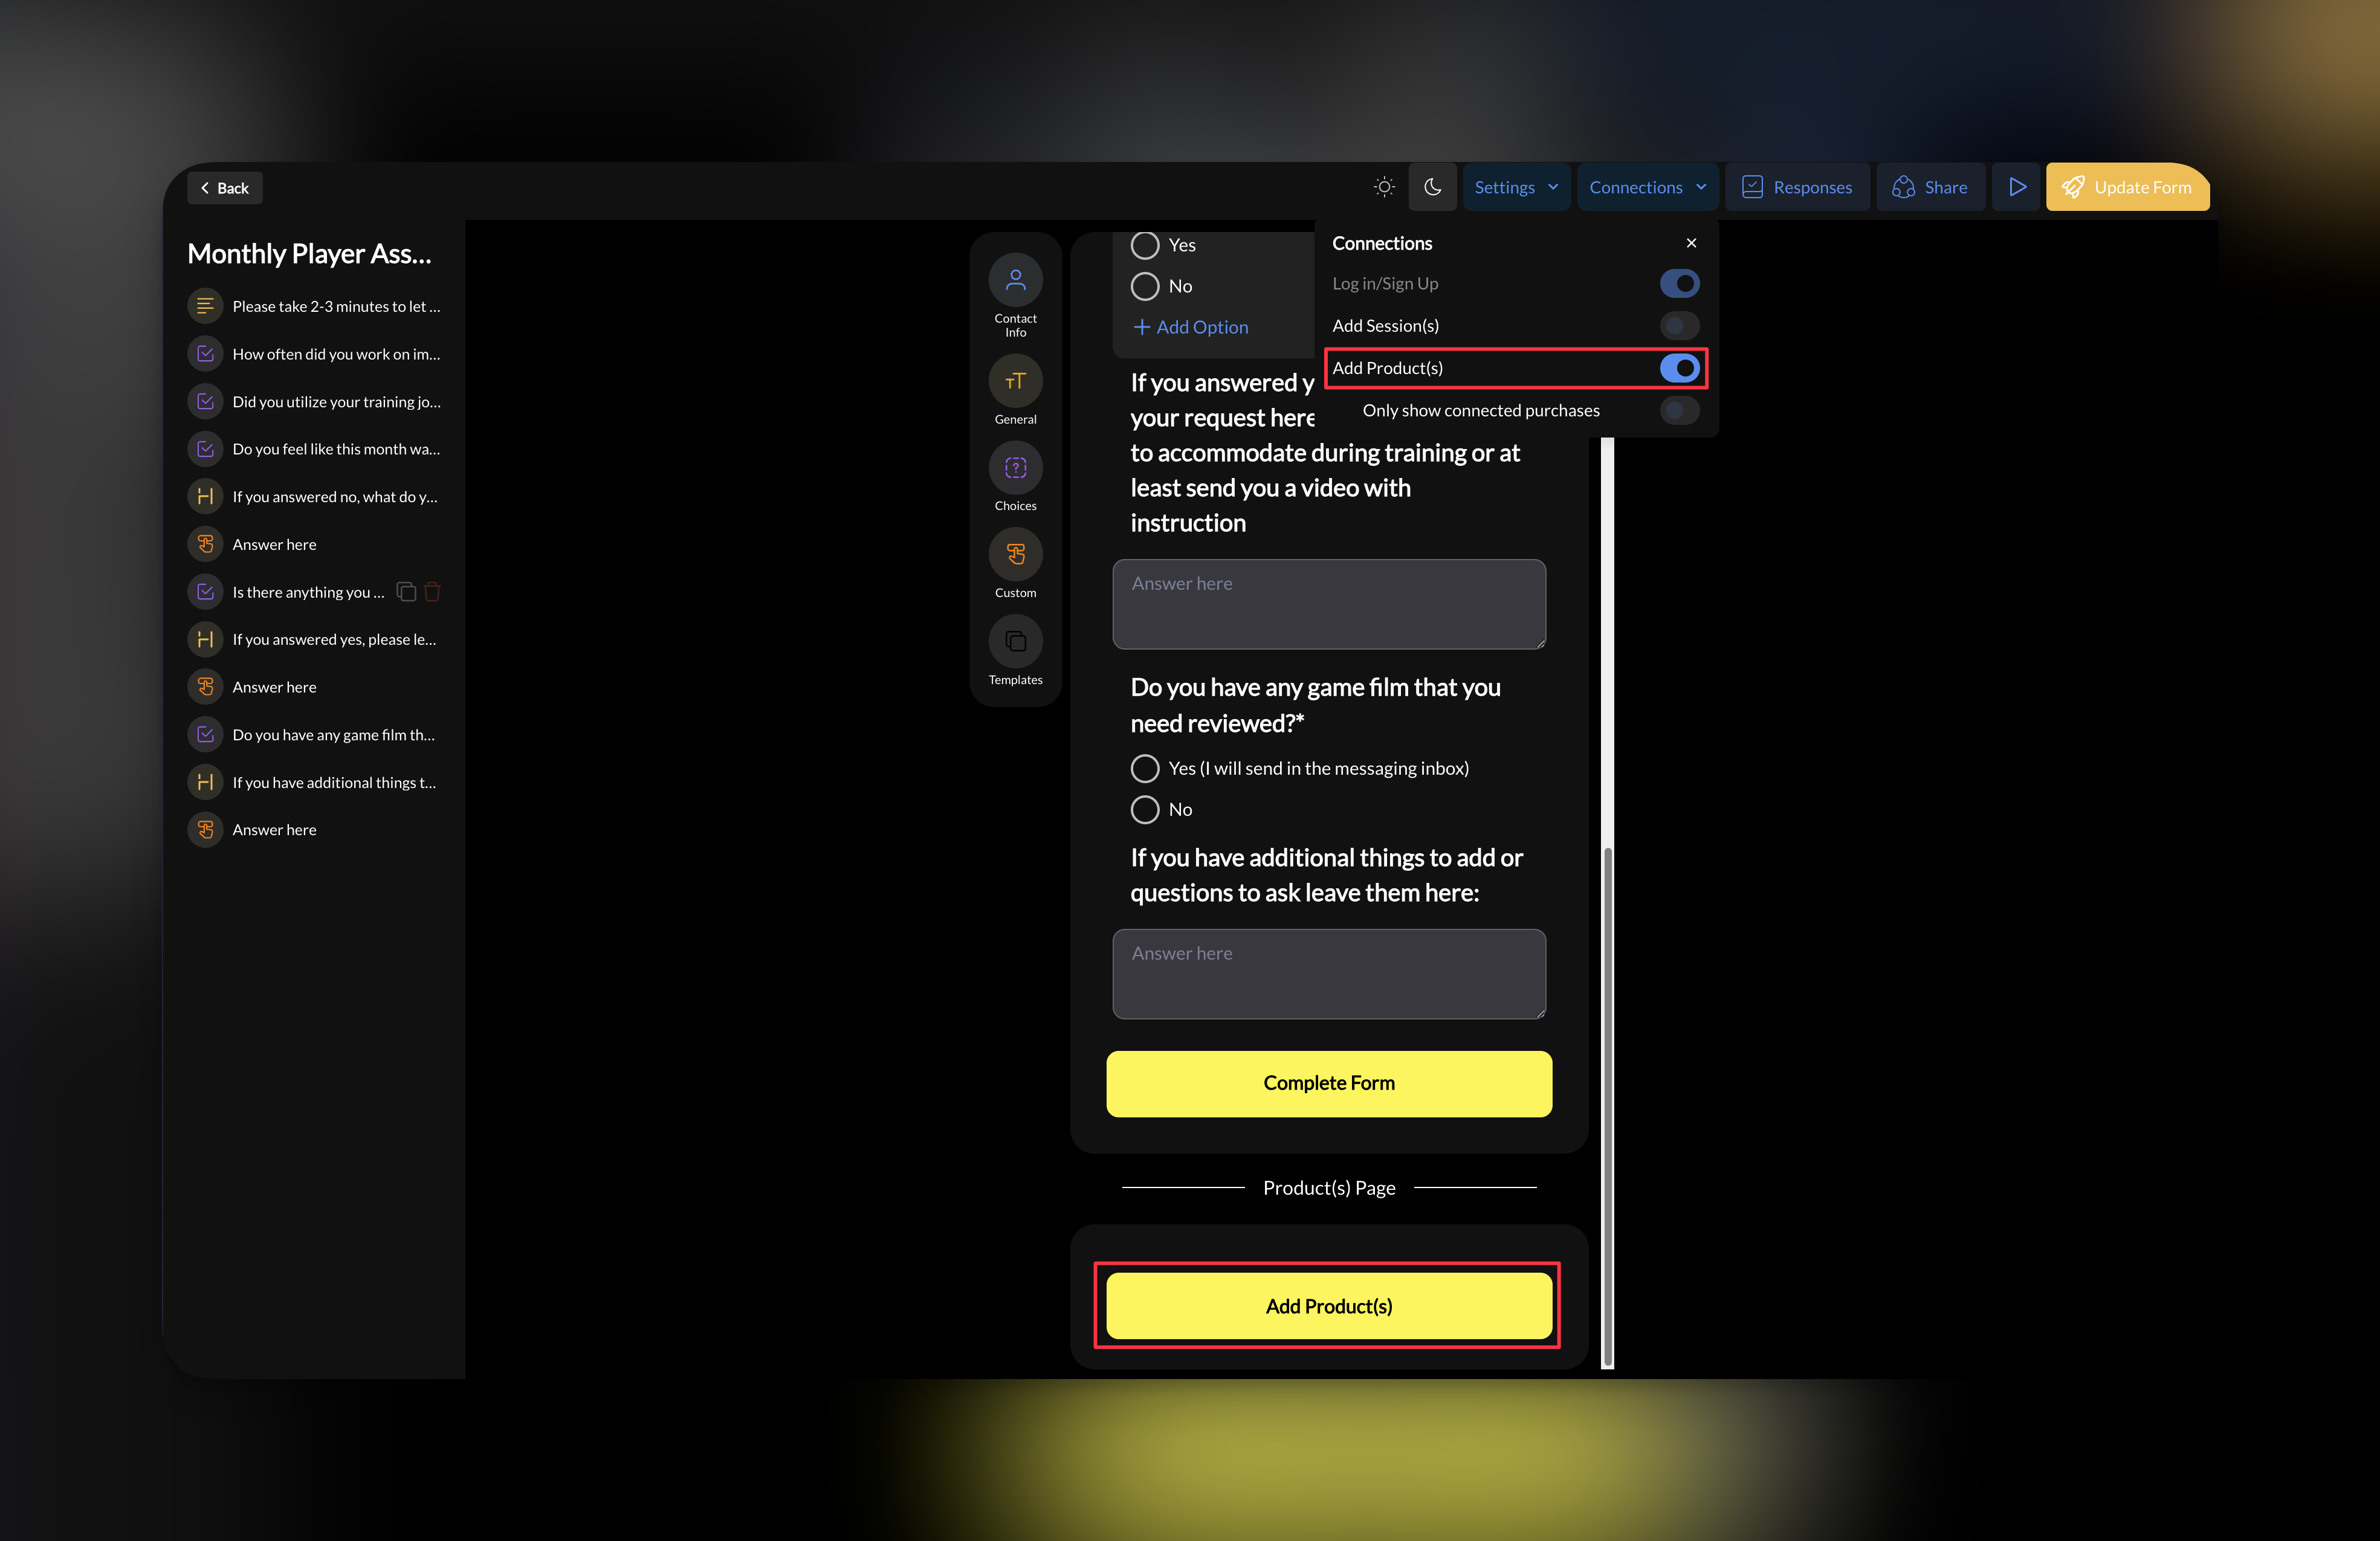
Attach products to forms
Add connected products
- Click Connections
- Toggle Add Product(s)
- Drag payment field to desired position in form
How clients submit forms with payment
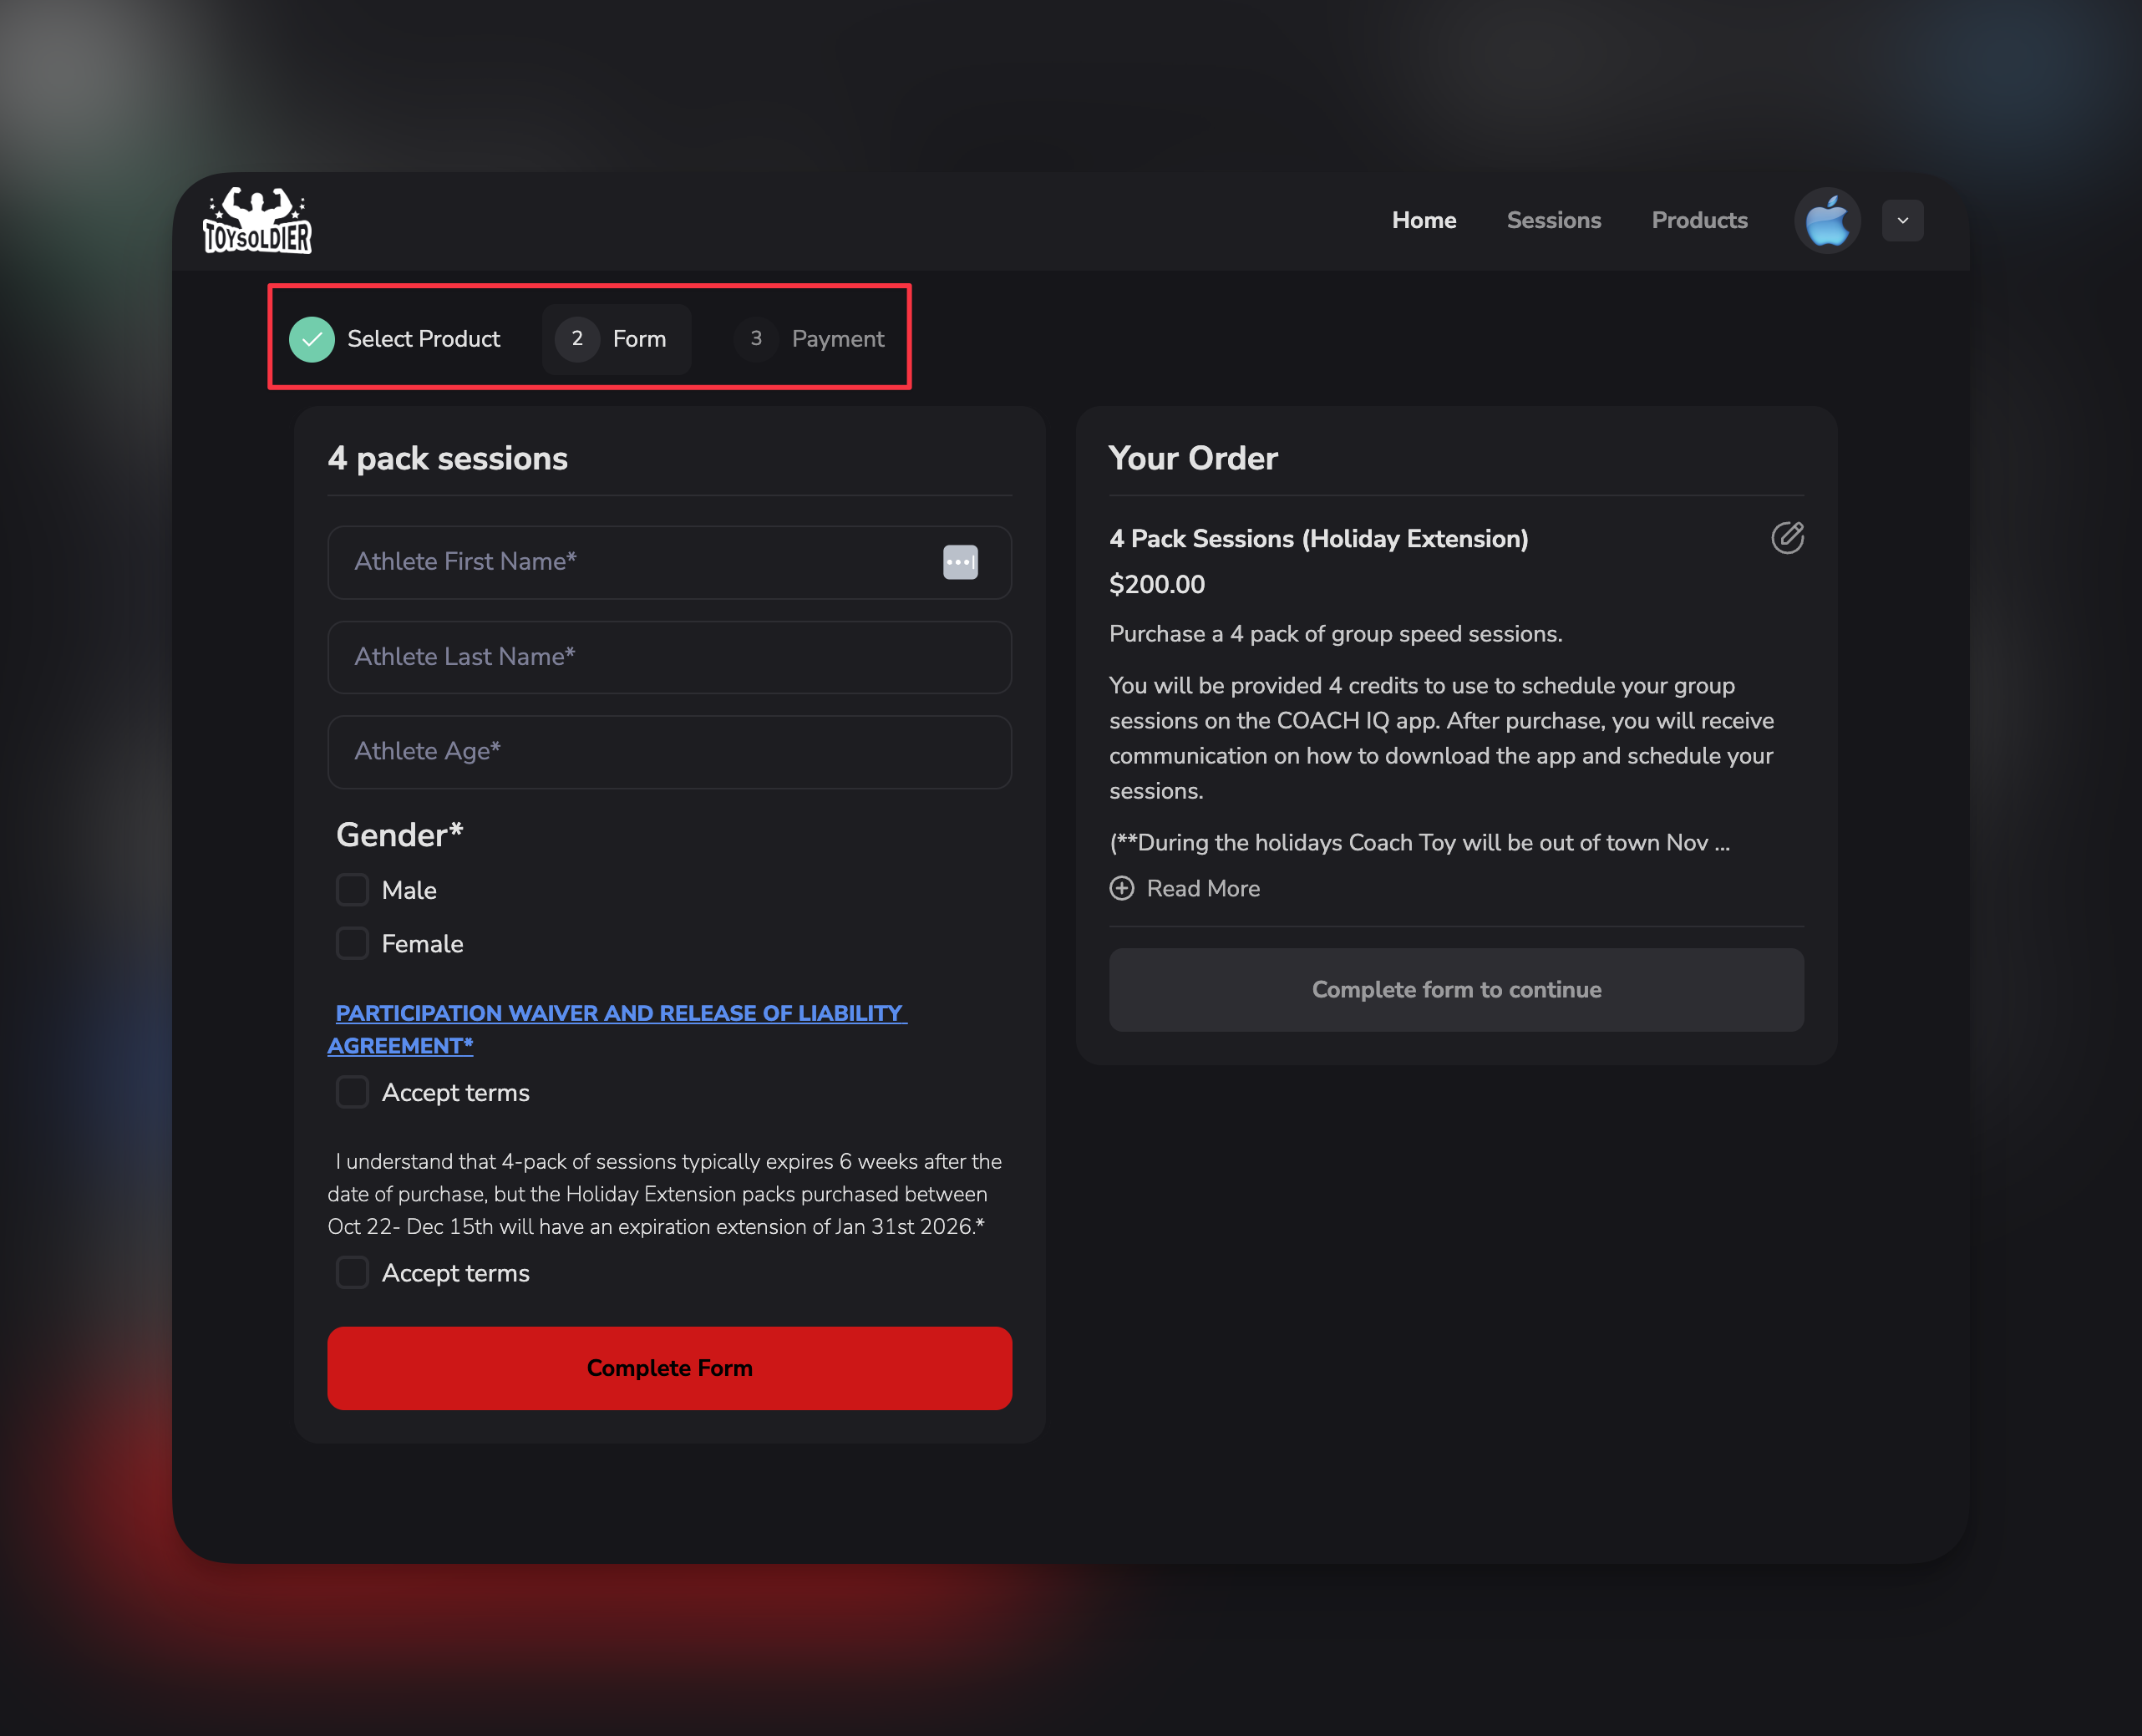
Payment field appears
Client reaches payment section showing:
- Product name and price
- Payment field for card details
Client enters payment
Client provides credit card information.
Payment processes through Stripe. Card details never touch CoachIQ servers.
Paywall vs. credits vs. free
Understanding when to use each payment method: Free - No payment required- Use for: Complimentary sessions, internal team use, evaluation sessions
- Use for: When you don’t want to manage credit system, single-purchase offerings
- Use for: When you only want existing clients/members to book (no new purchases)
- Use for: Maximum flexibility, most common setup
Troubleshooting
Product doesn't appear in dropdown
Product doesn't appear in dropdown
Check these:
- Product is published (not draft)
- Product isn’t archived
- You’re looking in correct section (schedulers vs programs vs forms)
- Refresh the page
Client says they can't book
Client says they can't book
Verify:
- Product is attached to scheduler
- Product price is correct (not accidentally 10,000)
- Stripe is connected and in Live Mode
- Client has valid payment method
Credits aren't working
Credits aren't working
Credits require configuration in both Products AND Schedule sections.Check:
- Product has credits enabled
- Number of credits is specified
- Scheduler payment method includes “Credits” option
- Scheduler is in the product’s allowed usage list
Want to require membership before booking
Want to require membership before booking
Set scheduler payment method to Credits only.Then only clients with active membership subscriptions (which issue credits) can book.This prevents one-off purchases and ensures only members access these sessions.
Next steps
- Understand credits - Learn the credit system
- View transactions - Monitor incoming payments