Where to find Forms: Tools → Forms in the main navigation
What forms do
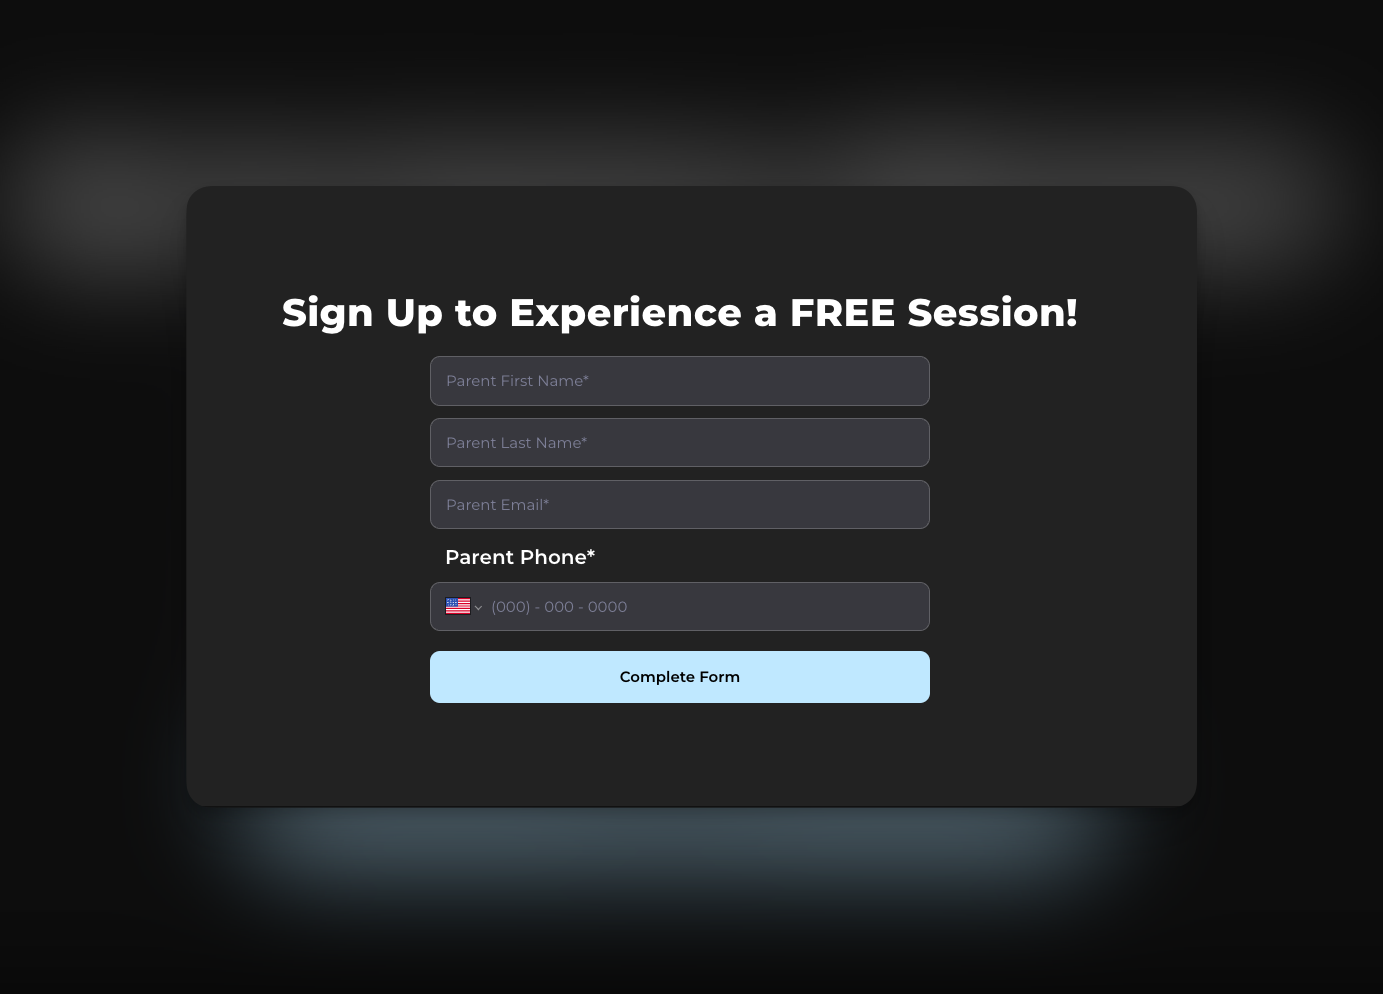
A CoachIQ form replaces the messy process of gathering athlete info via text, email, or paper. You create a form once, share the link, and responses flow directly into your system. Common uses:- Lead capture — “I’m interested in training” inquiries from your website
- New athlete intake — Contact info, goals, experience level, parent details
- Camp/event registration — Sign up + payment in one step
- Waivers — Liability agreements before the first session
- Feedback — Post-program surveys or testimonials
How forms connect to CoachIQ
Forms aren’t just data collection — they plug into your entire business system.People
When you require login/signup, form responses automatically appear on the athlete’s profile and their data syncs to your People list.
Products
Add a product to your form to collect payment during submission — perfect for camp fees, registration deposits, or trial session charges.
Schedulers
Embed a scheduler so athletes can book their first session right after completing your intake form.
Automations
Trigger automated actions when a form is submitted — send a welcome message, add a tag, or assign credits.
How connections work: When you add Products, Schedulers, or Login/Signup to a form, each becomes a separate page in the submission flow. The athlete completes the form fields first, then proceeds through each connected page.
Why use CoachIQ forms vs. external tools
You might be used to Google Forms, Typeform, or JotForm. Here’s why CoachIQ forms work better for your coaching business:| External Tools | CoachIQ Forms |
|---|---|
| Data lives in a separate system | Data connects to athlete profiles |
| Manual copy/paste to track responses | Responses appear in one dashboard |
| Can’t collect payments | Add products for registration fees |
| Can’t book sessions | Embed schedulers directly |
| Generic branding | Matches your CoachIQ website |
| No automation triggers | Triggers automations on submission |
What you can build with forms
Lead capture form
Embed on your website to capture interested families. Typical fields: “I am the” (Parent/Athlete), name, email, phone, “How did you hear about us?”New athlete onboarding
Collect everything before the first session: contact info, athlete age, experience level, goals, parent details, and a waiver agreement.Camp registration with payment
Combine info collection with payment: athlete details, t-shirt size, emergency contact, plus a product for the camp fee.Waiver/liability form
Display your terms and require agreement before training begins. When login is required, the signed waiver attaches to their profile.Testimonial collection
Request feedback and permission to share on your website. Great for building social proof.What forms can’t do
Understanding limitations helps you build the right workflows:- No conditional logic — You can’t show/hide questions based on previous answers
- No partial saves — Athletes must complete the form in one session
- No form duplication — Each form is built individually
- No field-level automation triggers — Automations trigger on submission, but can’t read specific answers (e.g., “if they selected Instagram”)
- No completion analytics — You see total responses, not drop-off rates
Quick glossary
| Term | Meaning |
|---|---|
| Field | A single question or element on your form |
| Contact Info fields | Pre-built fields (name, email, phone) that sync to athlete profiles when login is required |
| Custom fields | Questions you create from scratch (text, dropdown, checkbox, etc.) |
| Connections | Products, Schedulers, or Login/Signup added to your form flow |
| Response | A single completed form submission |