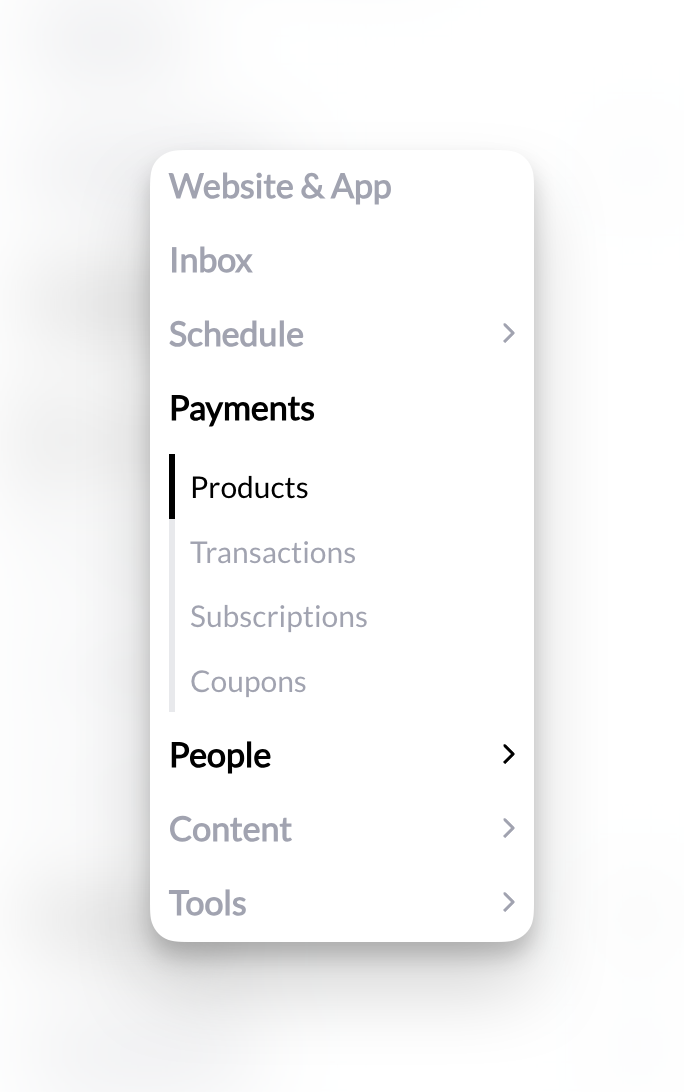
Where to find this: Payments section in the left sidebar
What CoachIQ Payments does
CoachIQ Payments handles all revenue operations for your coaching business:- Accept one-time and recurring payments
- Manage subscription billing automatically
- Issue and track session credits
- Apply discounts with coupons
- Track all transactions in one place
- Send payment receipts to clients
How money flows
Attach to offerings
Connect products to:
- Session schedulers (for bookings)
- Programs (for content access)
- Forms (for registrations)
Key concepts
Products
One-time purchases, recurring subscriptions, or access code redemptions
Transactions
Complete record of all payments, refunds, and failed charges
Subscriptions
Recurring billing that renews automatically on schedule
Credits
Pre-purchased session credits clients can redeem for bookings
Coupons
Discount codes for promotions, partnerships, and special offers
Products Usage
How to attach products to sessions, programs, and forms
Three ways clients pay
Direct purchase Client books session → Selects time → Pays with card → Confirmed Subscription billing Client subscribes → Card charged monthly → Receives credits/access automatically Access code Client enters code → Discount applied (or free) → Access grantedYour first three steps
Connect Stripe
Enable payment processing by linking your Stripe account.Connect Stripe →
Create a product
Build your first product for a session, membership, or program.Create Product →
Attach to sessions
Link your product to a session scheduler so clients can book and pay.Attach Products →
Where everything lives
Navigate the Payments section from your left sidebar:- Products: Create and manage all payment offerings
- Transactions: View all payment activity and history
- Subscriptions: Monitor recurring billing and active memberships
- Coupons: Create and track discount codes
Payment processing fees
Stripe charges 2.9% + $0.30 per successful transaction (US rates). You can configure products to either:- Absorb the fee (you receive less)
- Pass to customer (they pay slightly more)
Fees are set by Stripe, not CoachIQ. International rates and currency conversions may differ.
What you need to know
Stripe handles everything: CoachIQ doesn’t store card numbers or process payments directly. Stripe manages all payment security, PCI compliance, and fraud prevention. Automatic reconciliation: Every transaction in CoachIQ syncs with Stripe in real-time. Your records always match. Bank deposits: Stripe deposits funds to your bank account on a rolling basis. First payout takes 7-10 days; subsequent payouts are typically daily or weekly based on your Stripe settings. Refunds: Issue full or partial refunds directly from CoachIQ. Money returns to client’s original payment method.Common questions
Do I need a business bank account?
Do I need a business bank account?
No. You can connect Stripe to any bank account—personal or business. However, a business account is recommended for accounting and tax purposes.
Can I accept payments without Stripe?
Can I accept payments without Stripe?
No. Stripe is the payment processor for CoachIQ. You must have a Stripe account to accept payments through the platform.
What currencies are supported?
What currencies are supported?
CoachIQ supports all currencies that Stripe supports. Set your currency in Stripe, and it applies to all CoachIQ transactions.
How do taxes work?
How do taxes work?
CoachIQ doesn’t calculate or collect sales tax automatically. You’re responsible for:
- Determining if you need to collect sales tax
- Setting prices that include tax
- Reporting and remitting taxes to appropriate authorities